Install an Ethernet Wall Plate: Efficient, Easy, Reliable Steps
Why Installing an Ethernet Wall Plate Is One of the Smartest Networking Upgrades You Can Make
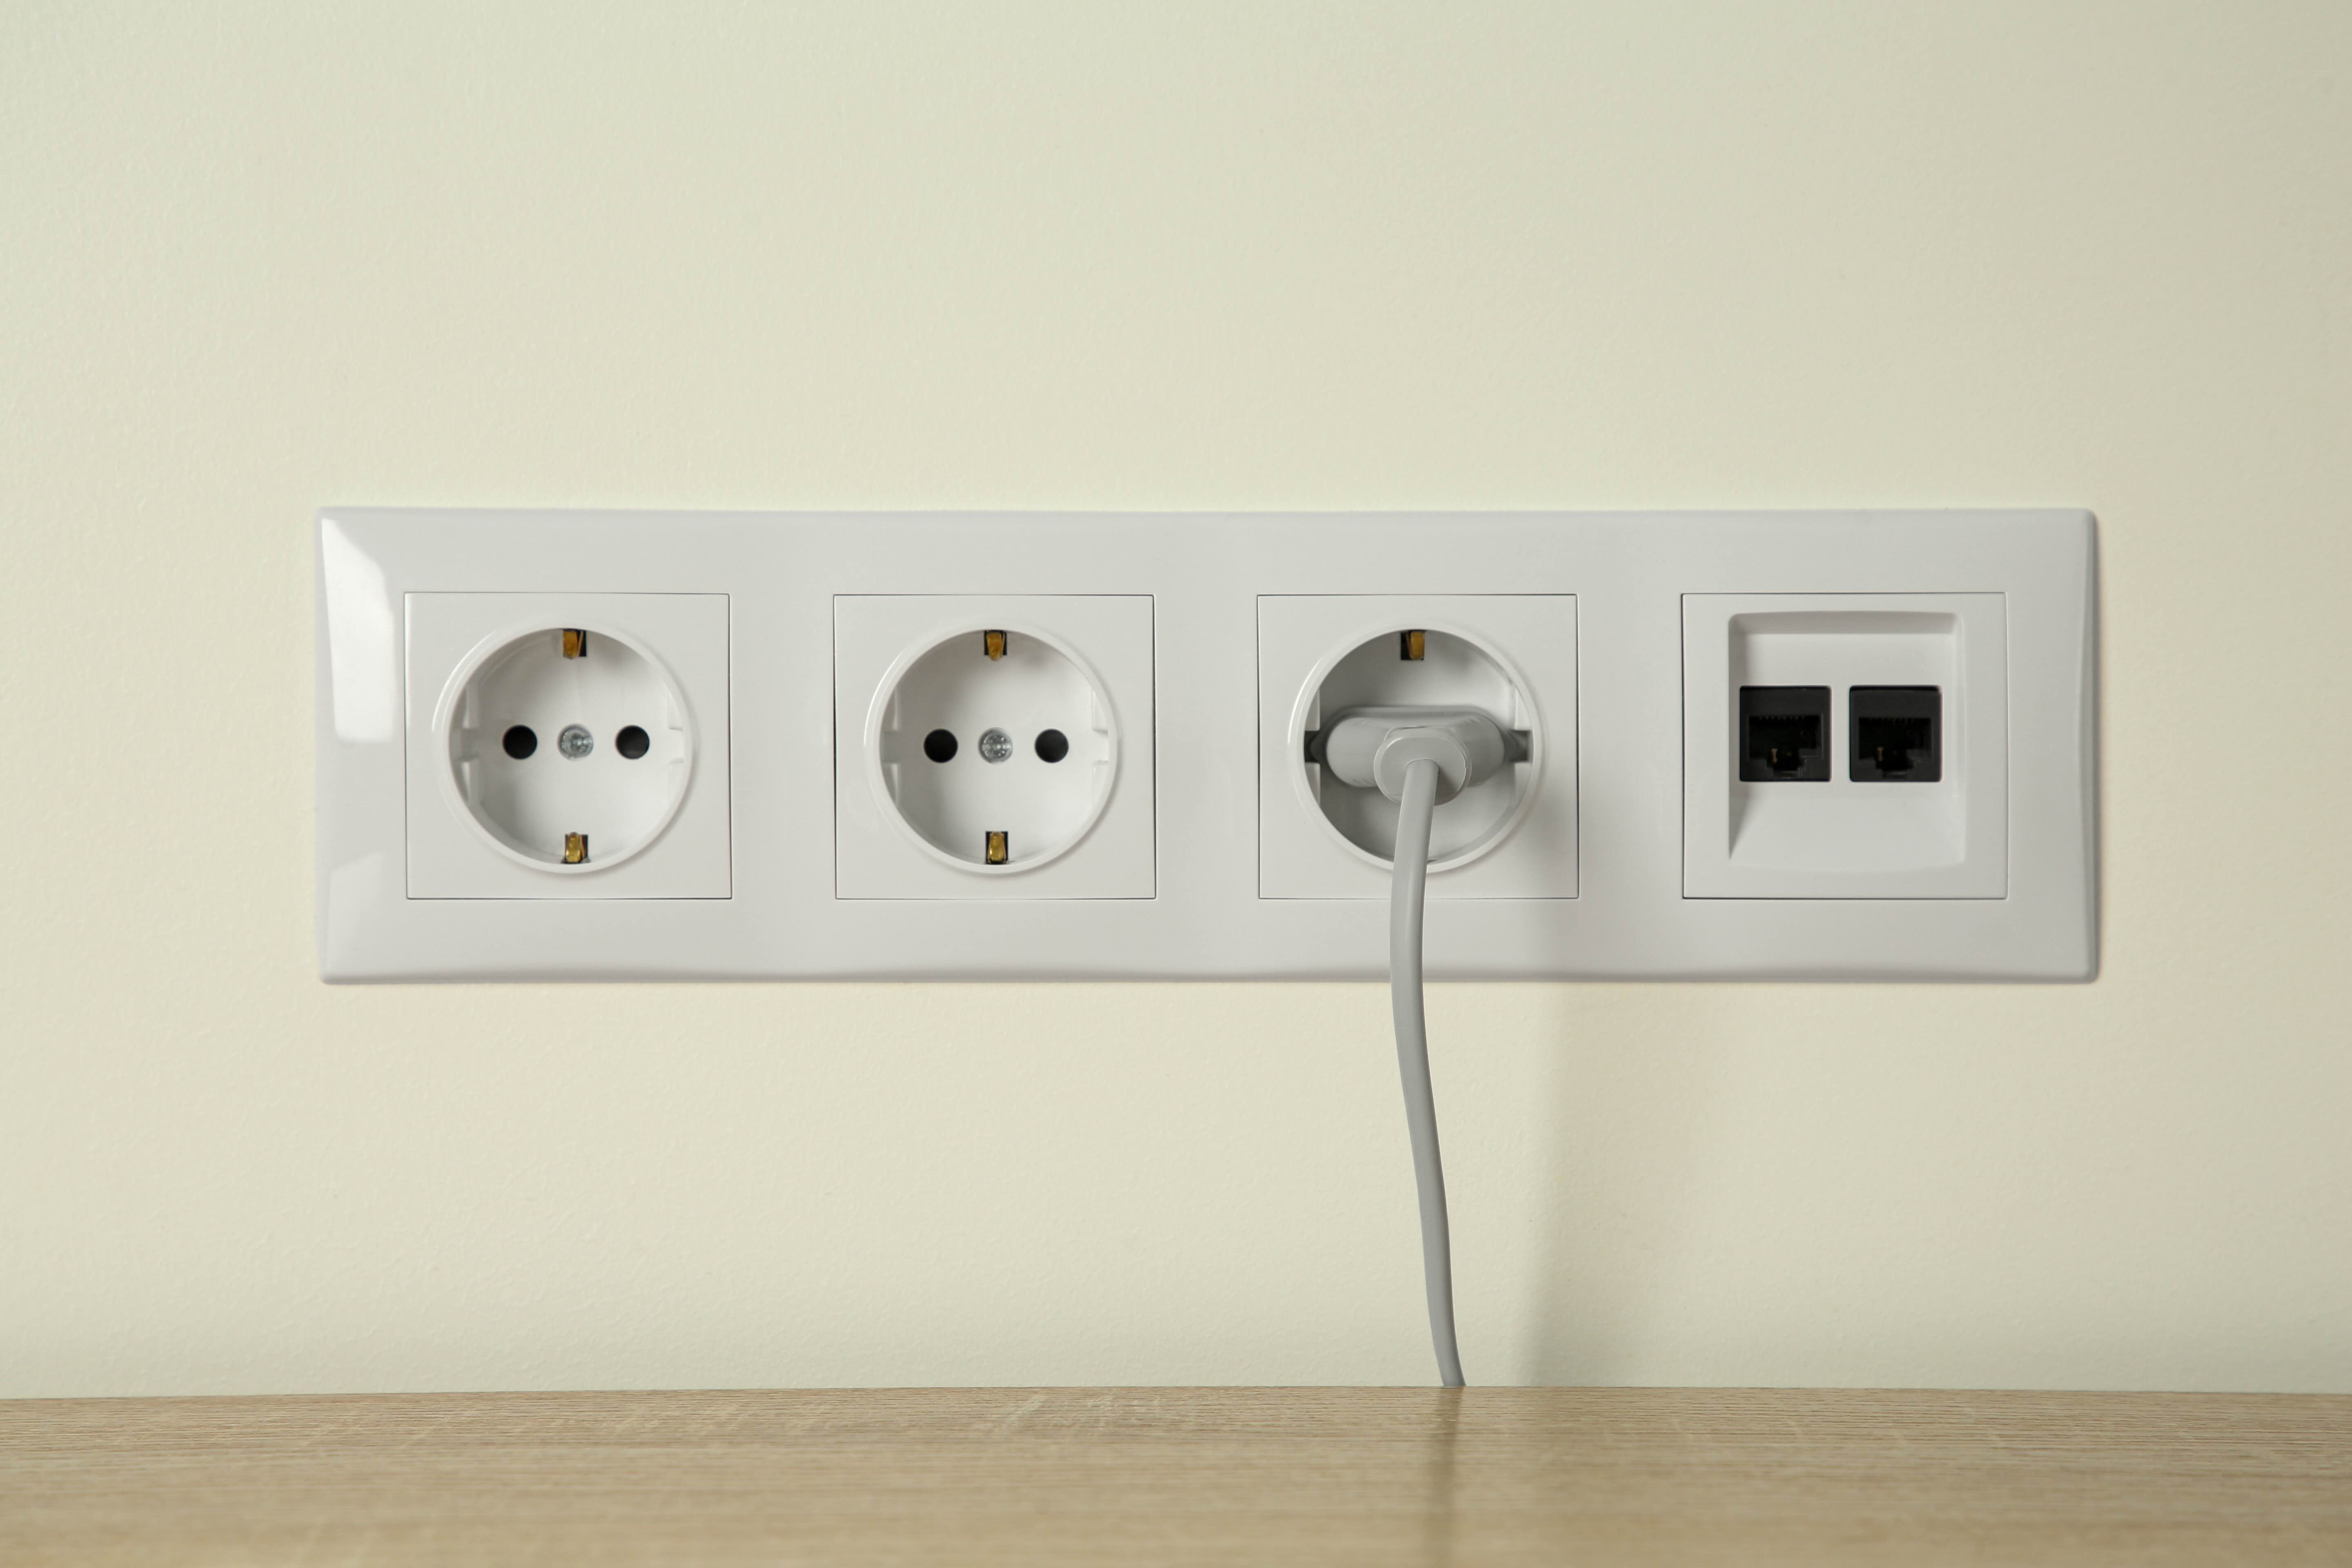
So you have cables running across the floor or taped behind furniture, and at some point you just get tired of looking at it. That is where an Ethernet wall plate comes in. It is one of those upgrades that feels almost minor until you actually do it, and then you wonder why you waited. A wall plate gives your wired network connection a clean, permanent, professional-looking termination point directly in the wall. No exposed cables. No tripping hazards. No janky zip-tie situations. Just a solid, flush-mounted port that connects to your patch panel or network switch behind the scenes. This guide walks through everything — what a wall plate is, how the installation works, the tools you need, the benefits, the occasional headaches, and why it matters for your home or office network setup long term.
What Is an Ethernet Wall Plate and How Does It Actually Work
An Ethernet wall plate is a wall-mounted fixture, usually a standard single-gang or double-gang size, that houses one or more keystone jacks. Those keystone jacks are the actual connection points — you punch your Cat5e, Cat6, or Cat6A cable into the back of the jack using a punch-down tool, and then the front-facing port is what you plug your device into. The wall plate itself is mostly cosmetic and structural, holding the keystone modules in place and giving everything a finished look. The magic is really in how the cabling runs from that wall port back through the wall cavity to wherever your network equipment is centralized. Done right, it turns a messy cable situation into something that looks like it was always meant to be there.
Tools and Materials You Need Before You Start
Getting this right starts with having the right gear in hand before you open a single wall cavity. Skipping prep is where most installs go sideways. Here is what you need to gather ahead of time:
- Ethernet cable — Cat6 is the standard recommendation for most installs today
- Keystone jack compatible with your cable category
- Wall plate — single or dual gang depending on port count
- Low-voltage mounting bracket or old-work electrical box
- Punch-down tool — either impact or non-impact style
- Cable stripper or utility knife
- Fish tape or glow rods for routing cable through walls
- Drywall saw or oscillating tool for cutting the opening
- Stud finder
- Screwdrivers — flat and Phillips
Using quality components matters more than people expect. A mediocre keystone jack punched down with a dull tool can introduce signal loss or crosstalk that quietly degrades your network speeds, especially at higher frequencies. This is not the place to cut corners on components.
Step-by-Step: How to Install an Ethernet Wall Plate
The process is more approachable than it looks once you break it down into phases. Start by deciding where the wall plate will go and use your stud finder to confirm there is no structural framing right where you plan to cut. Mark your opening using the mounting bracket as a template. Cut carefully and cleanly. Next, run your Ethernet cable from the wall opening through the wall cavity to your destination — patch panel, network closet, or router location. This is usually the most time-consuming part, especially in finished walls. Once your cable is routed and pulled through the opening, strip back about two inches of the outer jacket, separate the pairs, and punch each wire down onto the keystone jack following the T568B wiring standard, which is the most commonly used configuration for structured home networking. Snap the keystone jack into the wall plate, seat the mounting bracket into the wall, and secure the wall plate with screws. On the other end, terminate the cable to your patch panel or plug in a field-terminated connector. Test the connection with a cable tester before buttoning everything up.
Key Advantages of Using a Wall Plate for Ethernet
There are real, tangible reasons why structured cabling professionals and serious home network builders do not just run cables with exposed ends everywhere. Wall plates deliver several meaningful advantages:
- Clean, permanent installation that does not require rework when furniture moves
- Protects cable terminations from physical damage and accidental disconnection
- Reduces electromagnetic interference by keeping cable runs inside wall cavities
- Supports longer cable runs without signal degradation compared to patched or spliced cable
- Makes future upgrades easier — swap the keystone, keep the infrastructure
- Professional appearance increases home value perception during showings or rentals
These are not minor quality-of-life perks. In a home office or small business environment, network reliability directly affects productivity. A properly installed wall plate with quality keystone jacks and properly terminated Cat6 cabling consistently outperforms surface-mounted cable management in terms of both performance and longevity.
Common Challenges and Drawbacks to Know Ahead of Time
Let us be straightforward here — this is not a zero-effort project. Running cable through finished walls is genuinely tricky depending on your home's construction. Insulated exterior walls, fire blocking inside wall cavities, and tight routing paths around obstacles can turn a two-hour project into a full afternoon. Beyond that, punching down keystone jacks incorrectly — either wiring them out of sequence or not seating the wire conductor fully — is a common source of failed connections. Using the wrong wiring standard on one end and a different one on the other will also break your link. A cable tester is not optional if you want confidence in the finished result. Additionally, some older homes have walls that are not standard drywall, which complicates cutting and mounting. Go in prepared and the challenges are manageable.
Choosing the Right Cable Category for Your Wall Plate Install
The cable you pull through the wall is the most permanent part of this entire job, which is exactly why it deserves careful thought. Cat5e is fine for older installs and basic connectivity, but Cat6 is the practical standard right now for anything being installed new. It supports Gigabit Ethernet at full 100-meter distances, handles 10 Gigabit at shorter runs, and its tighter twist specifications reduce crosstalk effectively. Cat6A extends 10GbE support to the full 100-meter run and is worth considering if you are wiring for a more serious home lab or small office environment. The key point is to match your keystone jacks and patch cables to the same category as your horizontal cable run. Mixing Cat5e jacks with Cat6 cable, for instance, limits your performance to the lowest-rated component in the chain.
Tips for a Clean, Professional-Looking Finished Install
The difference between an install that looks like a weekend project and one that looks like it was done by a structured cabling technician usually comes down to a few details. Use a torpedo level when positioning your mounting bracket to keep the wall plate perfectly straight. Pull just enough cable slack through the opening to work with — too much cable stuffed into a shallow wall box creates tight bend radii that can affect performance at higher frequencies. Label both ends of every cable run before you terminate anything. It sounds like extra work but it saves significant time later. Choose wall plates and keystones in a consistent color across the entire install. White plates in most rooms, ivory if your trim matches it better. These small decisions compound into an installation that looks intentional and performs reliably for years.
Why Monoprice Is the Right Partner for Your Ethernet Wall Plate Installation
When you are investing time and labor into a structured cabling project, the components you choose matter directly to the outcome. Monoprice has built its reputation on delivering performance-grade networking products at prices that make professional-quality installs accessible without requiring a contractor's budget. From Cat6 and Cat6A bulk cable to keystone jacks, wall plates, mounting brackets, patch panels, and cable testers, everything you need for a complete end-to-end install is available in one place. The product lineup is consistent in quality, clearly documented, and backed by the kind of technical reliability that both home users and professional integrators have come to expect. Whether you are wiring a single room or building out a full structured cabling system across a home or small office, you can find trusted Ethernet wall plates, keystone jacks, and professional networking installation supplies that deliver clean results without overcomplicating the process or inflating the cost. Monoprice is the practical, value-driven choice for networking infrastructure done right.
Frequently Asked Questions About Installing an Ethernet Wall Plate
What type of Ethernet cable should I use for a wall plate installation?
Cat6 is the recommended standard for new installations. It supports Gigabit and 10 Gigabit Ethernet over shorter distances and offers better crosstalk performance than Cat5e. Cat6A is worth considering for runs that need to support 10GbE at full 100-meter lengths.
Do I need a special tool to punch down a keystone jack?
Yes. A punch-down tool is required to properly seat the wire conductors into the keystone jack's IDC terminals. Both impact-style and non-impact models work, though an impact punch-down tool provides cleaner, more consistent terminations.
What is the difference between T568A and T568B wiring standards?
Both are valid wiring configurations for Ethernet. T568B is more commonly used in North American residential and commercial installations. The critical rule is to use the same standard on both ends of every cable run to ensure proper connectivity.
Can I install an Ethernet wall plate in a finished wall without major damage?
Yes, it is possible using low-voltage old-work mounting brackets that do not require a traditional electrical box. The main challenge is routing cable through the wall cavity, which may require fish tape, glow rods, or drilling through fire blocking.
How many ports should my wall plate have?
Single-port plates work for simple single-device locations. Dual or quad-port plates are better for home offices, entertainment centers, or any location where multiple wired devices may need connections now or in the future.
Will the wall plate affect my network speed?
A properly installed wall plate with quality keystone jacks should have no measurable negative impact on network speed. Poor punch-down technique, mismatched cable categories, or damaged conductors are the factors that introduce signal loss or reduced performance.
Is an Ethernet wall plate better than a surface-mount cable raceway?
For permanent installs, yes. In-wall installations using proper wall plates protect cable runs, reduce interference, and provide a more durable and professional result. Surface raceways are faster to install but are better suited for temporary or low-priority runs.
What is a keystone jack and is it included with the wall plate?
A keystone jack is the modular connector that inserts into the wall plate and provides the actual RJ45 port. Wall plates and keystone jacks are typically sold separately, which allows you to mix port types and categories based on your specific needs.
How do I test my Ethernet wall plate after installation?
Use a dedicated cable tester that checks all eight conductors for continuity and correct wiring sequence. Basic pass-fail testers are affordable and sufficient for most home installs. More advanced testers can measure signal performance at higher frequencies if needed.
Can I install an Ethernet wall plate myself or should I hire a professional?
Most homeowners with basic DIY skills can complete a wall plate installation successfully. The process requires patience and proper tools but does not involve electrical wiring, making it a low-risk project. Hiring a structured cabling professional is reasonable for larger multi-room installs or complex wall routing situations.