

How to Make Ethernet Cables: Tools, Tips & Standards
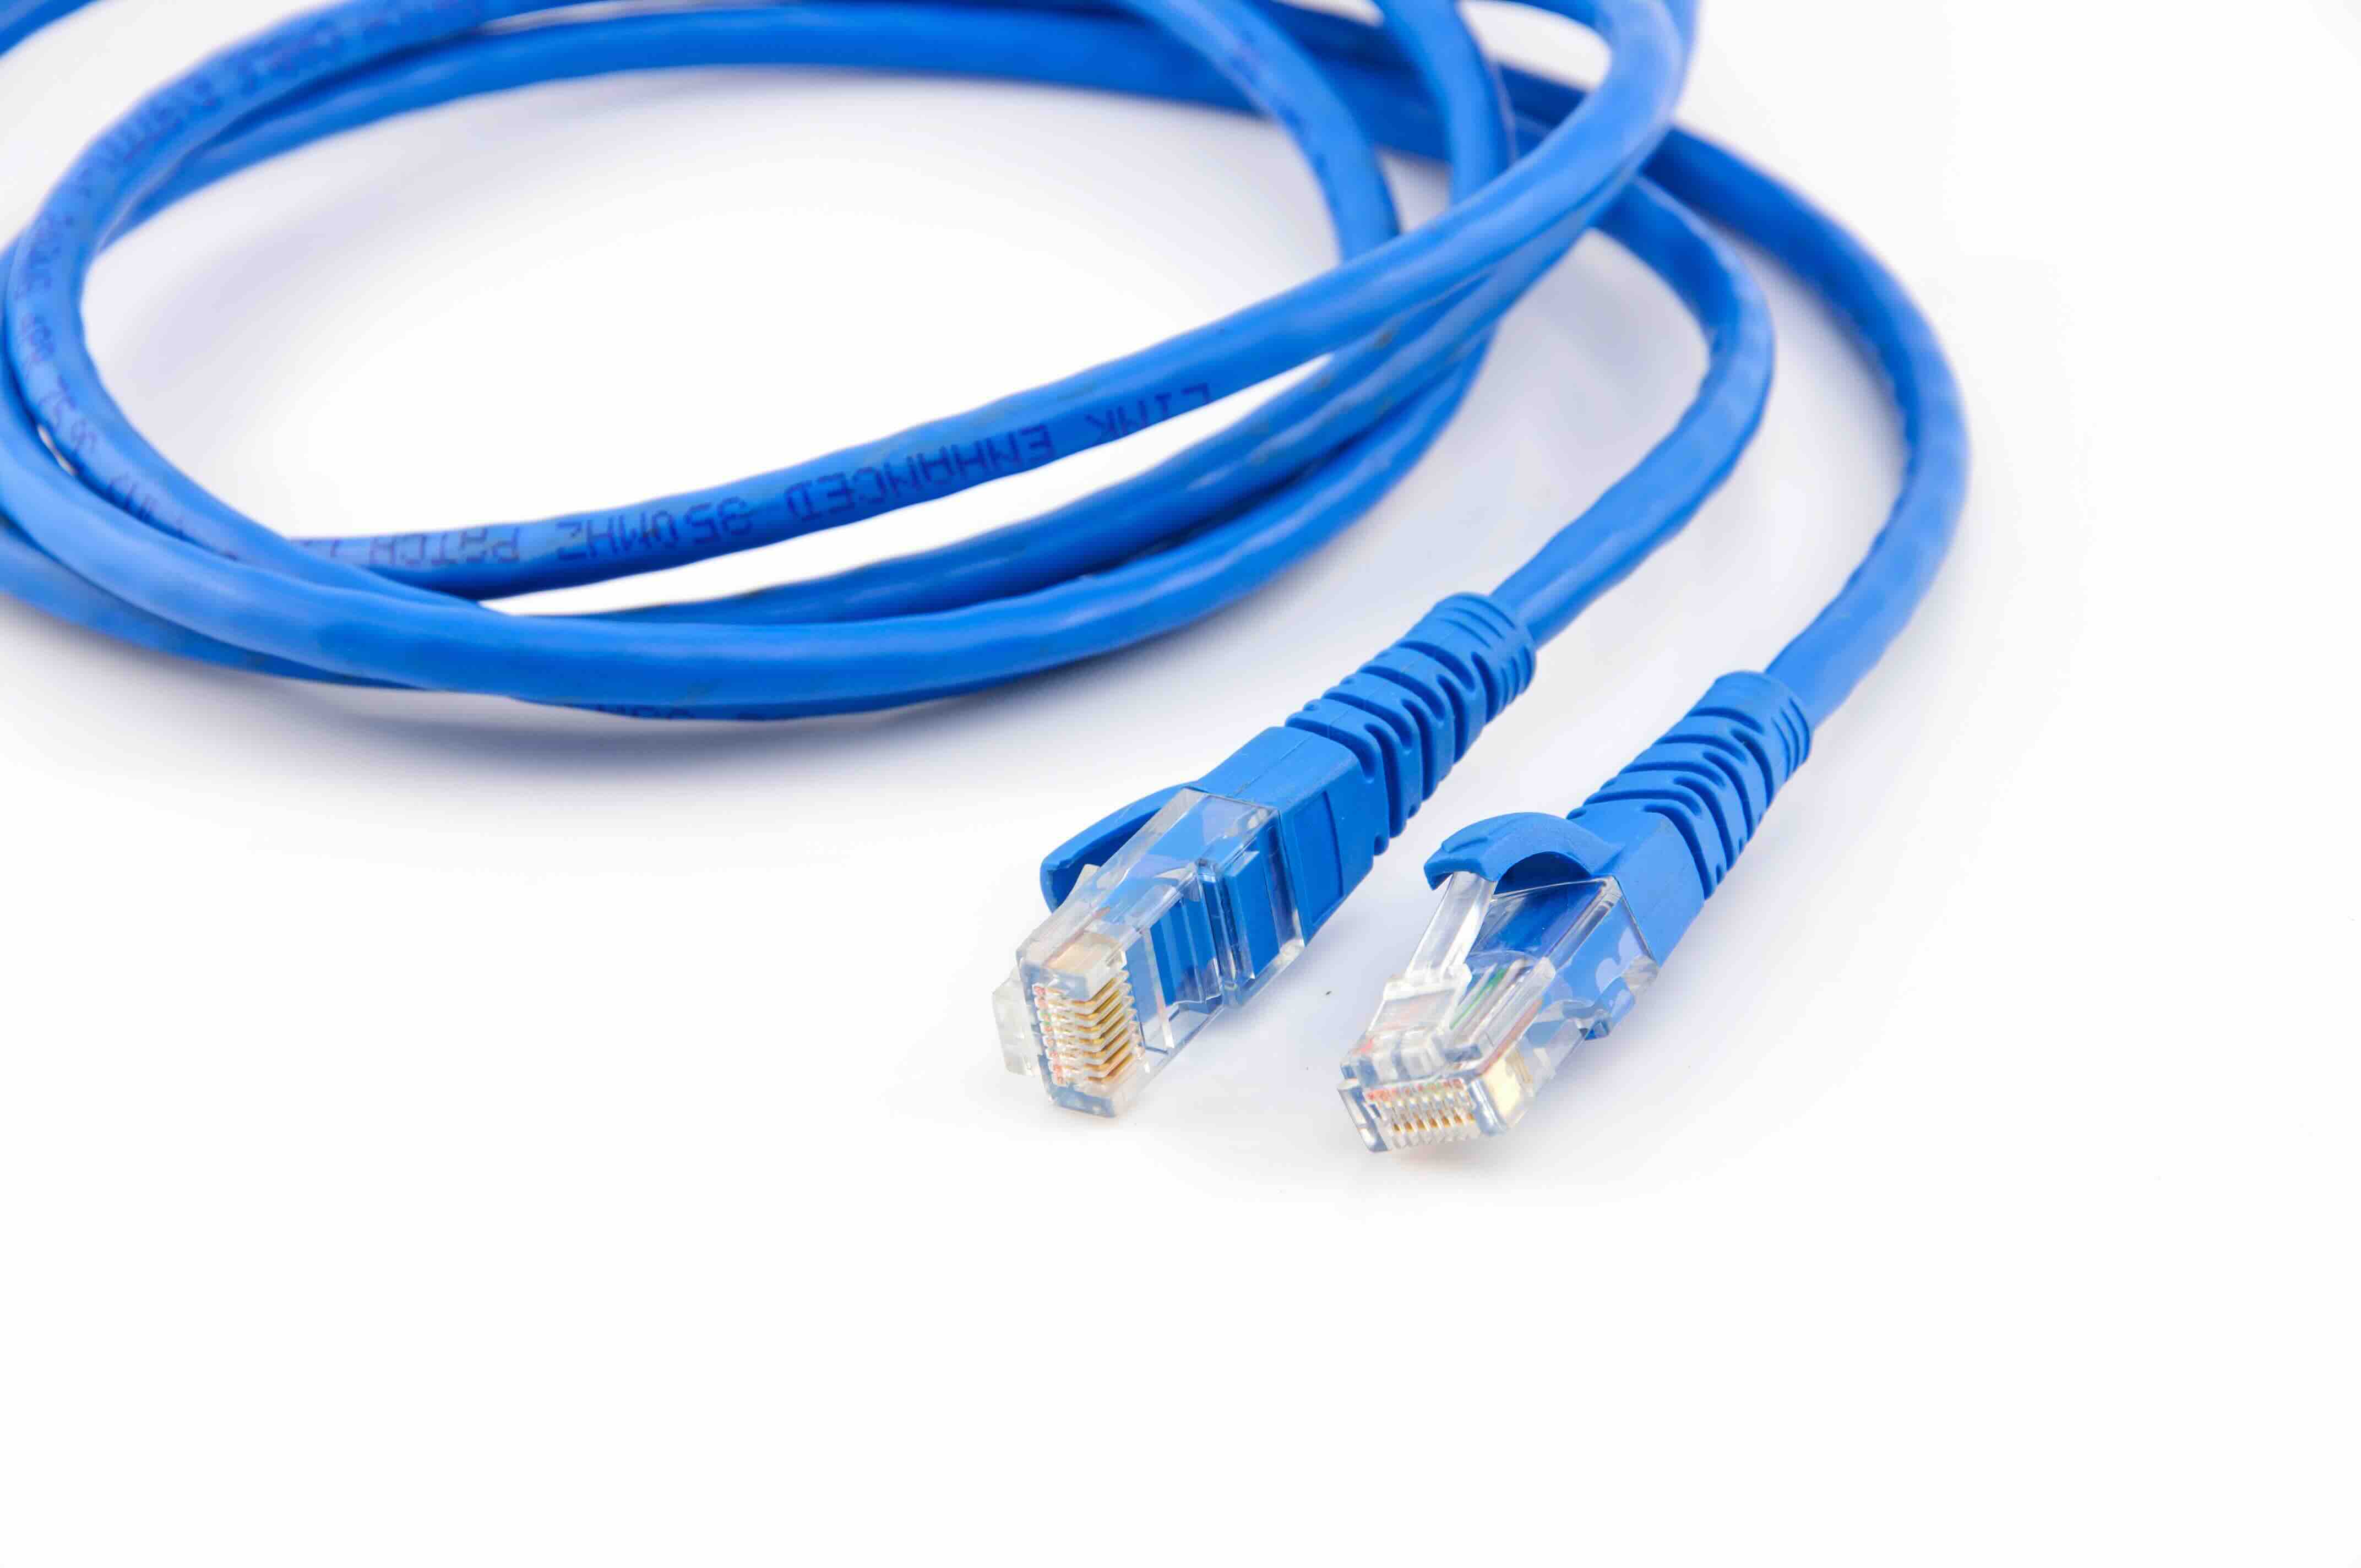
How to Make Ethernet Cables: A Complete Step-by-Step Guide for Beginners and Pros
Making your own Ethernet cables might sound like something only network engineers do in server rooms -- but honestly, it is one of the most practical skills anyone who works with technology can pick up. Whether you are setting up a home office, running cable through walls, or managing a larger installation, knowing how to terminate your own Ethernet cable saves money, reduces waste, and gives you exactly the length you need. No more bundled-up slack or cables that fall two feet short. This guide walks through everything -- the tools, the wire standards, the process itself, and what to watch out for -- so you can do this right the first time.
What Is an Ethernet Cable and Why Would You Make Your Own
An Ethernet cable is a physical networking cable used to connect devices -- computers, routers, switches, access points, gaming consoles -- to a local area network. It transmits data using twisted pairs of copper wire inside a protective jacket. You can buy pre-made cables just about anywhere, and they work fine for most situations. But once you need a custom length, a specific jacket type, or you are running bulk cable through a conduit or under flooring, pre-made cables become limiting. Making your own gives you control. You cut to the exact length needed, choose the right category rating for your environment, and terminate the ends cleanly. For IT professionals and integrators especially, this is just a baseline skill -- but even enthusiastic home users find real value in it once they try it.
Understanding Ethernet Cable Categories Before You Start
Not all Ethernet cable is the same, and choosing the right category upfront matters a lot. The most widely used options right now are Cat5e, Cat6, and Cat6A. Cat5e supports speeds up to 1 Gbps at up to 100 meters and is still perfectly capable for most home and small office use. Cat6 improves on that with reduced crosstalk and better performance at higher speeds -- up to 10 Gbps over shorter runs. Cat6A pushes that to 10 Gbps at the full 100-meter distance, making it the go-to for enterprise environments or future-proofed installations. There is also Cat7 and Cat8, though those come with more specific use cases and different connector types in some instances. For most people building custom cables today, Cat6 is a sweet spot -- affordable, capable, and widely supported.
Tools and Materials You Need to Make Ethernet Cables
Getting set up correctly before you start is half the job. Skipping the right tools leads to bad terminations, and bad terminations mean dropped connections or reduced performance. Here is what you need:
- Bulk Ethernet cable (Cat5e, Cat6, or Cat6A depending on your needs)
- RJ45 connectors (make sure they match your cable type -- shielded or unshielded)
- A cable crimping tool
- Wire strippers or a cable jacket stripper
- A cable tester
- A flush cutter or scissors
Some crimp tools come bundled with a built-in stripper and cutter, which is convenient if you are just getting started. One important note -- if you are working with Cat6 or Cat6A cable, look for pass-through RJ45 connectors. They make alignment significantly easier and reduce the margin for error during the crimp.
Wiring Standards: T568A vs T568B Explained
Before you start pinning wires, you need to pick a wiring standard. There are two: T568A and T568B. The difference is in how the colored wire pairs are arranged inside the RJ45 connector. T568B is more commonly used in commercial and residential installations in North America. T568A is specified in certain government and international standards. For a straight-through cable -- which connects a device to a router or switch -- both ends need to be terminated with the same standard. A crossover cable -- used to connect two devices of the same type directly -- uses T568A on one end and T568B on the other. In most modern installations, crossover cables are rarely needed because switches handle the crossover automatically, but it is worth understanding the difference. Pick T568B if you are unsure. It is the predominant standard in commercial networking environments and will serve you well across almost every scenario.
Step-by-Step Process for Terminating Ethernet Cable
Now the actual work. This part goes faster than most people expect once you have done it a few times. The key is precision in the early steps -- the stripping and untwisting -- because everything downstream depends on getting that right.
Start by using your stripper to remove about an inch to an inch and a quarter of the outer jacket from the cable end. Be careful not to nick the wire pairs inside. Once the jacket is off, you will see four twisted pairs of wire. Untwist each pair and straighten the individual wires. Arrange them according to your chosen standard -- T568B ordering from left to right is: white-orange, orange, white-green, blue, white-blue, green, white-brown, brown. Once arranged, trim the wires straight across so they are all the same length -- about half an inch from where the jacket ends. Insert the wires into the RJ45 connector, making sure each wire slides fully into its individual channel and the jacket itself enters the back of the connector. Visually confirm alignment through the clear plastic. Then crimp firmly with your crimp tool. Repeat on the other end. Test the finished cable with your cable tester to confirm continuity on all eight pins.
Common Mistakes and How to Avoid Them
Honestly, most beginner errors come down to a few recurring issues. Nicking the wire pairs when stripping the jacket is a big one -- it weakens the conductor and can cause intermittent failures that are hard to diagnose later. Untwisting the pairs too far before inserting into the connector is another. Ethernet relies on those twists to cancel out electromagnetic interference, so keeping them as close to the connector as possible matters, especially with Cat6 and Cat6A. Misaligned wire order is probably the most common issue -- always double-check before you crimp, because once that connector is crimped it cannot be undone. And do not skip the cable tester. It takes thirty seconds and tells you immediately whether the termination is good. Always test.
Key Benefits of Making Your Own Ethernet Cables
The practical advantages stack up quickly once you start doing this regularly. Custom lengths eliminate clutter and cable management headaches. You can use the exact jacket type you need -- plenum-rated for air spaces, outdoor-rated for exterior runs, or standard for most indoor applications. Bulk cable is significantly more cost-effective per foot than pre-made cables when you are doing any real volume. And there is something genuinely satisfying about a clean, purpose-built cable run that fits your specific environment. For IT professionals managing infrastructure, this translates directly into cleaner installations, easier documentation, and fewer cable-related support issues down the line.
Why Monoprice Is the Right Partner for Your Ethernet Cable Builds
When it comes to sourcing bulk cable, RJ45 connectors, and termination tools, quality matters -- and so does value. Monoprice has built a reputation for delivering professional-grade networking supplies without the inflated price tag that often comes with branded alternatives. Their bulk Cat6 and Cat6A cables are built to spec, with consistent performance across the full 100-meter run. The connectors are engineered for clean terminations, and the testing tools are reliable and accurate. Whether you are a network integrator running cable through an enterprise deployment or a home user building a cleaner home network setup, you can find everything you need in one place. Browse the full lineup of professional-grade Ethernet cables and networking supplies at Monoprice to outfit your next build with gear that performs at every level. The value is genuine, the product quality is consistent, and the catalog is deep enough to cover any project from a single custom patch cable to a full structured wiring installation.
Frequently Asked Questions About Making Ethernet Cables
What tools do I need to make my own Ethernet cable?
You need bulk Ethernet cable, RJ45 connectors, a crimping tool, a cable jacket stripper, and a cable tester. Some crimp tools include the stripper and cutter in one unit, which is convenient for beginners.
What is the difference between T568A and T568B wiring standards?
Both are valid wiring standards for Ethernet cables. T568B is the most commonly used in North American commercial installations. T568A is used in some government and international applications. For a straight-through cable, both ends must use the same standard.
Can I use Cat5e connectors with Cat6 cable?
No. Cat6 cable has a larger diameter and often includes a spline separator. You need Cat6-rated RJ45 connectors to ensure proper fit and performance. Using the wrong connector can result in a poor termination or failed connection.
How long can an Ethernet cable be before performance degrades?
The maximum recommended run for most Ethernet standards is 100 meters, or approximately 328 feet. Beyond that, signal attenuation can cause degraded performance or dropped connections. Use a network switch or repeater for longer distances.
What is the difference between shielded and unshielded Ethernet cable?
Unshielded twisted pair cable is standard for most indoor environments. Shielded cable adds a foil or braided layer to protect against electromagnetic interference and is used in environments with heavy electrical equipment or outdoor conduit runs.
Do I need a cable tester after making an Ethernet cable?
Yes, always test after termination. A cable tester verifies continuity on all eight pins and confirms the wire order is correct. It is the fastest way to catch a bad crimp or wiring error before deploying the cable.
What is a pass-through RJ45 connector and should I use one?
A pass-through RJ45 connector allows the wires to extend fully through the front of the connector before crimping. This makes alignment easier and reduces errors. It is especially useful for beginners or when working with thicker Cat6 and Cat6A cables.
What is the difference between a straight-through cable and a crossover cable?
A straight-through cable uses the same wiring standard on both ends and connects different device types -- like a computer to a switch. A crossover cable uses T568A on one end and T568B on the other, connecting two devices of the same type directly. Most modern switches auto-detect and compensate, making crossover cables largely obsolete in standard setups.
Is it cheaper to make Ethernet cables or buy pre-made ones?
For short, standard lengths, pre-made cables are often cost-competitive. For longer runs, custom lengths, or high-volume installations, bulk cable is substantially more cost-effective per foot. The breakeven point is usually somewhere around five to ten cables or any run requiring a non-standard length.
What type of Ethernet cable should I use for outdoor installations?
Use outdoor-rated Ethernet cable with a UV-resistant jacket for any exterior runs. If the cable will be exposed to direct burial conditions, use cable specifically rated for direct burial. Standard indoor cable degrades quickly when exposed to sunlight and moisture.


