

How to Install an Ethernet Wall Jack: Complete Guide
What Is an Ethernet Wall Jack and Why Does It Matter?
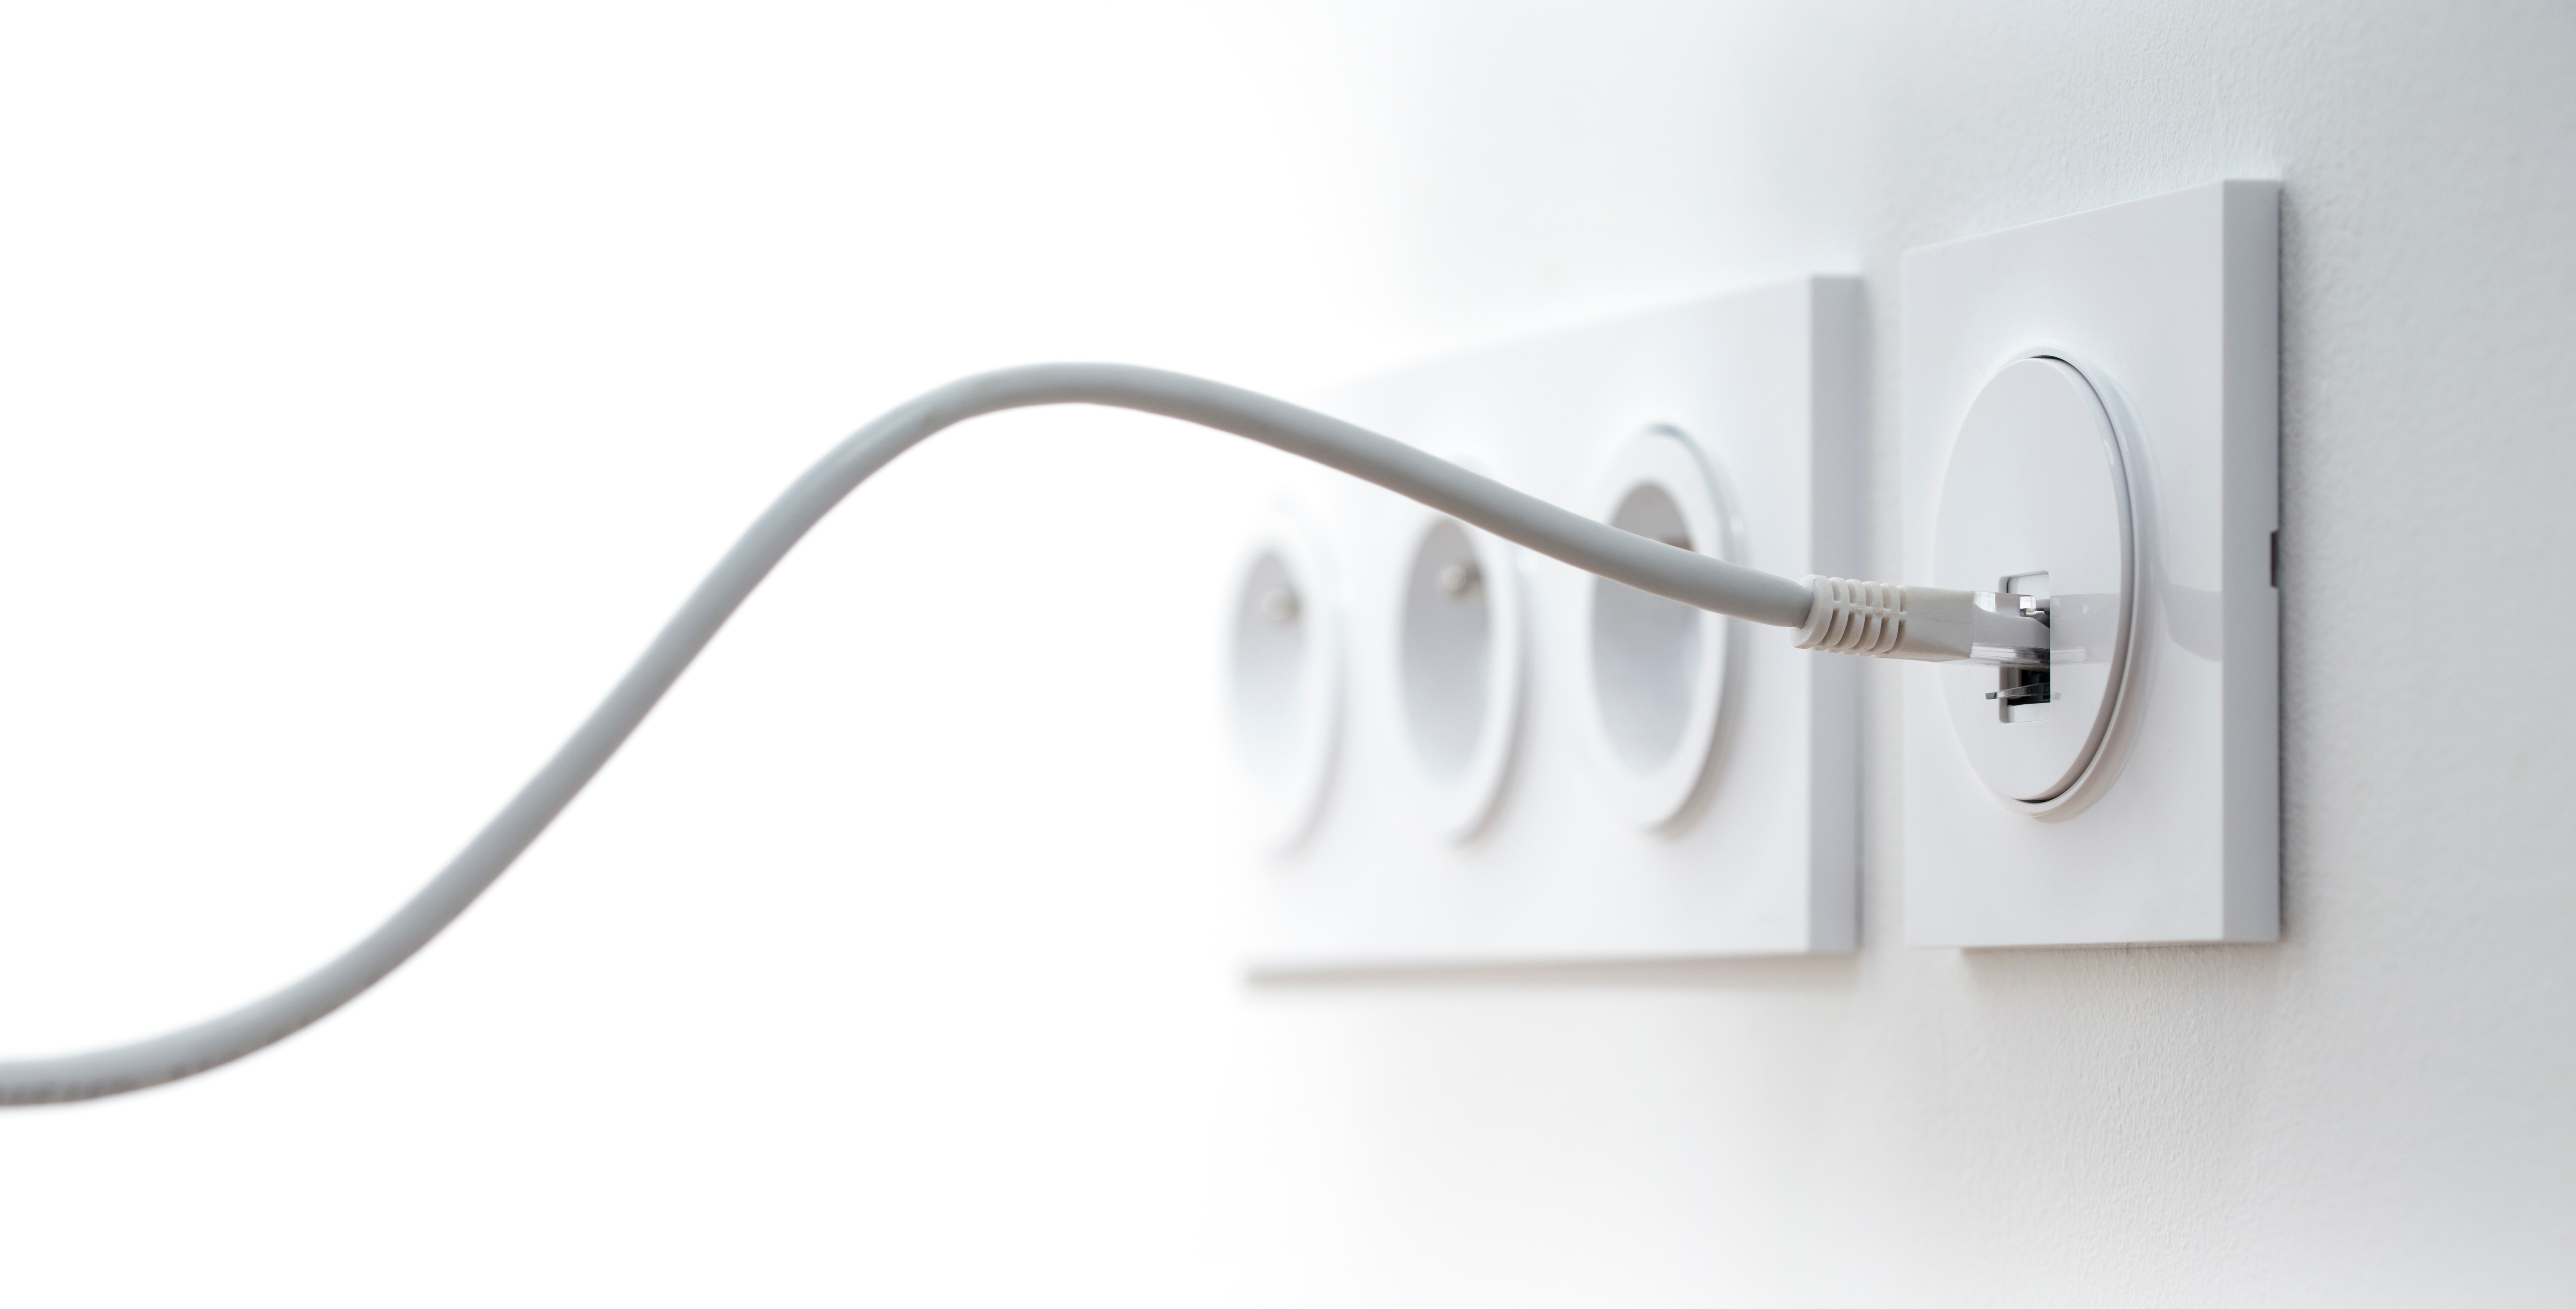
If you have ever looked at that small rectangular port recessed into your wall and wondered what exactly it does or how it got there, you are not alone. An Ethernet wall jack is a fixed network connection point installed directly into your wall, giving you a clean, permanent way to plug devices into a wired network. Unlike a loose cable running across the floor or a Wi-Fi signal bouncing through walls, a wall jack delivers a structured, reliable connection that professionals and serious home users count on every day. It is the kind of infrastructure upgrade that, once you have it, makes you wonder why you waited so long. Wired connections consistently outperform wireless ones in speed, latency, and stability -- and the wall jack is where all of that performance becomes physically accessible.
How an Ethernet Wall Jack Actually Works
The concept is straightforward once you see the full picture. Ethernet cable, typically Cat5e, Cat6, or Cat6A, runs through your walls from a central network switch or router to a keystone jack mounted inside a wall plate. That keystone jack is the actual termination point. Inside it, eight small copper contacts called punchdown terminals accept individual wire pairs from your Ethernet cable, locking them into a specific wiring standard -- either T568A or T568B. The wall plate then snaps into a standard electrical box mounted in the wall, and the front-facing port accepts any standard RJ45 patch cable. So essentially, you are completing a continuous copper path from your network equipment to whatever device you are connecting. It is clean, it is permanent, and it works every time you plug something in.
Tools and Materials You Will Need Before You Start
Getting the installation right starts with having the right gear on hand. Cutting corners here leads to headaches later, so it is worth being thorough upfront.
- Ethernet cable, Cat6 is a solid choice for most installs
- Keystone jack compatible with your cable category
- Wall plate with the appropriate number of ports
- Low-voltage mounting bracket or electrical box
- Punchdown tool for terminating wires to the keystone
- Cable stripper and wire cutters
- Fish tape or wire fishing rods for routing through walls
- Drywall saw or hole saw for new installations
- Label maker or tape to mark cable runs
The punchdown tool is arguably the most important specialty item here. It seats each wire conductor firmly into the keystone terminals and trims the excess simultaneously. Trying to do this without the right tool almost always results in poor connections and intermittent network issues that are frustrating to diagnose after the walls are closed up.
Step-by-Step: Installing an Ethernet Wall Jack
Start by planning your cable route from the network source to the desired jack location. Cut the wall opening using a low-voltage mounting bracket as your guide. Route your Ethernet cable through the wall using fish tape -- this part takes patience, especially in finished walls with insulation. Pull enough cable through the opening to have comfortable working slack, typically around twelve inches. Strip back the outer jacket of the cable about an inch, then carefully untwist each wire pair without nicking the conductors. Following your chosen wiring standard, use the punchdown tool to seat each wire into its corresponding terminal on the keystone jack. Snap the keystone into the wall plate, secure the mounting bracket, and attach the plate to the wall. At the other end of the run, terminate your cable at the patch panel or router using the same wiring standard. Test the connection with a cable tester before closing anything up. That final test step saves a lot of frustration.
Key Advantages of Wired Ethernet Wall Jacks Over Wi-Fi
There is a reason professional installers and IT departments default to wired infrastructure wherever possible. Wireless networks are convenient but genuinely cannot match what a direct copper connection delivers in real-world conditions. A properly installed Cat6 wall jack supports up to 10 Gbps over shorter distances and 1 Gbps reliably across a full 328-foot run. There is no signal interference from neighboring networks, no dropped connections during video calls, and no performance degradation when multiple devices are active simultaneously. For gaming setups, home offices, streaming servers, smart TVs, and security cameras, a wired jack is simply the better long-term answer. It also eliminates the security exposure that comes with wireless transmission. Wired is faster, more stable, and more secure -- and with a clean wall jack, it looks professional too.
Common Mistakes and Drawbacks to Know About
No installation process is without its pitfalls, and Ethernet wall jack installations have a few worth flagging early. Mixing wiring standards between two ends of the same cable run is one of the most common errors. If one end is punched down to T568A and the other to T568B, you end up with a crossover cable configuration that will not work as expected for standard device connections. Another frequent issue is sharp bends in the cable run, which can damage the internal pairs and degrade performance. Cat6 cable in particular has a minimum bend radius that needs to be respected. Fishing cable through finished walls in older homes can also be unexpectedly difficult due to fire blocking and insulation. And finally, using mismatched cable categories -- say, running Cat5e to a keystone rated for Cat6A -- limits the potential of your installation. The effort is worth it, but go in with realistic expectations about time and complexity.
Choosing the Right Cable Category for Your Wall Jack Installation
This decision matters more than most people realize upfront. Cat5e is the baseline and handles 1 Gbps reliably, which covers most home and small office needs. Cat6 improves on that with better crosstalk rejection and supports 10 Gbps over shorter runs -- a smart choice for most new installations today. Cat6A is the premium option, supporting full 10 Gbps performance over the entire 328-foot maximum distance with enhanced shielding options. If you are building out a new home network or upgrading an office, Cat6 hits the right balance of performance and cost. If you are doing a full structured wiring installation for a commercial space or a future-proofed home, Cat6A is the responsible choice. The cable you run through your walls today is the infrastructure you will be living with for the next decade or more, so choosing a category that leaves room to grow is always the smarter move.
When to Call a Professional vs. DIY
For a single room with accessible walls and a simple cable run, most technically inclined homeowners can handle this themselves with the right tools and a solid walkthrough. Where things get complicated is multi-story runs, installations in finished walls with complex framing, or any situation involving your electrical panel or conduit work. Commercial installations almost always warrant a licensed low-voltage contractor who understands building codes, structured wiring standards, and proper documentation of cable runs. Even for DIY installs, it is worth having a cable tester on hand to verify every run before finalizing the installation. A failed connection hidden behind a wall plate is not a fun problem to solve after the fact. Know your limits, plan carefully, and when in doubt, bring in someone who does this daily.
Why Monoprice Is the Right Source for Your Ethernet Wall Jack Setup
When it comes to building out a reliable, high-performance wired network, the components you choose define the results you get. Monoprice has spent years establishing itself as a trusted source for professional-grade networking infrastructure -- from bulk Ethernet cable to keystone jacks, wall plates, patch panels, and everything in between. The product lineup is built around real performance standards, not inflated specs, and the pricing reflects genuine value rather than markup for a brand name. Whether you are wiring a single room or running structured cabling through an entire building, the depth of what Monoprice carries means you can source everything from a single, reliable supplier. Explore the full range of professional Ethernet wall jacks and networking installation supplies and see why IT professionals, integrators, and smart home builders keep coming back. This is infrastructure you can count on, at a price point that makes the upgrade an easy decision.
Frequently Asked Questions About Installing Ethernet Wall Jacks
What is the difference between a keystone jack and an Ethernet wall jack?
A keystone jack is the modular termination component that accepts and terminates individual Ethernet cable conductors. An Ethernet wall jack typically refers to the complete assembly, including the keystone jack, the wall plate, and the mounting hardware that together form the finished wall port you plug into.
Do I need a special tool to install an Ethernet wall jack?
Yes, a punchdown tool is essential. It properly seats each wire conductor into the keystone jack terminals and trims excess wire simultaneously. Without it, terminations are likely to be unreliable and can cause intermittent connectivity issues.
What wiring standard should I use, T568A or T568B?
T568B is the more common standard in North American commercial and residential installations. The most important rule is consistency -- both ends of the same cable run must use the same wiring standard to function as a straight-through cable.
Can I run Ethernet cable through the same wall cavity as electrical wiring?
You should avoid running Ethernet cable parallel and in direct contact with electrical cables, as this can introduce interference. If they must cross, do so at a 90-degree angle. Always follow local building codes regarding low-voltage wiring installation.
How long can an Ethernet cable run be before performance degrades?
The maximum recommended run length for Cat5e, Cat6, and Cat6A is 328 feet or 100 meters. Beyond that distance, signal degradation becomes significant enough to cause connection issues and speed loss.
Is Cat6 worth the upgrade over Cat5e for a home installation?
In most cases, yes. Cat6 offers better noise rejection and supports 10 Gbps over shorter distances, which gives you more headroom as network speeds improve. Given that the cable you install today stays in your walls for years, the modest cost difference is worth it.
Do I need a patch panel, or can I run cable directly to my router?
For small installations with just a few drops, running directly to a switch or router is acceptable. For larger setups with many cable runs, a patch panel centralizes all terminations in one location, making management, troubleshooting, and future changes significantly easier.
How do I test an Ethernet wall jack after installation?
Use a cable tester that verifies continuity across all eight conductors and confirms correct pin mapping. Basic testers are affordable and confirm that your terminations are correct before you secure everything behind the wall plate.
Can I install an Ethernet wall jack in a finished wall without major damage?
Yes, though it requires patience and proper tools. A low-voltage mounting bracket eliminates the need for an electrical box, and a combination of fish tape and wire fishing rods allows cable routing with minimal drywall intrusion. It is doable but more time-consuming than a new construction install.
What is the best Ethernet cable category for a future-proof home network installation?
Cat6A is the most future-proof option currently available for in-wall residential installations. It supports 10 Gbps over the full 328-foot distance and is designed to handle the bandwidth demands of emerging technologies without requiring the walls to be opened again for an upgrade.


