

PC Wire Management Guide: Clean Builds That Perform
Why PC Wire Management Actually Matters More Than You Think
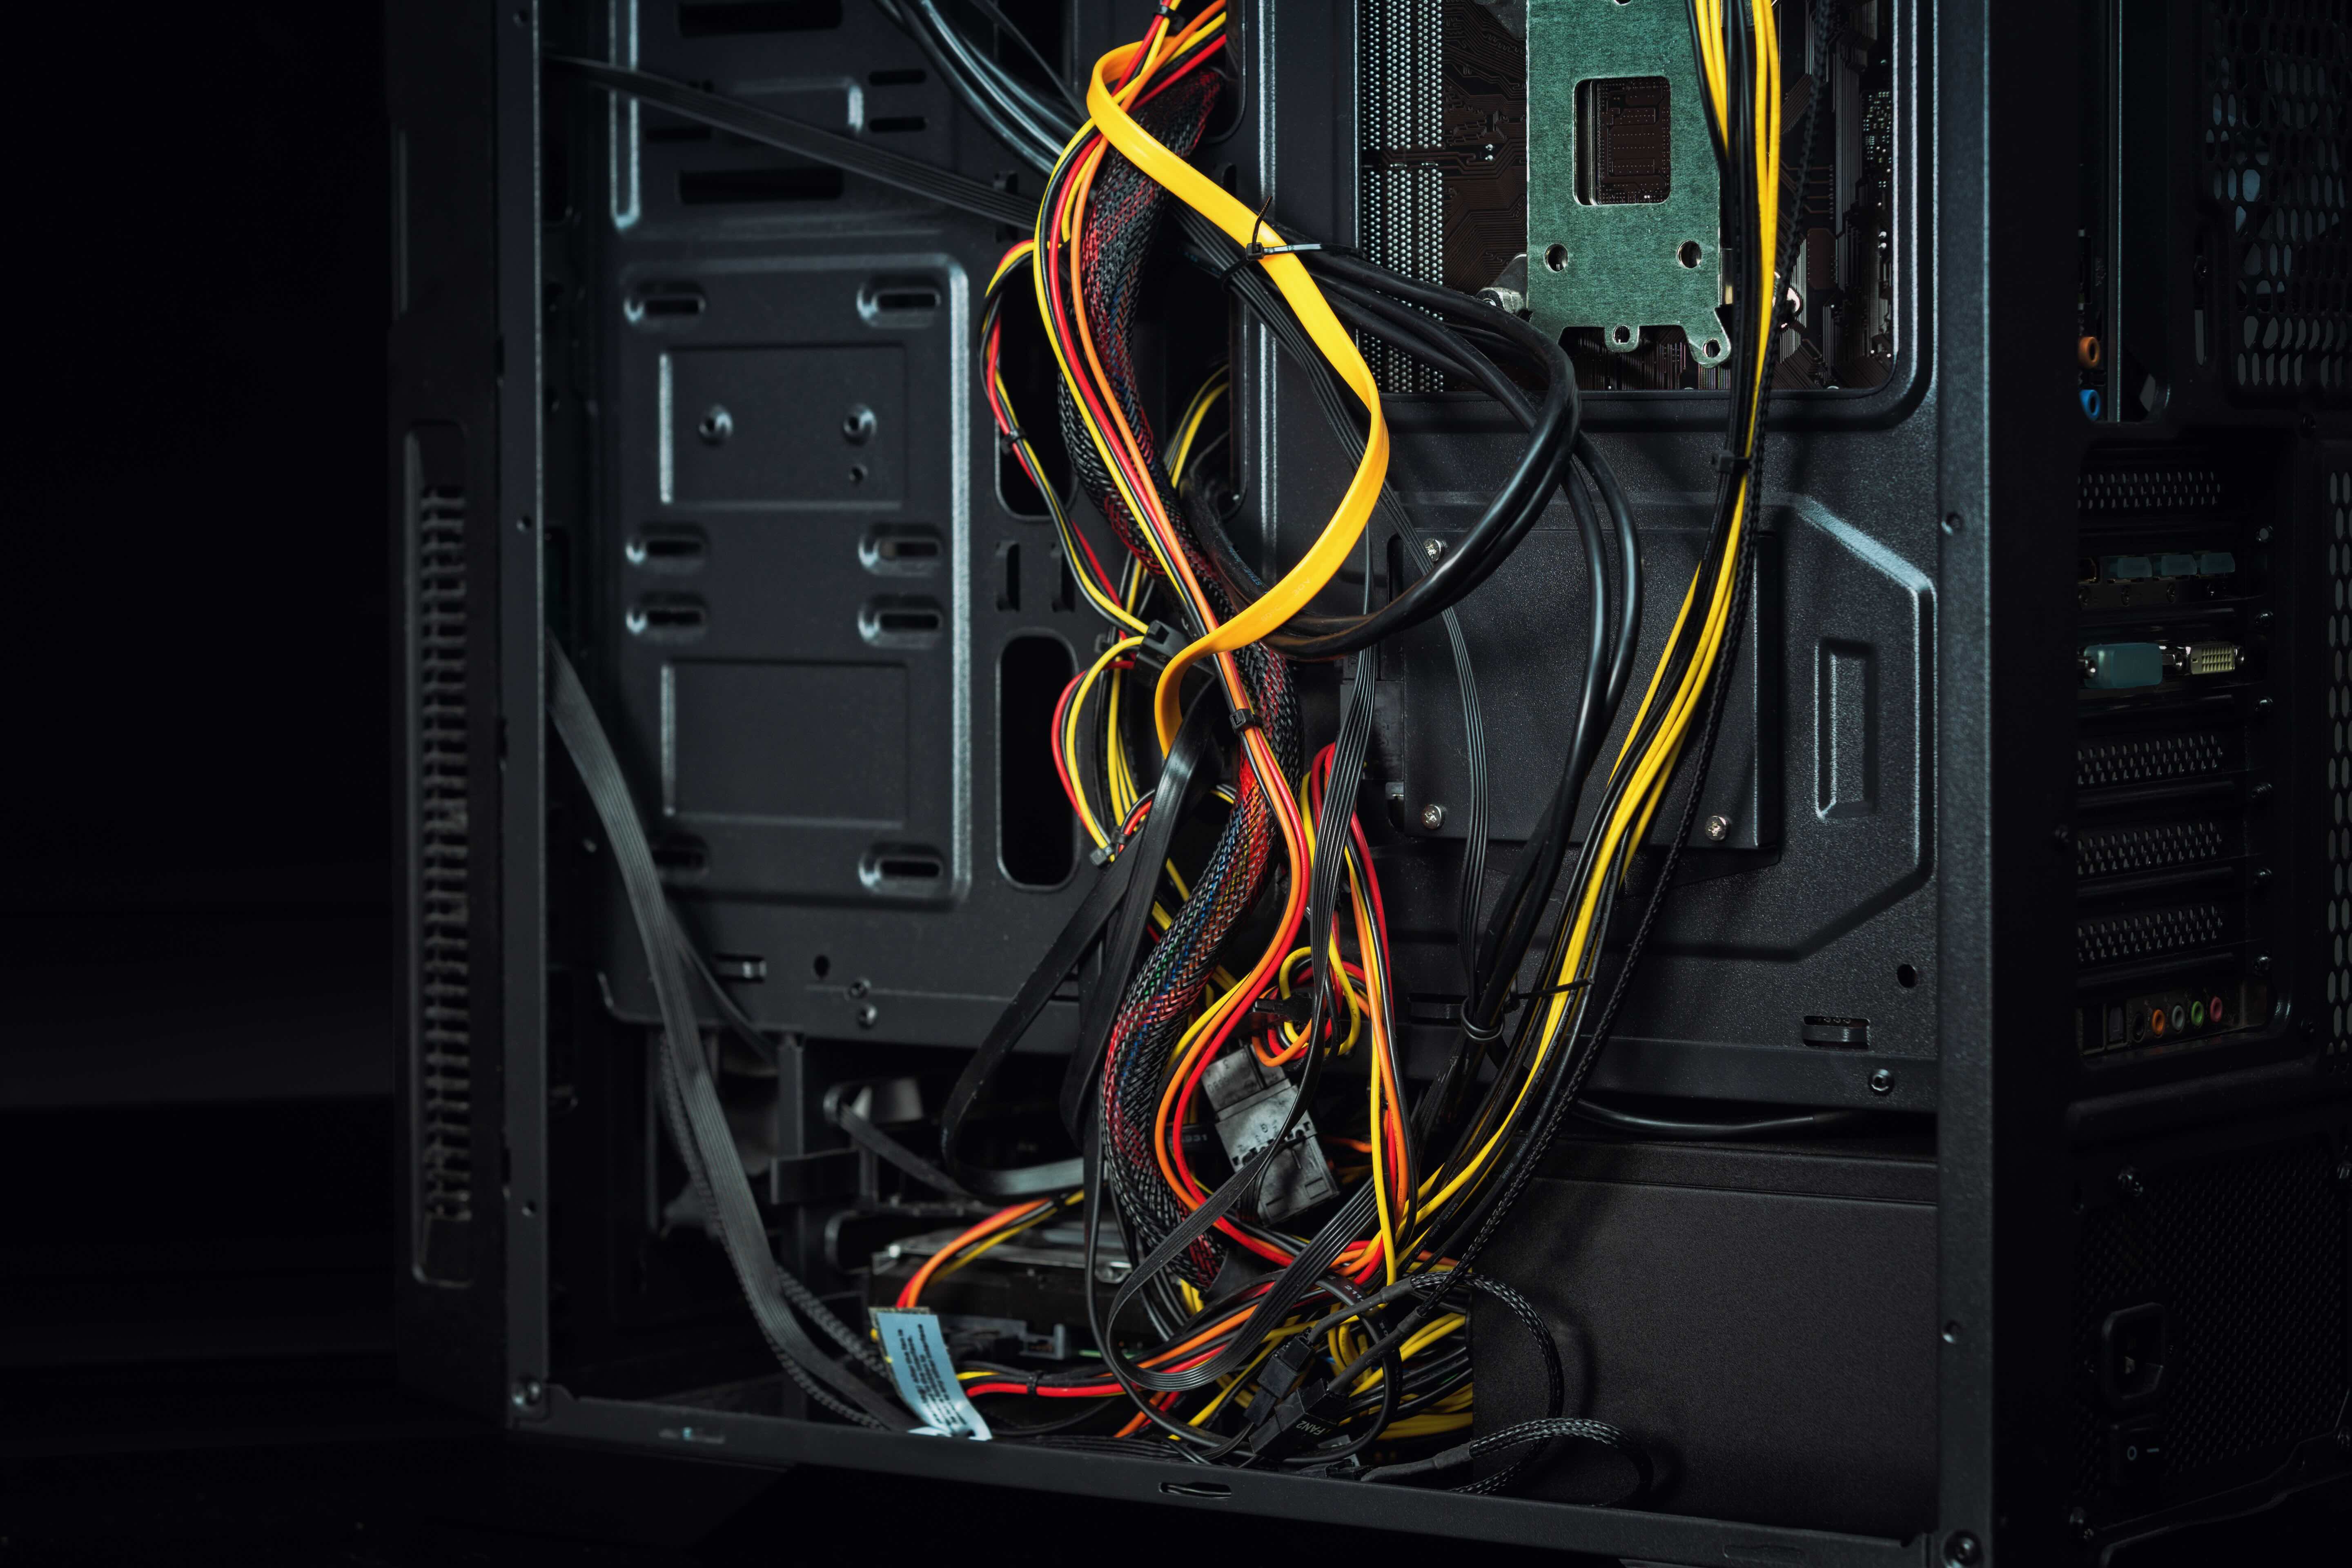
Look, wire management inside a PC case is one of those things people either obsess over or completely ignore until the moment they need to troubleshoot something at 11pm and suddenly cannot find anything. It is easy to dismiss cable routing as purely aesthetic, a hobby for enthusiasts with too much time and too many zip ties. But the reality is that how you route and secure your cables has real, measurable consequences for airflow, thermal performance, build quality over time, and even your own sanity during upgrades. A well-managed build is a build you can actually work on again. This guide breaks down what PC wire management is, how it works, the tools involved, and whether the time investment actually pays off for the average builder.
What Is PC Wire Management and What Does It Actually Involve
PC wire management refers to the practice of routing, organizing, and securing all internal cables within a computer case in a deliberate, structured way. That includes power supply cables, SATA data and power lines, front panel connectors, fan headers, RGB wiring, and anything else running between components. The goal is not just visual tidiness, though that is certainly part of it for many builders. The deeper purpose is to keep cables out of airflow paths, reduce clutter that can obscure components during diagnostics, prevent accidental disconnections during transport or upgrades, and create a build that can be revisited months or years later without requiring a full teardown to understand what is connected to what. Modern cases support this with dedicated routing channels, grommeted cutouts, Velcro anchor points, and rear compartments specifically designed to hide cable bulk behind the motherboard tray.
The Tools and Materials You Will Need Before You Start
Before you start rerouting cables, it helps to have the right materials on hand. Improvising with whatever is nearby tends to produce inconsistent results and loose connections. Here is what most builders use regularly:
- Velcro cable ties or reusable hook-and-loop straps
- Standard zip ties in various sizes
- Cable combs for grouped GPU or CPU power cables
- Adhesive cable anchors or mounts for case walls
- Cable extension kits if stock PSU cables are too short
- A flat-head screwdriver or cable-pulling tool for routing through tight grommets
- A modular power supply, which significantly reduces the number of cables you need to manage in the first place
The modular PSU point is worth pausing on. If you are planning a clean build and your current power supply is non-modular, you are working at a disadvantage from the start. Modular and semi-modular units let you connect only the cables you actually need, which immediately reduces volume and complexity inside the case. That single upgrade does more for wire management than almost any other tool or accessory.
Airflow Is the Real Reason to Care About Cable Routing
Here is the thing that gets overlooked in most cable management discussions. This is not primarily about looks. Cables that sit in the direct path between intake fans at the front of the case and exhaust points at the rear or top create resistance against airflow. Airflow is how heat leaves your system. When cables are bundled carelessly across the main chamber, they act as baffles. Your CPU cooler and GPU fans are working harder to pull fresh air through a path that has been partially obstructed. Depending on the density of the cable mess, you might see CPU temperatures run two to five degrees warmer than they would in a well-managed build under sustained load. That might not sound significant, but it adds up during long gaming sessions, rendering tasks, or any workload that keeps components at high utilization for extended periods.
Step-by-Step Approach to Routing Cables Effectively
The most efficient approach is to route cables before components are installed, not after. Start with the power supply mounted and run the 24-pin ATX cable and the CPU EPS connector first, since these are the thickest and most rigid. Use the rear compartment behind the motherboard tray to hide their bulk, running them through the appropriate cutouts and bringing them out close to where they terminate. Next, route SATA power and data cables along the edges of the case, pinned close to the walls and away from the main airflow channel. GPU power cables benefit from cable combs, which align individual wires into flat, parallel rows that look far cleaner and also reduce bunching. Finally, deal with fan headers, front panel headers, and any RGB connections by grouping them along natural channels in the case frame and securing them with Velcro ties at regular intervals. Revisit the rear compartment last to compress and anchor anything that is loose before the panel goes back on.
Common Mistakes That Undermine the Whole Effort
Even experienced builders repeat certain mistakes. Using too many zip ties and cutting them at angles leaves sharp plastic edges inside the case that can eventually wear against cable insulation. Routing cables across the front intake area is one of the most common airflow mistakes. Relying on tension alone to hold cables in place rather than anchoring them means they shift during transport. And purchasing cables that are too long without accounting for the routing path results in excess slack that has to be stuffed somewhere out of sight, usually behind the motherboard tray where it makes future work harder. Plan your cable lengths based on your actual case dimensions, not generic estimates.
The Advantages of Taking Wire Management Seriously
When done properly, the benefits of clean cable management extend well beyond visual appeal. Cooler operating temperatures from unobstructed airflow translate directly into component longevity and sustained performance. Troubleshooting is faster because you can trace individual cables without digging through a tangled mass. Upgrades become a straightforward process rather than a full rebuild. And for anyone who photographs or shares their build, the visual impact is obvious. There is also something to be said for the confidence that comes from knowing every connection is deliberate, secured, and intentional. It reflects the same mindset that drives good engineering in any discipline.
Drawbacks and Honest Trade-Offs to Consider
Wire management takes time. A thorough cable routing job on a mid-tower build with a full component set can take anywhere from one to three hours, depending on experience and case design. Certain cases make the job significantly harder due to limited routing channels, shallow rear compartments, or grommets positioned in awkward locations relative to where cables actually need to go. Stock PSU cables from budget units are often thick, stiff, and difficult to bend cleanly into tight spaces. And if you later add components, you may need to undo a significant portion of your routing to add a new SATA drive or reconfigure power connections. The investment is real, but for most builders it pays off within the first upgrade cycle.
Why Monoprice Is Worth Considering for Your PC Build and Cable Needs
When you are putting serious effort into a clean, well-managed PC build, the quality and reliability of the cables and accessories you use matters. Monoprice has built a well-earned reputation for delivering high-performance cables, connectors, and accessories that perform at or above expectations without demanding premium prices. From SATA cables to cable management accessories and networking components, the product range covers the practical needs of builders at every level. If you are spec-ing out a full build or stocking up on cable organization supplies for a workstation refresh, shop high-quality PC cables and wire management accessories at Monoprice and see what value-driven, performance-focused sourcing actually looks like. The confidence behind every Monoprice product comes from years of delivering real performance to both home builders and professional integrators who cannot afford to compromise on reliability.
Frequently Asked Questions About PC Wire Management
Does cable management actually improve PC performance?
Yes. Clean cable routing improves airflow inside the case, which allows cooling components to operate more efficiently. This can reduce CPU and GPU temperatures by a measurable margin under sustained load, which supports more consistent performance over time.
What is the best way to start cable management in an existing build?
Power down and fully unplug the system, then remove all cables and reroute them one group at a time starting with the largest connectors. Use Velcro ties to secure cables along the case frame and rear compartment before reinstalling panels.
Is a modular power supply necessary for clean cable management?
It is not strictly required, but a modular or semi-modular PSU makes a significant difference. It allows you to use only the cables your build actually needs, reducing bulk and simplifying routing through rear compartments.
What is the difference between Velcro ties and zip ties for cable management?
Velcro ties are reusable and adjustable, making them better for builds you expect to modify. Zip ties create a more permanent, firm hold but must be cut and replaced each time you need to adjust cable routing.
Can poor cable management cause hardware damage?
In extreme cases, yes. Cables resting against heatsinks or fan blades can cause damage over time. Poor routing can also lead to accidental disconnections during transport, which can interrupt power delivery or data signals at inopportune times.
How do cable combs work and are they worth using?
Cable combs slide between individual wires in sleeved cable bundles, holding them parallel and evenly spaced. They are particularly popular for GPU and CPU power cables and create a flat, ribbon-like appearance. They are worth using if visual presentation matters to you.
Does the case design affect how easy cable management is?
Significantly. Cases with deep rear compartments, multiple grommet cutouts, built-in Velcro anchor points, and ample PSU shroud coverage make management far easier. Budget cases with shallow rear clearance and minimal cutouts create real limitations regardless of skill level.
How long does it take to properly manage cables in a mid-tower build?
For an experienced builder with a well-designed case and modular PSU, one to two hours is typical. First-time builders working with a non-modular unit and a cramped case may need three hours or more.
Should I use cable extensions for a cleaner look?
Cable extensions can improve aesthetics and make routing easier when stock cables are too short for a specific path. However, they add one more connection point, so use quality extensions from reputable sources to avoid any risk of poor contact.
Does cable management help with dust buildup inside the case?
Indirectly, yes. Improved airflow from clean routing means air moves through the case more predictably, which helps dust filters work more effectively. Fewer obstruction points also mean dust is less likely to accumulate in stagnant air pockets within the case interior.


