

Patch Panel Guide: Optimize Ethernet Setup with Confidence
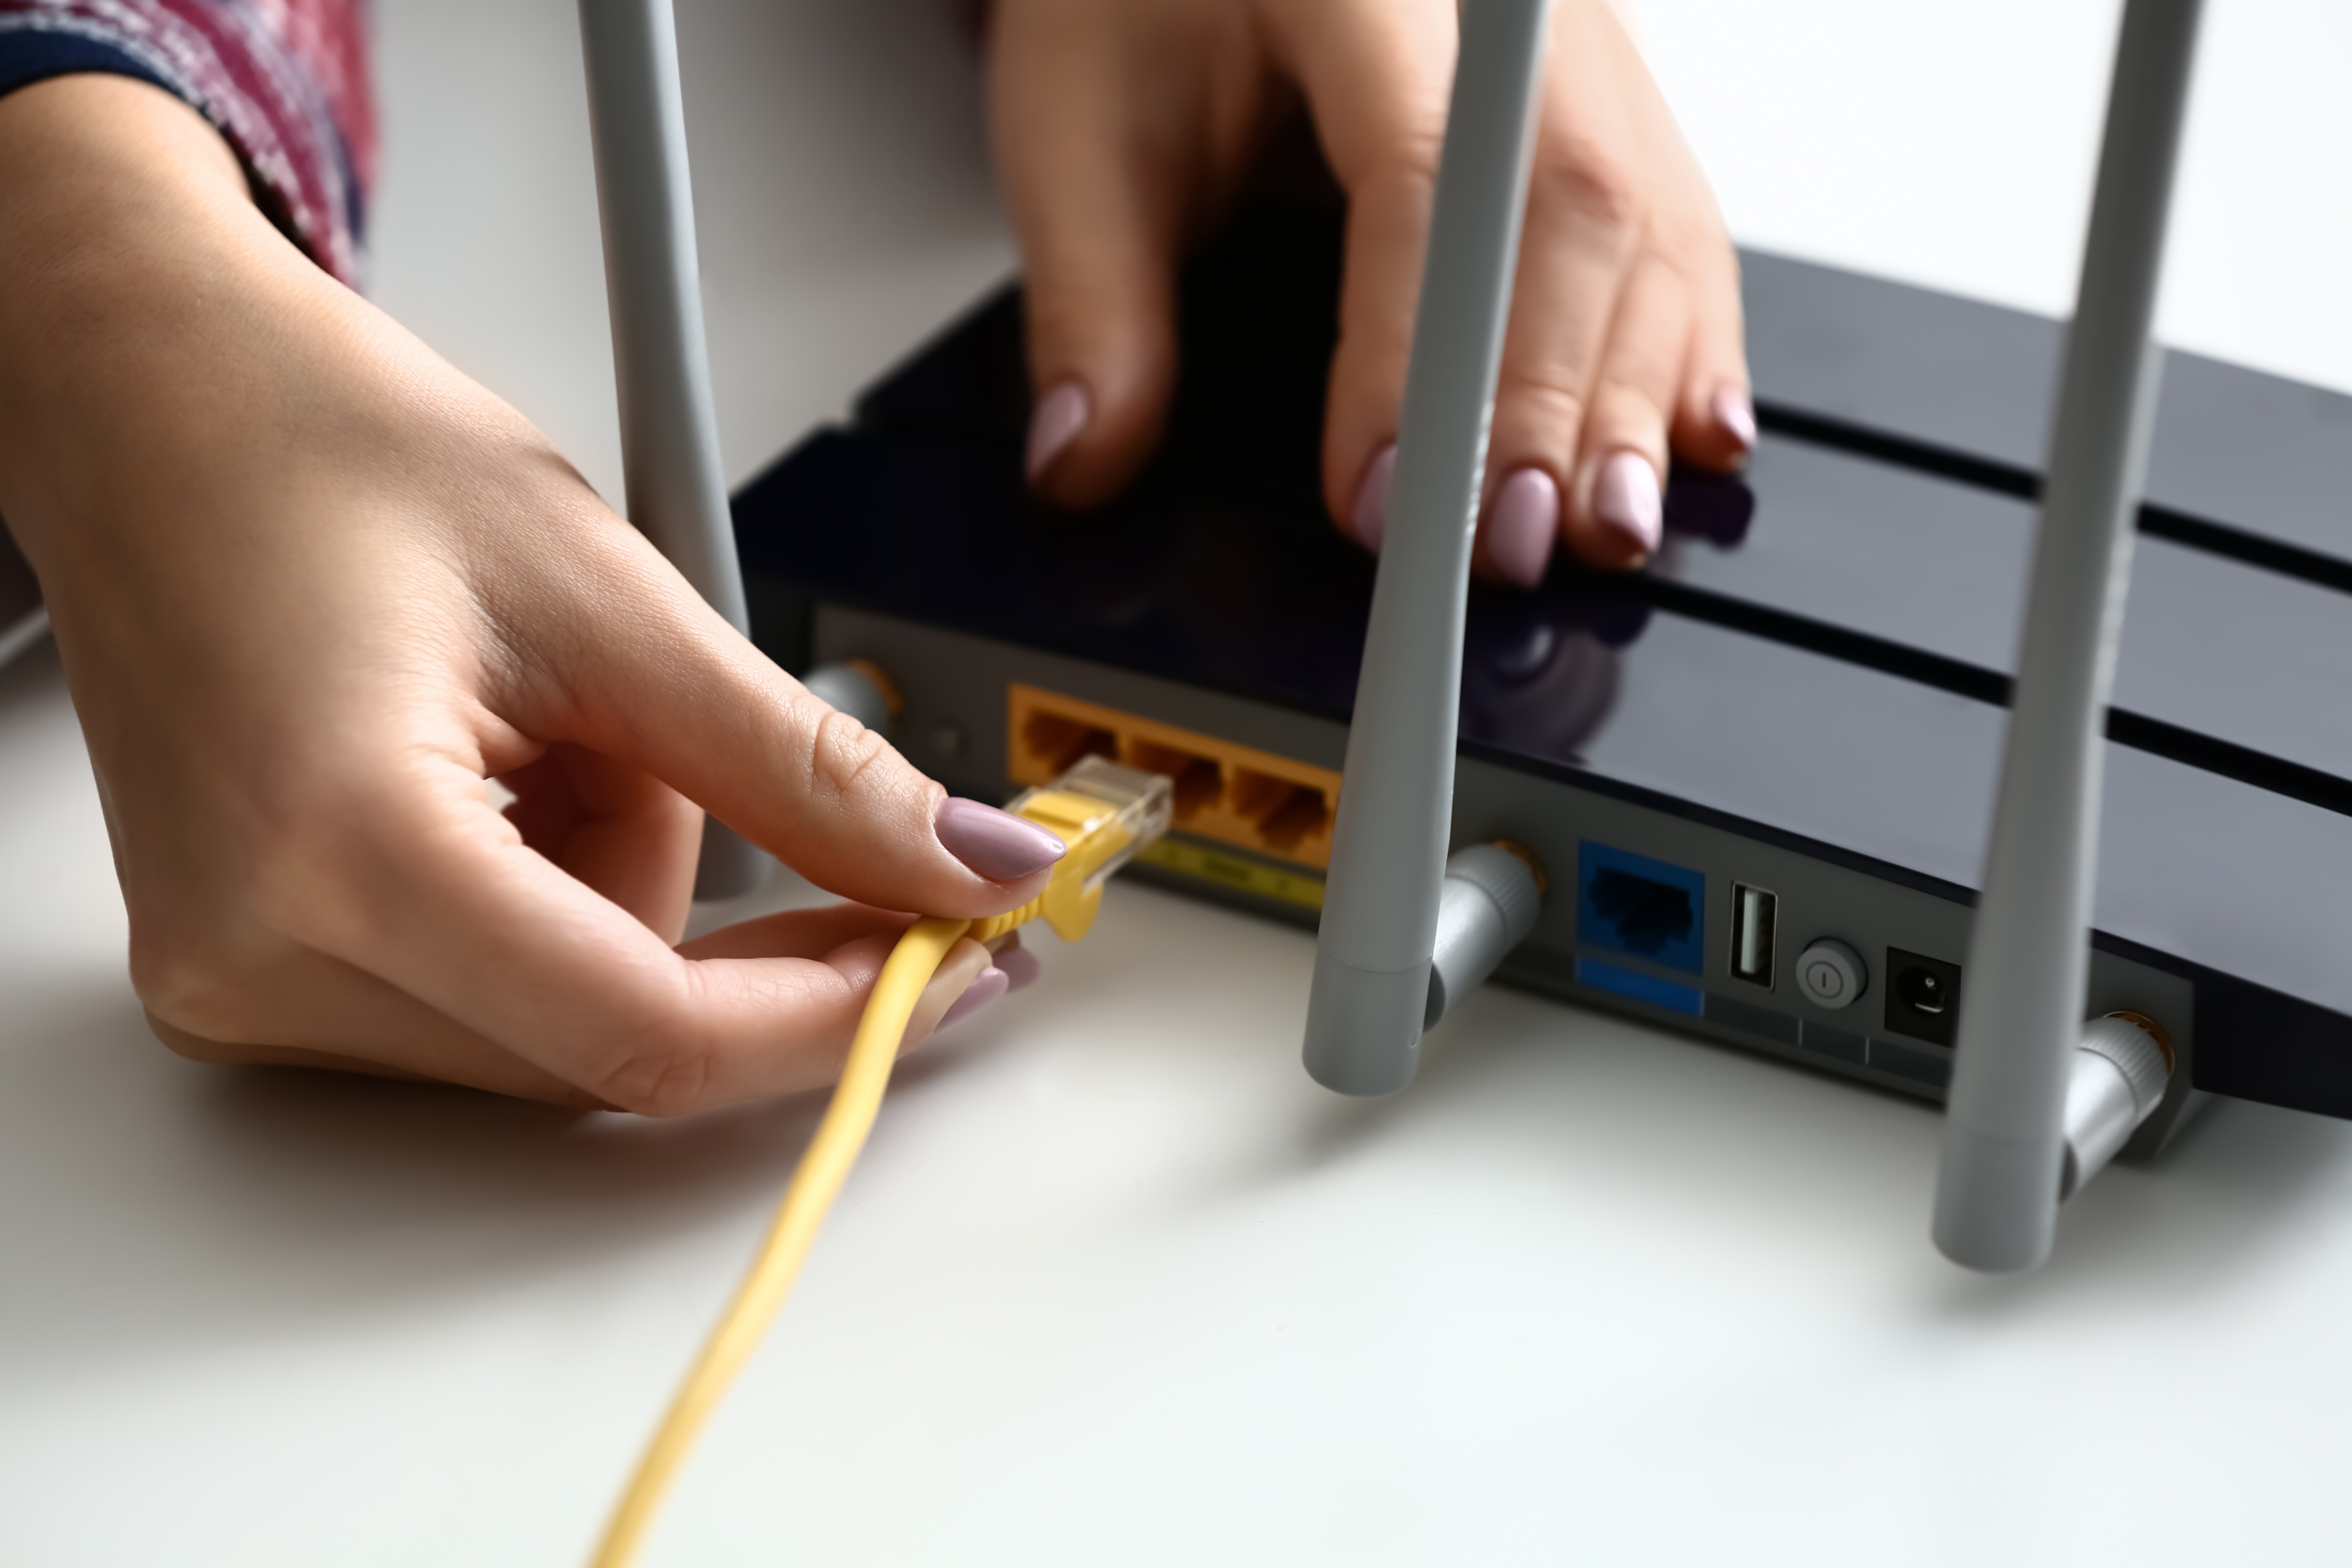
Patch Panel Installation Guide: Optimize Your Ethernet Setup with Confidence
If you have ever stared at a tangled mess of Ethernet cables behind a rack or server cabinet and thought, there has to be a better way — you are not wrong. Patch panels exist precisely to solve that problem. They bring order, scalability, and long-term performance to what can otherwise become a chaotic network infrastructure. Whether you are setting up a home lab, wiring a small office, or managing a full enterprise deployment, understanding how patch panels work is one of the smarter investments you can make in your networking knowledge. This guide walks through the fundamentals, the setup process, practical tips, and where Monoprice solutions fit into the picture.
What Is a Patch Panel and Why Does It Matter
A patch panel is essentially a mounted hardware assembly that contains multiple port connections — typically RJ45 jacks — used to manage and organize incoming and outgoing Ethernet cables in a structured cabling system. Think of it as the central hub or termination point for all the cable runs throughout a building or room. Instead of connecting devices directly to a switch or router with long, disorganized cable runs, all those lines terminate at the patch panel first. Short patch cables then connect those ports to the switch. This creates a clean, manageable, and easy-to-reconfigure network layout. It sounds almost too simple, but the impact on daily maintenance and troubleshooting is significant.
How a Patch Panel Works in a Structured Cabling System
The mechanics are pretty straightforward once you see it laid out. Ethernet cables — typically Cat5e, Cat6, or Cat6A — run from wall outlets, ceiling drops, or floor conduits back to a central location, usually a server room or wiring closet. Each cable is punched down to the rear of the patch panel using a punch-down tool, connecting the individual wires to the appropriate terminals following either T568A or T568B wiring standards. The front of the panel presents clean, labeled RJ45 ports. From there, short patch cables connect each port to corresponding ports on a network switch. Traffic flows from the end device, through the wall cable, through the patch panel, and then to the switch. Clean, fast, and organized.
Key Benefits of Using a Patch Panel in Your Network Setup
There are several real, practical advantages that make patch panels worth the effort and cost. These are not just theoretical — they show up every single time you need to make a change or diagnose a fault.
- Simplified cable management and reduced clutter behind racks
- Easier moves, adds, and changes without disturbing permanent cable runs
- Faster troubleshooting by isolating issues at a single termination point
- Extended lifespan of permanent cabling by reducing wear from frequent connects and disconnects
- Improved labeling and documentation of network ports
- Scalability that allows infrastructure to grow without major rewiring
That last one is often overlooked. When your network needs to expand — more users, more devices, more rooms — a patch panel setup means you are adding capacity at the panel, not pulling entirely new runs to a switch. That saves time and money at scale.
Common Drawbacks to Know Before You Start
To be fair, patch panel installations are not without challenges. The upfront time investment is real. Properly punching down cables, labeling every port, and organizing cable management takes patience and attention to detail. Mistakes in wiring — crossing pairs, punching to the wrong terminal, or using inconsistent wiring standards — can cause intermittent connectivity or complete link failure. There is also the matter of cost. For a small home setup with just a handful of cables, a patch panel might feel like overkill. And if you are not careful about cable length budgets, adding a patch panel introduces additional segments that can push you toward signal degradation thresholds on longer runs. None of these are dealbreakers, just things to plan for.
Choosing the Right Patch Panel for Your Application
Not all patch panels are created equal, and picking the right one matters. The most common types are keystone patch panels, which accept individual keystone jacks, and pre-wired punch-down panels, which come with integrated IDC terminals on the rear. Keystone panels offer more flexibility for mixed-media setups — you can populate ports with different jack types as needed. Punch-down panels are faster to terminate if you are running all Ethernet. Port count is another consideration. Standard options range from 12-port and 24-port configurations up to 48-port and beyond for larger deployments. Category rating matters too — Cat6 and Cat6A panels are the practical choices for new installations, supporting Gigabit and 10-Gigabit Ethernet respectively. Match the panel rating to your cable rating for consistent performance across the entire channel.
Step-by-Step Overview of Patch Panel Installation
Getting a patch panel installed correctly does not require a professional certification, but it does require patience and the right tools. Start by planning your cable layout and labeling each run before you touch the panel. Mount the panel in your rack or enclosure, leaving room above and below for cable management. Trim and prepare each cable end — strip back about two inches of the outer jacket without nicking the pairs inside. Separate the pairs, untwist minimally, and seat each wire into the appropriate terminal using your wiring diagram as reference. Use a punch-down tool to seat and trim each conductor in one clean motion. Once all ports are terminated, use a cable tester to verify continuity and correct pair mapping before patching to the switch. Label every port on both the panel and the corresponding wall outlet. That documentation step pays dividends the first time something goes wrong.
Tips for a Fast, Reliable Ethernet Installation
A few habits separate a clean professional install from one that causes problems later. Maintain pair twist as close to the terminal as possible — untwisting too much introduces crosstalk that degrades performance, especially at higher frequencies. Use a quality punch-down tool with the correct blade for IDC-style terminals. Avoid over-bending cables around tight corners; the minimum bend radius for Cat6 is typically four times the cable diameter. Consistent labeling from day one prevents confusion when you are troubleshooting six months later. And always test end-to-end with a proper cable tester — continuity alone is not enough; verify wiremap, length, and attenuation if your tester supports it.
Patch Panel vs. Direct Connection: When Each Makes Sense
Direct connections — running a cable straight from a device to a switch port — are perfectly valid in small, simple environments. A single home office with three or four devices might not need the added structure of a patch panel. But once your network grows past a handful of connections, or once you start thinking about long-term management and future-proofing, the math shifts in favor of structured cabling with a panel. Businesses, multi-room home networks, rental properties with in-wall wiring, and any setup where physical changes will happen regularly all benefit from the patch panel approach. The upfront investment of time and hardware pays back quickly in reduced downtime and easier administration.
Why Monoprice Is the Smart Choice for Your Patch Panel Installation
When it comes to sourcing patch panels, patch cables, Cat6 bulk cable, and every accessory in between, Monoprice delivers the performance-to-value ratio that IT professionals and serious home networkers have come to rely on. The product lineup covers 12-port through 48-port panels, Cat5e through Cat6A ratings, and both keystone and punch-down configurations — so you are not forced into a compromise. Build quality is consistent, testing standards are applied across categories, and pricing stays accessible without cutting corners on materials or specifications. For anyone building or upgrading a structured cabling system, Monoprice patch panels and Ethernet networking solutions offer a reliable foundation that scales with your infrastructure needs. That combination of breadth, quality, and value is exactly what a thoughtful installation deserves.
Frequently Asked Questions About Patch Panel Installation
What is the purpose of a patch panel in a network?
A patch panel serves as the central termination point for all structured cabling runs in a network. It organizes incoming Ethernet cables from throughout a building and presents them as clean, labeled ports on the front of the panel. Short patch cables then connect those ports to network switches, keeping infrastructure tidy and easy to manage.
Do I need a patch panel for a home network?
Not always. Small home networks with only a few directly connected devices can function without one. However, if your home has in-wall Ethernet runs, a home lab, or multiple rooms wired for connectivity, a patch panel significantly improves organization, troubleshooting, and long-term flexibility.
What is the difference between Cat6 and Cat6A patch panels?
Cat6 patch panels support up to 1 Gigabit Ethernet at 100 meters and 10 Gigabit at shorter distances. Cat6A panels support 10 Gigabit Ethernet across the full 100-meter channel. For new installations where future-proofing matters, Cat6A is the better investment even if your current switch does not yet support 10G speeds.
What tools do I need to install a patch panel?
You will need a punch-down tool with the appropriate 110-style blade, a cable stripper, a cable tester, a label maker or marker, and a screwdriver for rack mounting. A tone generator and probe can be helpful for tracing unlabeled cable runs before termination.
What wiring standard should I use — T568A or T568B?
Either standard works for straight-through connections, but T568B is the more commonly used standard in commercial and residential installations in North America. The critical rule is consistency — use the same standard at both ends of every cable run to avoid wiring faults.
How many ports do I need on my patch panel?
Plan for current needs plus anticipated growth. A 24-port panel is a practical choice for most small to mid-sized deployments. If you already have 20 cable runs, choose a 48-port panel rather than filling a 24-port panel completely, which leaves no room for future additions without adding hardware.
Can I install a patch panel without a rack enclosure?
Yes. While patch panels are designed to mount in standard 19-inch rack enclosures, wall-mount rack enclosures are available for smaller installations where a full server rack is unnecessary. These are common in closets, utility rooms, and small office environments.
How do I test a patch panel after installation?
Use a cable tester to verify end-to-end continuity, correct wiremap, and proper pair mapping from the wall outlet through the patch panel and a short patch cable to the switch port. A basic wiremap tester will catch most installation errors. For certification-grade installs, a more advanced tester can verify attenuation, near-end crosstalk, and return loss.
What causes crosstalk in a patch panel installation?
Crosstalk is most commonly caused by untwisting cable pairs too far before termination, using mismatched category components, or routing cables too tightly together without proper separation. Maintaining pair twist as close to the terminal as possible and using components rated for the same category throughout the channel reduces crosstalk significantly.
How long does a patch panel installation typically take?
A single 24-port panel with pre-run cables can typically be terminated, tested, and labeled in two to four hours by someone with basic networking experience. Larger installations or situations involving unlabeled or unknown cable runs will take longer. Proper planning and labeling before starting reduces installation time considerably.


