

Master RCA Cable Wiring: Reliable Audio-Video Solutions
What Are RCA Cables and Why Do They Still Matter?
RCA cables have been around for decades -- and honestly, they are still one of the most widely used connection types in audio and video setups across homes, studios, and commercial environments. Named after the Radio Corporation of America, which introduced the connector design in the 1940s, these cables transmit analog audio and composite video signals between devices. You will find them on receivers, subwoofers, turntables, older televisions, gaming consoles, and a wide range of professional AV equipment. Despite the rise of HDMI and digital interfaces, RCA connections remain relevant because so many legacy and mid-range devices still rely on them. Understanding how to wire RCA cables correctly -- or at least how they work -- can genuinely save you from frustrating signal issues, poor audio quality, and a lot of unnecessary guesswork.
Understanding the Anatomy of an RCA Cable
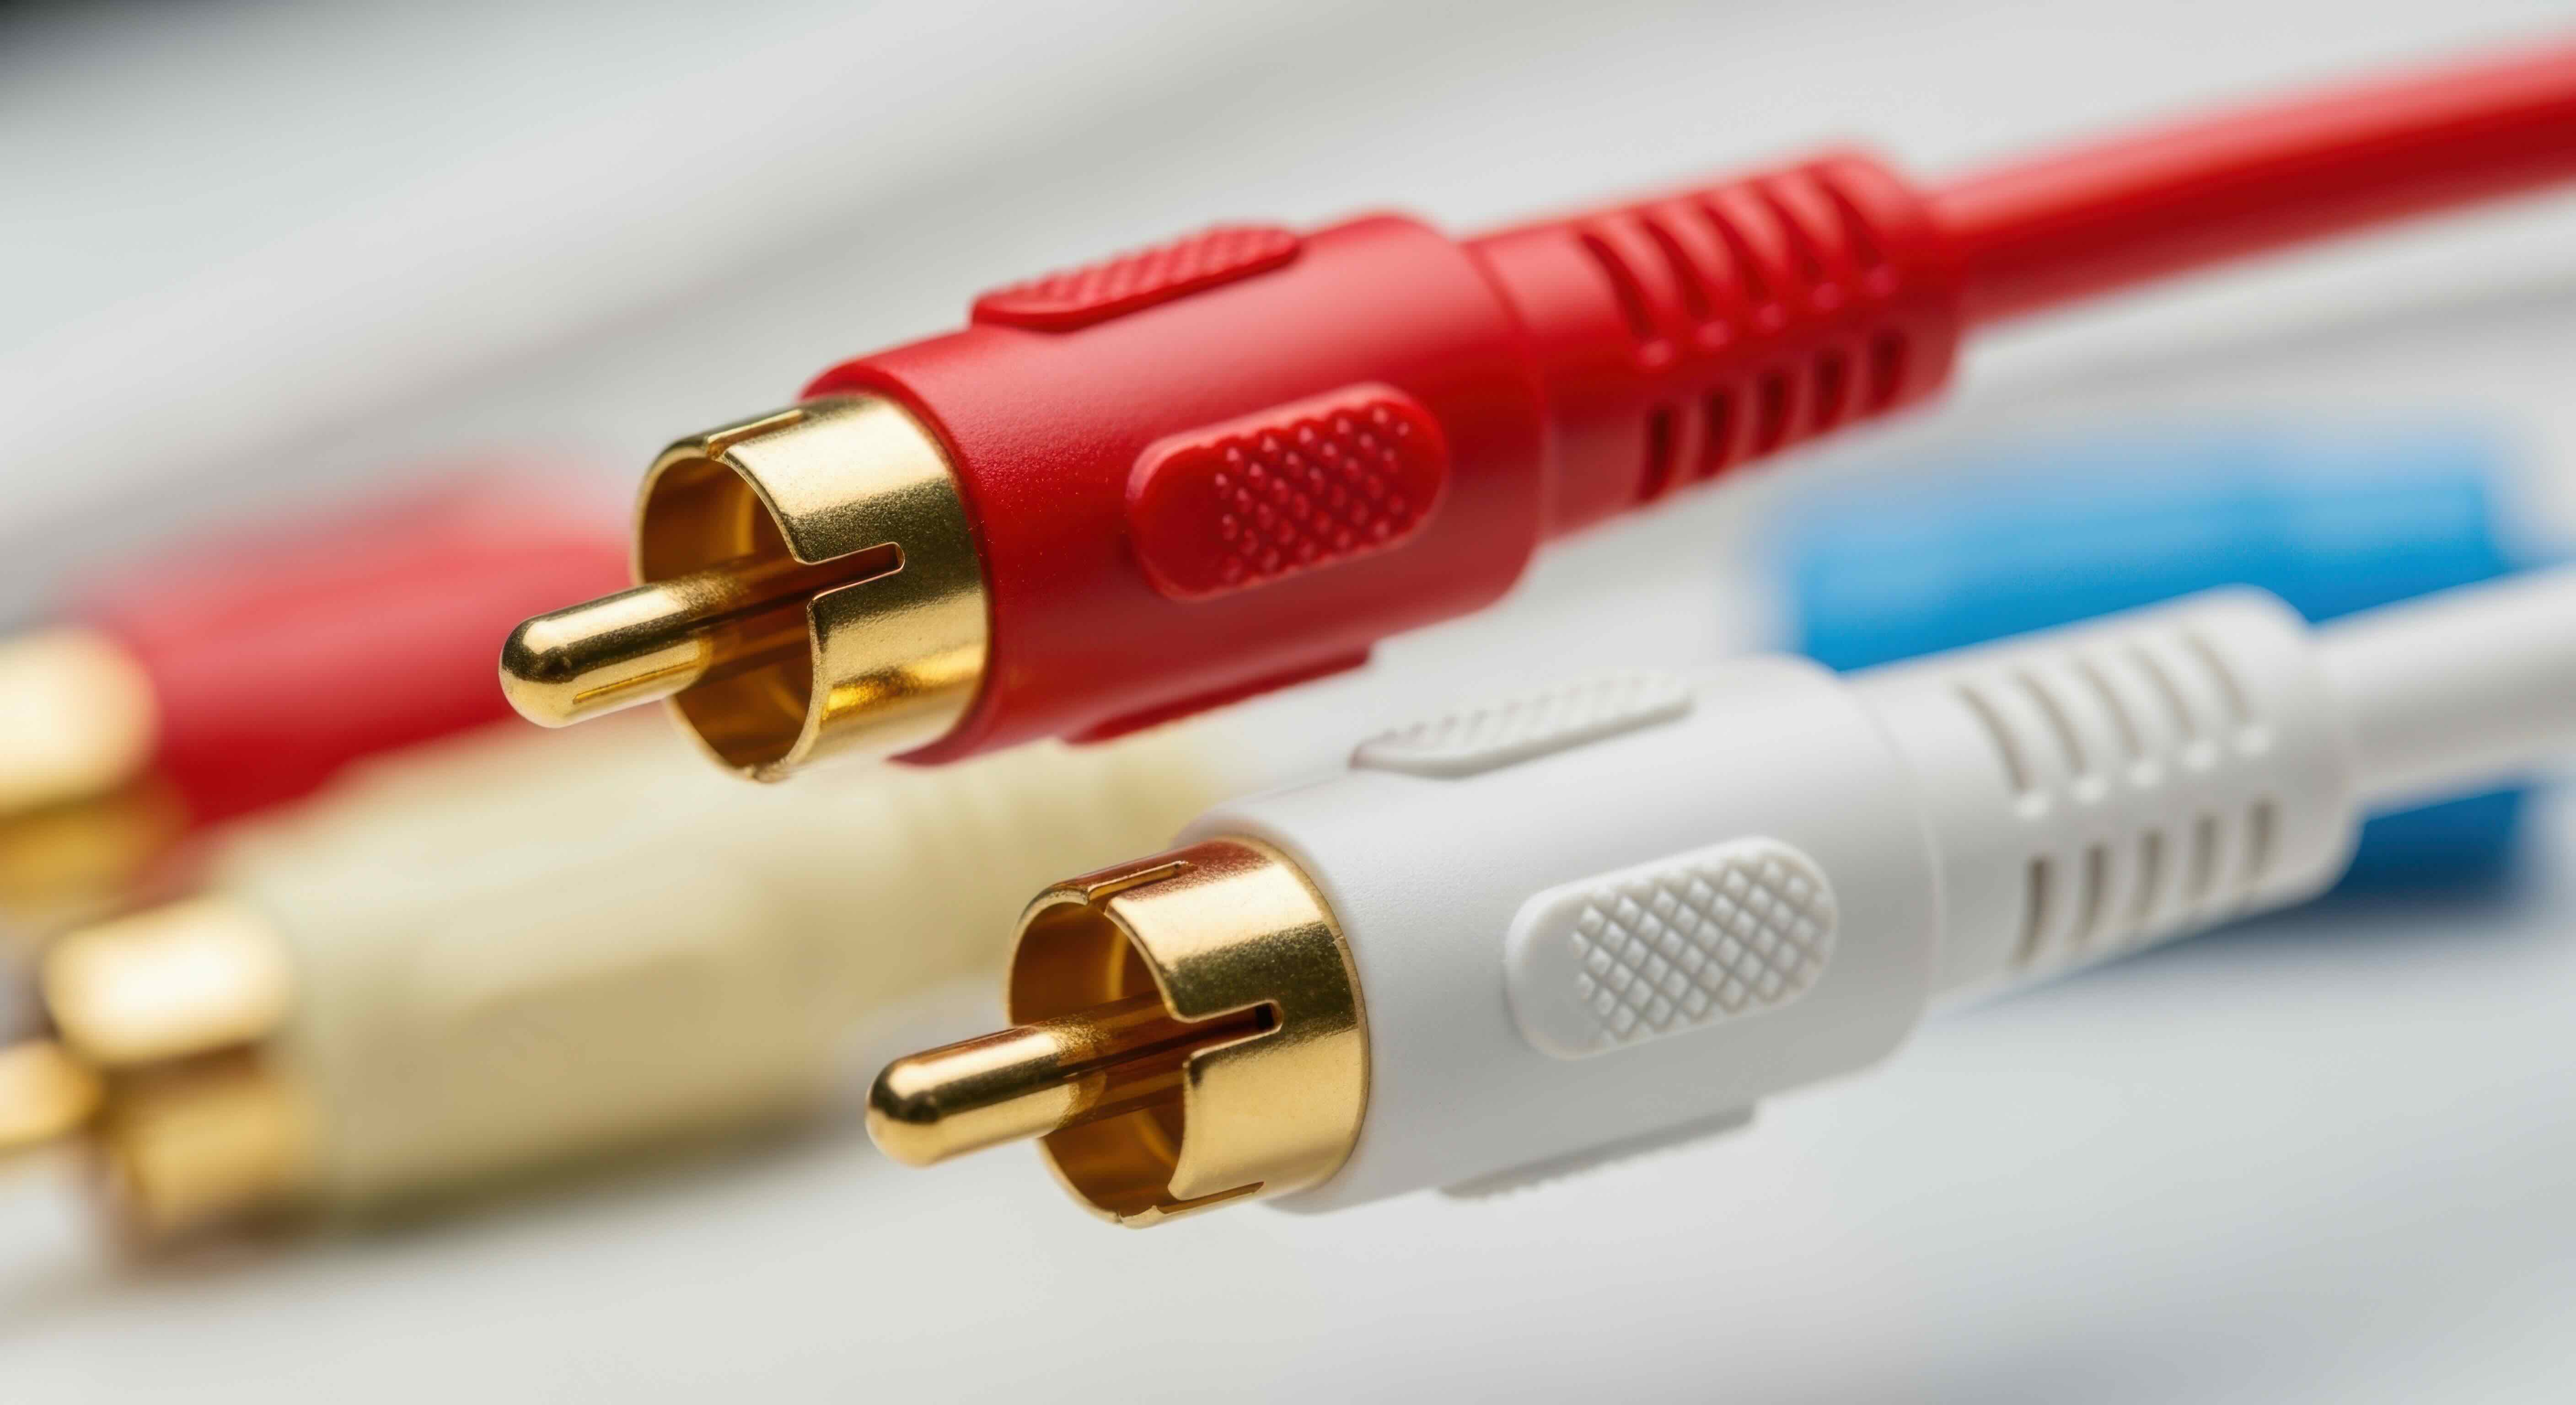
Before wiring anything, it helps to know what you are actually working with. An RCA connector consists of a central pin that carries the signal and an outer ring that serves as the ground. The cable itself typically has two conductors: a center conductor for the audio or video signal, and a braided or foil shield that acts as the ground return and also helps block electromagnetic interference. Most consumer RCA cables come in color-coded pairs or trios. The red connector typically carries the right stereo audio channel, the white or black connector carries the left audio channel, and the yellow connector is used for composite video. In component video configurations, you will see red, green, and blue connectors, each carrying a portion of the video signal for a higher quality image. Getting the color coding right is straightforward -- but when it comes to actually wiring or soldering an RCA connection from scratch, the details matter more than most people expect.
How RCA Cable Wiring Actually Works
The wiring process for an RCA cable is relatively simple once you understand the two-part structure. The center conductor -- usually a copper wire at the core of the cable -- connects to the center pin of the RCA plug. This is your signal wire. The outer braided shield connects to the outer collar of the plug, which functions as the ground. When soldering a custom RCA cable or replacing a damaged connector, you need to make clean, secure solder joints at both contact points. A cold solder joint on the center pin can introduce noise, hum, or signal dropout, which is one of the more common problems people run into. The shield connection is equally important -- a loose or unsoldered ground will create a ground loop or buzzing interference that can be difficult to diagnose. Keep the conductors separated, avoid contact between the center wire and the outer sleeve before the plug is fully assembled, and you will end up with a clean, reliable connection.
Tools and Materials You Will Need
Wiring RCA cables does not require an advanced toolkit, but having the right items on hand makes the process significantly smoother. Here is what you should gather before starting:
- Soldering iron with a fine tip
- Rosin-core solder
- Wire strippers
- Heat shrink tubing or electrical tape
- RCA plugs or connectors
- Replacement RCA cable or raw coaxial wire
- Multimeter for testing continuity
The quality of your RCA plugs matters more than many people realize. Cheap connectors with thin plating corrode faster, grip less securely, and can introduce resistance into the signal path. Investing in well-constructed connectors with solid center pins and reliable ground sleeves pays off in long-term signal integrity -- especially in audio applications where subtle degradation can be noticeable.
Step-by-Step Guide to Wiring an RCA Cable
The actual wiring process moves quickly once you have your materials ready. Start by cutting the cable to your required length and stripping back the outer jacket by about half an inch to three-quarters of an inch. Carefully separate the inner shield braid from the center conductor -- be thorough here, because stray strands of the shield touching the center pin will short the connection. Slide the outer collar of your RCA plug onto the cable before you start soldering, because forgetting this step means you will have to desolder and start over. Tin both the center conductor and the shield braid with a small amount of solder, then do the same to the solder points on the connector. Attach the center conductor to the center pin first, keeping the joint clean and minimal. Then fold the shield braid back and solder it to the outer collar. Once cooled, slide the collar forward, crimp or tighten as designed, and apply heat shrink tubing over the connection for protection. Test continuity with your multimeter before calling it finished.
Key Advantages of Using RCA Cables
RCA cables offer a few practical advantages that keep them in use across so many applications. The connections are simple and tool-free in most cases -- just plug in and go. They are widely compatible with legacy equipment, making them an obvious choice when dealing with older audio receivers, DVD players, or turntables. For dedicated subwoofer connections in home theater systems, RCA is still the standard interface. The cables are also affordable and easy to replace, which matters in both residential and commercial AV environments where budget and maintenance time are both real considerations. In analog audio chains -- particularly in audiophile and studio contexts -- some users argue that well-constructed RCA connections with quality shielding can deliver a warm, transparent signal that holds up well against more modern alternatives.
Common Drawbacks and Signal Issues to Watch Out For
RCA cables are not without their limitations. Because they carry analog signals, they are more susceptible to interference than digital connections. Ground loops -- which produce that familiar low hum in audio systems -- are one of the most frequent complaints. These occur when multiple pieces of equipment share a ground path through the RCA connections and through the power outlets, creating a loop that picks up electrical noise. Poor shielding in low-quality cables makes this worse. RCA cables also lack a locking mechanism, so they can pull loose over time, especially in setups where cables are frequently moved or adjusted. For high-resolution video, composite RCA (the yellow connector) is genuinely limited -- it blends all video information into a single signal, which results in lower image quality compared to component, HDMI, or DisplayPort connections. Knowing these limitations helps you decide when RCA is the right tool for the job and when a different connection type will serve you better.
Practical Tips for Getting the Best Performance From RCA Cables
A few smart habits make a noticeable difference in RCA cable performance over time. Route your RCA cables away from power cables whenever possible -- parallel runs between signal cables and AC power lines are a common source of induced hum and interference. Keep cable runs as short as practical for the application; longer runs increase resistance and susceptibility to noise pickup. Clean your RCA connectors periodically with a contact cleaner designed for electronics -- oxidation on the connector surface adds resistance and degrades signal quality gradually. When purchasing cables or building your own, pay attention to the shielding specification. A 95 percent or higher coverage braid shield offers meaningfully better noise rejection than a sparse spiral wrap. These are small details, but they add up to a noticeably cleaner signal in demanding audio and video environments.
Why Monoprice Is the Right Choice for RCA Cables and AV Connectivity
If you are building or upgrading an audio-video system -- whether it is a simple home entertainment setup or a more complex multi-zone installation -- the quality of your cables directly affects the quality of your results. Monoprice has built a well-earned reputation as a trusted source for performance-grade cables, connectors, and AV accessories at pricing that actually makes sense. The RCA cable lineup at Monoprice covers everything from basic stereo audio pairs to premium shielded cables engineered for demanding applications, and every product is built to deliver reliable signal transfer without introducing noise, interference, or premature wear. For anyone looking to explore the full range of reliable RCA cable wiring solutions and audio-video connectivity gear, Monoprice RCA cables and audio-video connection solutions represent a smart, cost-conscious investment that does not cut corners where it matters. Whether you are replacing a worn connector, building a custom cable run, or sourcing gear for a professional AV installation, Monoprice delivers the specifications, shielding quality, and build consistency that the work demands.
Frequently Asked Questions About RCA Cable Wiring
What is the correct way to wire an RCA cable?
The center conductor of the cable connects to the center pin of the RCA plug, which carries the signal. The outer braided shield connects to the outer collar of the plug, which serves as the ground. Both solder joints should be clean, secure, and free of contact between the two conductors.
Which wire is positive in an RCA cable?
The center conductor is the positive or signal wire in an RCA cable. The outer shield or braid is the negative, or ground return.
Why does my RCA cable produce a humming noise?
Humming is most commonly caused by a ground loop, which occurs when multiple devices share a ground path through both the RCA cables and the power circuit. Poor shielding in low-quality cables can also allow external interference to enter the signal path.
Can I solder my own RCA cables at home?
Yes. With a soldering iron, rosin-core solder, wire strippers, and quality RCA plugs, you can build custom cables at home. The key is making clean solder joints on the center pin and outer collar without allowing the two conductors to contact each other.
What do the colors on RCA cables mean?
Red is the right stereo audio channel. White or black is the left stereo audio channel. Yellow is composite video. In component video setups, red, green, and blue each carry a portion of the video signal for improved image resolution.
How long can an RCA cable run be before signal degrades?
For most consumer audio applications, runs up to 25 feet are generally reliable with a quality shielded cable. Longer runs may introduce noise or signal loss, particularly in video applications. Using a well-shielded, low-capacitance cable helps maintain quality over longer distances.
Are all RCA cables the same quality?
No. Significant differences exist in conductor purity, shielding coverage, connector plating, and overall build quality. Better-constructed cables with higher shielding coverage and solid connectors deliver cleaner signal transfer and longer service life.
Is RCA better than HDMI for audio and video?
HDMI carries high-definition digital audio and video in a single cable and is the better choice for modern HD and 4K setups. RCA is an analog format best suited for legacy equipment, subwoofer connections, and applications where digital interfaces are unavailable or unnecessary.
What gauge or type of wire should I use for a custom RCA cable?
Coaxial cable with a 75-ohm impedance rating is standard for RCA video applications. For audio, shielded two-conductor cable or quality coaxial wire works well. Lower capacitance values are preferable for longer cable runs in audio systems.
Can a damaged RCA connector be repaired?
Yes. If the connector is bent, corroded, or has a cold solder joint, it can be cut off and replaced with a new RCA plug. Proper desoldering, cleaning the cable end, and resoldering a new connector will restore full signal performance in most cases.


