

How to Wire and Ground Ethernet Cable for Peak Performance
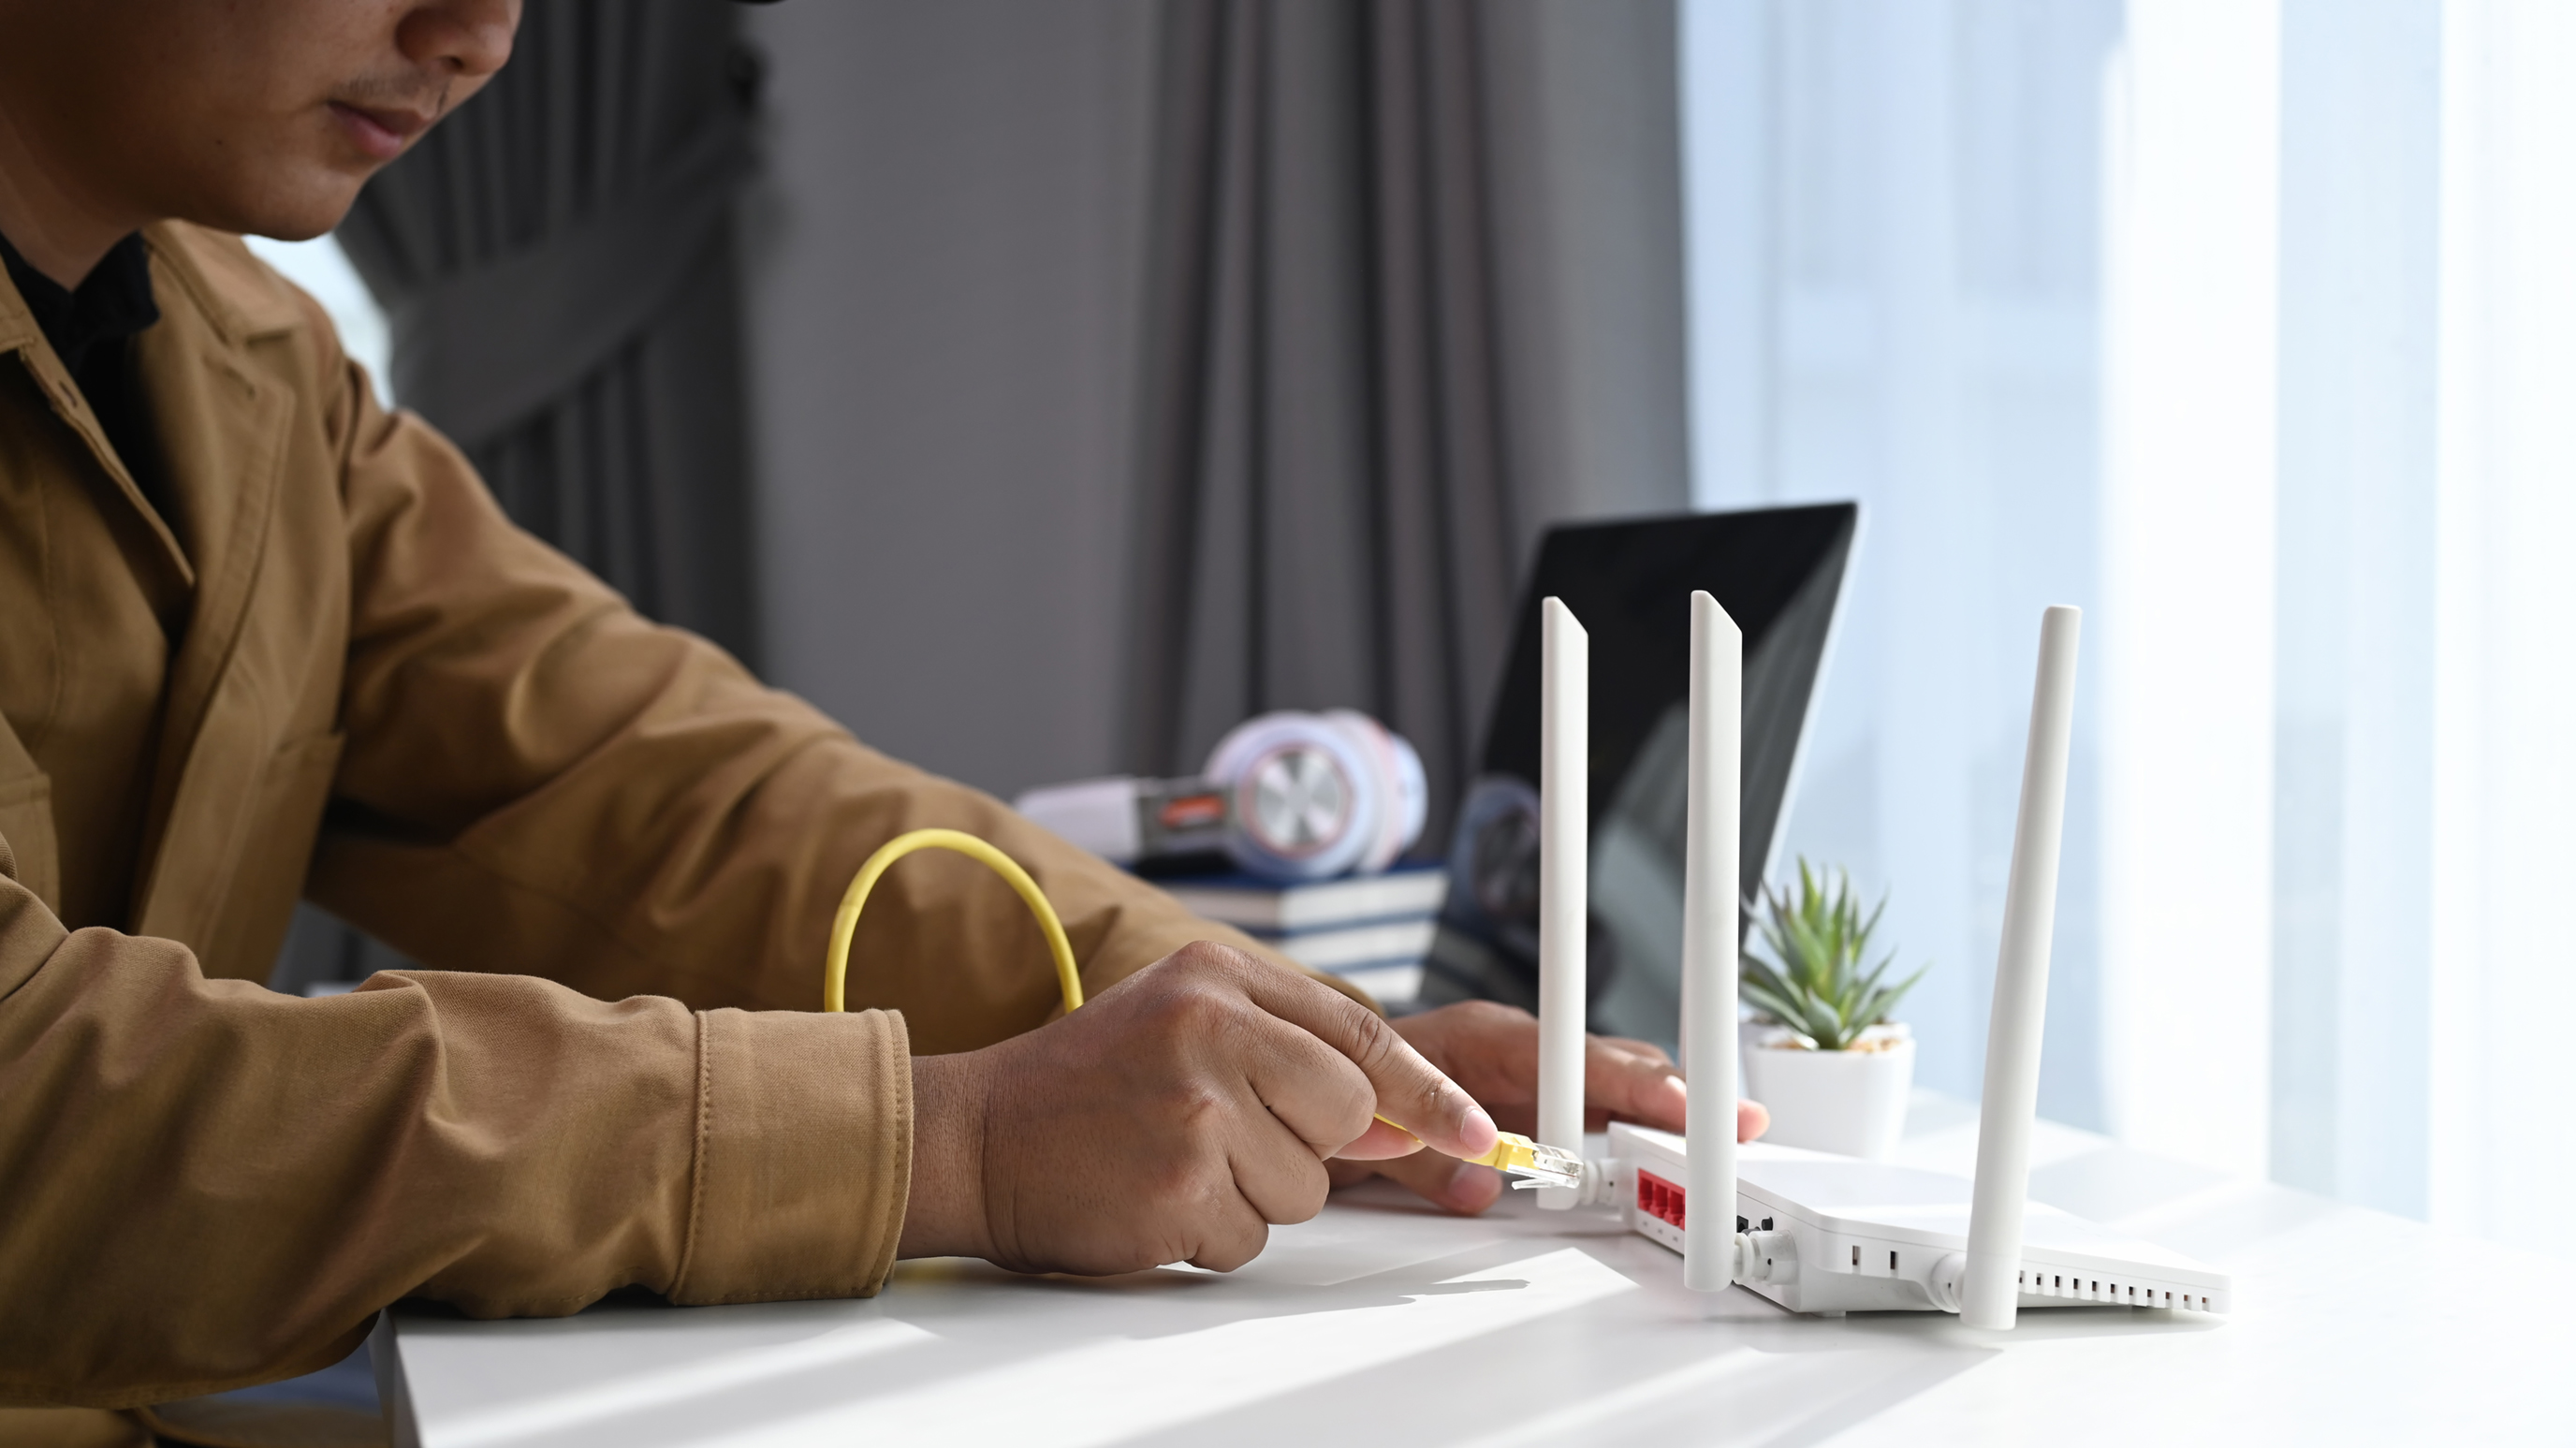
Why Proper Ethernet Wiring and Grounding Actually Matters More Than You Think
Here is the thing most people skip past when they are setting up a home or office network -- the wiring itself. You can invest in the fastest router on the market, pay for gigabit internet, and still end up with a slow, unreliable connection if your Ethernet cables are wired or terminated incorrectly. And grounding? That is something almost nobody talks about until something goes wrong. Proper Ethernet cable wiring and grounding is the foundation of a high-performance network. When done right, it gives you faster speeds, more stable connections, and protection against interference and electrical damage. When done wrong, you lose all of that. This guide walks you through how to wire and ground Ethernet cable the right way, from the basics of cable standards all the way through to practical tips that will make a real difference in your setup.
Understanding Ethernet Cable Types Before You Start Wiring
Before you cut a single piece of cable, you need to know what category of Ethernet cable you are working with. The category determines the maximum speed and frequency the cable can support, and not all categories are created equal. Cat5e is still common in older installs and supports speeds up to 1 Gbps at 100 MHz. Cat6 steps things up with 10 Gbps capability over shorter runs at 250 MHz, and it is the go-to standard for most new residential and commercial installs today. Cat6A extends those 10 Gbps speeds over runs up to 328 feet at 500 MHz. Cat8 is the heavy hitter at 40 Gbps and 2000 MHz, mostly used in data centers but increasingly relevant for high-demand business environments. Knowing your cable type matters because it directly affects how you handle and terminate the cable -- tighter twists, stricter bend radius requirements, and specific connector compatibility all vary by category.
The T568A vs. T568B Wiring Standards Explained
If you have ever looked at the color-coded diagram on an RJ45 keystone jack or patch panel, you have seen either T568A or T568B -- two different wiring pinout standards defined by the TIA/EIA-568 specification. T568B is the more commonly used standard in North America, especially in commercial installations. T568A is used in some government and residential contexts and is the standard required for certain interoperability specs. The actual performance difference between them is negligible. What matters most is consistency. Every jack, patch panel, and cable in your installation should follow the same standard end to end. Mixing T568A on one end with T568B on the other creates a crossover cable, which has its own specific use case but is not what you want for a standard network connection. Pick one wiring standard and stick with it throughout your entire installation.
How to Wire an Ethernet Cable Step by Step
The actual termination process requires a little practice and the right tools, but it is entirely doable at any experience level. Here is what the process looks like from start to finish.
Strip about one inch of the cable jacket using a cable stripper, being careful not to nick the inner conductors. Untwist the wire pairs and arrange them in the correct color order for your chosen wiring standard. Trim the wires to an even length -- roughly half an inch of exposed conductor is standard for most connectors. Insert the wires into the RJ45 connector or keystone jack, making sure each conductor seats fully into its channel. Use a punch-down tool for keystone jacks to seat the wire and cut the excess simultaneously. For RJ45 connectors, use a quality crimping tool to compress the connector onto the cable. Test the completed connection with a cable tester to verify continuity and correct pinout across all eight conductors.
The most common mistakes happen during stripping and wire alignment. Take your time at both steps. Even one misaligned conductor will cause the cable to fail or perform below spec.
Why Grounding Ethernet Cables Protects Your Network
Grounding is one of the most overlooked aspects of Ethernet installation, and it is also one of the most important for long-term reliability and safety. Ungrounded or improperly grounded Ethernet infrastructure is vulnerable to electromagnetic interference, which can degrade signal quality and cause packet loss and connection drops. More seriously, without proper grounding, your network equipment is exposed to the risk of damage from electrostatic discharge and electrical surges. Shielded cables -- STP and SFTP -- include a metallic foil or braid around the conductors specifically to block interference. But that shielding only does its job when it is properly grounded at both ends. A floating shield actually becomes an antenna for interference rather than a barrier against it. This is why the grounding discipline matters as much as the physical shielding itself.
How to Properly Ground Shielded Ethernet Cables
Proper grounding of shielded Ethernet cable starts at the patch panel or wall plate and follows a specific path to a verified earth ground point. The cable shield connects to a shielded RJ45 connector or shielded keystone jack, which in turn connects to a metal patch panel that is bonded to the rack ground bus bar. That ground bus bar connects to the building ground system. Every connection in that chain needs to be secure, continuous, and low-resistance. A loose connection anywhere in that grounding path degrades protection significantly. Outdoor or long-run cable installations add another consideration -- grounding blocks placed at the point of entry protect equipment from lightning-induced surges before they can travel down the cable and into your switches and computers. For unshielded cable runs, proper grounding of your network equipment enclosures and patch panels still provides a meaningful layer of protection even without shielded cable.
Common Wiring Mistakes That Kill Network Performance
Even experienced installers make mistakes that quietly degrade network performance. Knowing what to watch for saves you from hours of troubleshooting later. A few of the most performance-killing errors are worth flagging directly.
Untwisting wire pairs too far before termination increases crosstalk and signal loss. Exceeding the cable's minimum bend radius crushes the internal geometry of the pairs and damages performance. Running Ethernet parallel to high-voltage electrical wiring over long distances induces interference. Using mismatched cable categories with connectors rated for a lower spec limits the entire link to the weaker component. Leaving shielded cable ungrounded defeats the entire purpose of the shielding. Exceeding the maximum segment length of 328 feet for standard runs causes signal attenuation and link errors.
Every one of these errors is avoidable with proper planning and the right components going in. Catching these issues before the walls are closed is infinitely easier than diagnosing them after the fact.
Tools You Need to Wire Ethernet Like a Professional
Good results require the right tools. You do not need a van full of equipment, but cutting corners on tooling shows up immediately in your termination quality. A quality cable stripper protects the inner conductors during jacket removal. A punch-down tool with both 110 and Krone blades covers most keystone jack formats. A ratcheting RJ45 crimper ensures consistent compression every time. A cable tester -- even a basic wiremap tester -- verifies that every pin is connected correctly and in the right order. For more demanding installs, a cable certifier tests attenuation, crosstalk, and return loss against TIA category standards. A fish tape or cable fish kit is essential for pulling cable through walls and ceilings cleanly. Invest in decent tools once and they will serve you across dozens of installations.
Optimizing Your Network Layout for Long-Term Reliability
The physical layout of your cabling infrastructure has a direct impact on both performance and maintainability. Home runs -- running individual cables from each endpoint directly back to a central patch panel -- give you the most flexibility and the cleanest signal path. Daisy-chaining connections through intermediate points introduces additional terminations and potential failure points. Label every cable at both ends during installation. It sounds tedious, but it turns a one-hour troubleshooting session into a two-minute fix years down the road. Keep your patch panel in a well-ventilated, accessible location. Plan your runs to maintain separation from electrical conduit, fluorescent lighting, and HVAC equipment. A thoughtful layout built on solid cable and proper grounding is one of those investments you make once and benefit from for the entire life of the building.
Why Monoprice Is the Right Choice for Your Ethernet Cabling Needs
When you are doing this right -- wiring cleanly, grounding properly, using the correct category for your application -- the quality of the cable and components you choose becomes the deciding variable. That is where Monoprice consistently delivers. From Cat6 and Cat6A bulk cable to shielded patch panels, shielded keystone jacks, and RJ45 connectors engineered to TIA standards, every product in the Monoprice networking lineup is built to perform at the spec it claims. You are not paying for a brand name markup -- you are paying for performance that holds up over time, under load, and across demanding environments. Whether you are cabling a single home office or wiring an entire commercial floor, the full catalog of professional-grade Ethernet cables and networking infrastructure solutions gives you everything you need to build a fast, reliable, interference-resistant network at a price that makes sense for real budgets. Confidence in your network starts with confidence in your components, and Monoprice has been earning that trust across both consumer and B2B markets for years.
Frequently Asked Questions About Wiring and Grounding Ethernet Cable
What is the correct wire order for wiring an Ethernet cable?
The two accepted standards are T568A and T568B. T568B is the most commonly used in North America and follows this conductor order from pin 1 to pin 8: orange-white, orange, green-white, blue, blue-white, green, brown-white, brown. The most important rule is to use the same standard consistently at both ends of every cable in your installation.
Does it matter whether I use T568A or T568B?
In most practical installations, the performance difference between T568A and T568B is nonexistent. What matters is consistency. Using the same wiring standard throughout your entire network prevents miswiring and eliminates the risk of accidentally creating crossover connections where they are not intended.
Do I need shielded Ethernet cable for a home network?
Most residential environments perform well with standard unshielded twisted pair cable. Shielded cable becomes valuable in environments with significant electromagnetic interference sources, such as near industrial equipment, in commercial buildings with heavy electrical infrastructure, or in runs that pass close to high-voltage wiring over long distances.
How do I ground a shielded Ethernet cable properly?
The cable shield must connect through a shielded connector to a metal patch panel or wall plate that is bonded to an earth ground. The grounding path must be continuous and low-resistance from the cable shield all the way to the building ground. A floating or disconnected shield provides no protection and can actually attract interference.
What is the maximum length for an Ethernet cable run?
The standard maximum segment length for Ethernet over twisted pair cable is 100 meters, or approximately 328 feet. This applies to Cat5e, Cat6, and Cat6A. Exceeding this distance causes signal attenuation and can result in unreliable connections or link failures. Fiber optic cable is the correct solution for runs that exceed this distance.
What tools do I need to terminate an Ethernet cable?
At minimum you need a cable stripper, a punch-down tool for keystone jacks or a crimping tool for RJ45 connectors, and a cable tester to verify the completed termination. For professional-grade installations, a cable certifier provides detailed performance measurements against TIA category standards.
What causes Ethernet cable to fail a wiremap test?
The most common causes of wiremap failures are miswired conductors, crossed pairs, split pairs, open conductors caused by incomplete termination, and short circuits caused by conductors touching. Each of these errors is typically introduced during the stripping or termination step and can be avoided with careful technique and proper tooling.
Can I run Ethernet cable next to electrical wiring?
Running Ethernet parallel to AC electrical wiring over extended distances can induce electromagnetic interference into the data cable. National Electrical Code guidelines recommend maintaining at least 12 inches of separation between unshielded Ethernet and electrical conduit, and crossing runs should be done at 90-degree angles to minimize coupling. Shielded cable provides additional protection in unavoidable close-proximity situations.
What is the difference between Cat6 and Cat6A for wiring purposes?
Cat6A supports 10 Gbps speeds over the full 100-meter segment length, while Cat6 supports 10 Gbps only over shorter runs of approximately 55 meters. Cat6A also has stricter alien crosstalk requirements and typically uses a thicker, stiffer cable construction that requires attention to bend radius and fill capacity in conduit runs.
Is it necessary to test Ethernet cables after termination?
Yes, testing every cable after termination is a non-negotiable step in any professional or quality-focused installation. Even a single miswired conductor can cause a connection to fail or perform well below its rated speed. A basic wiremap tester confirms correct pinout and continuity, while a full cable certifier validates performance against category specification.


