

How to Make an Ethernet Cable: A Step-by-Step Guide
What Is an Ethernet Cable and Why Does It Still Matter?
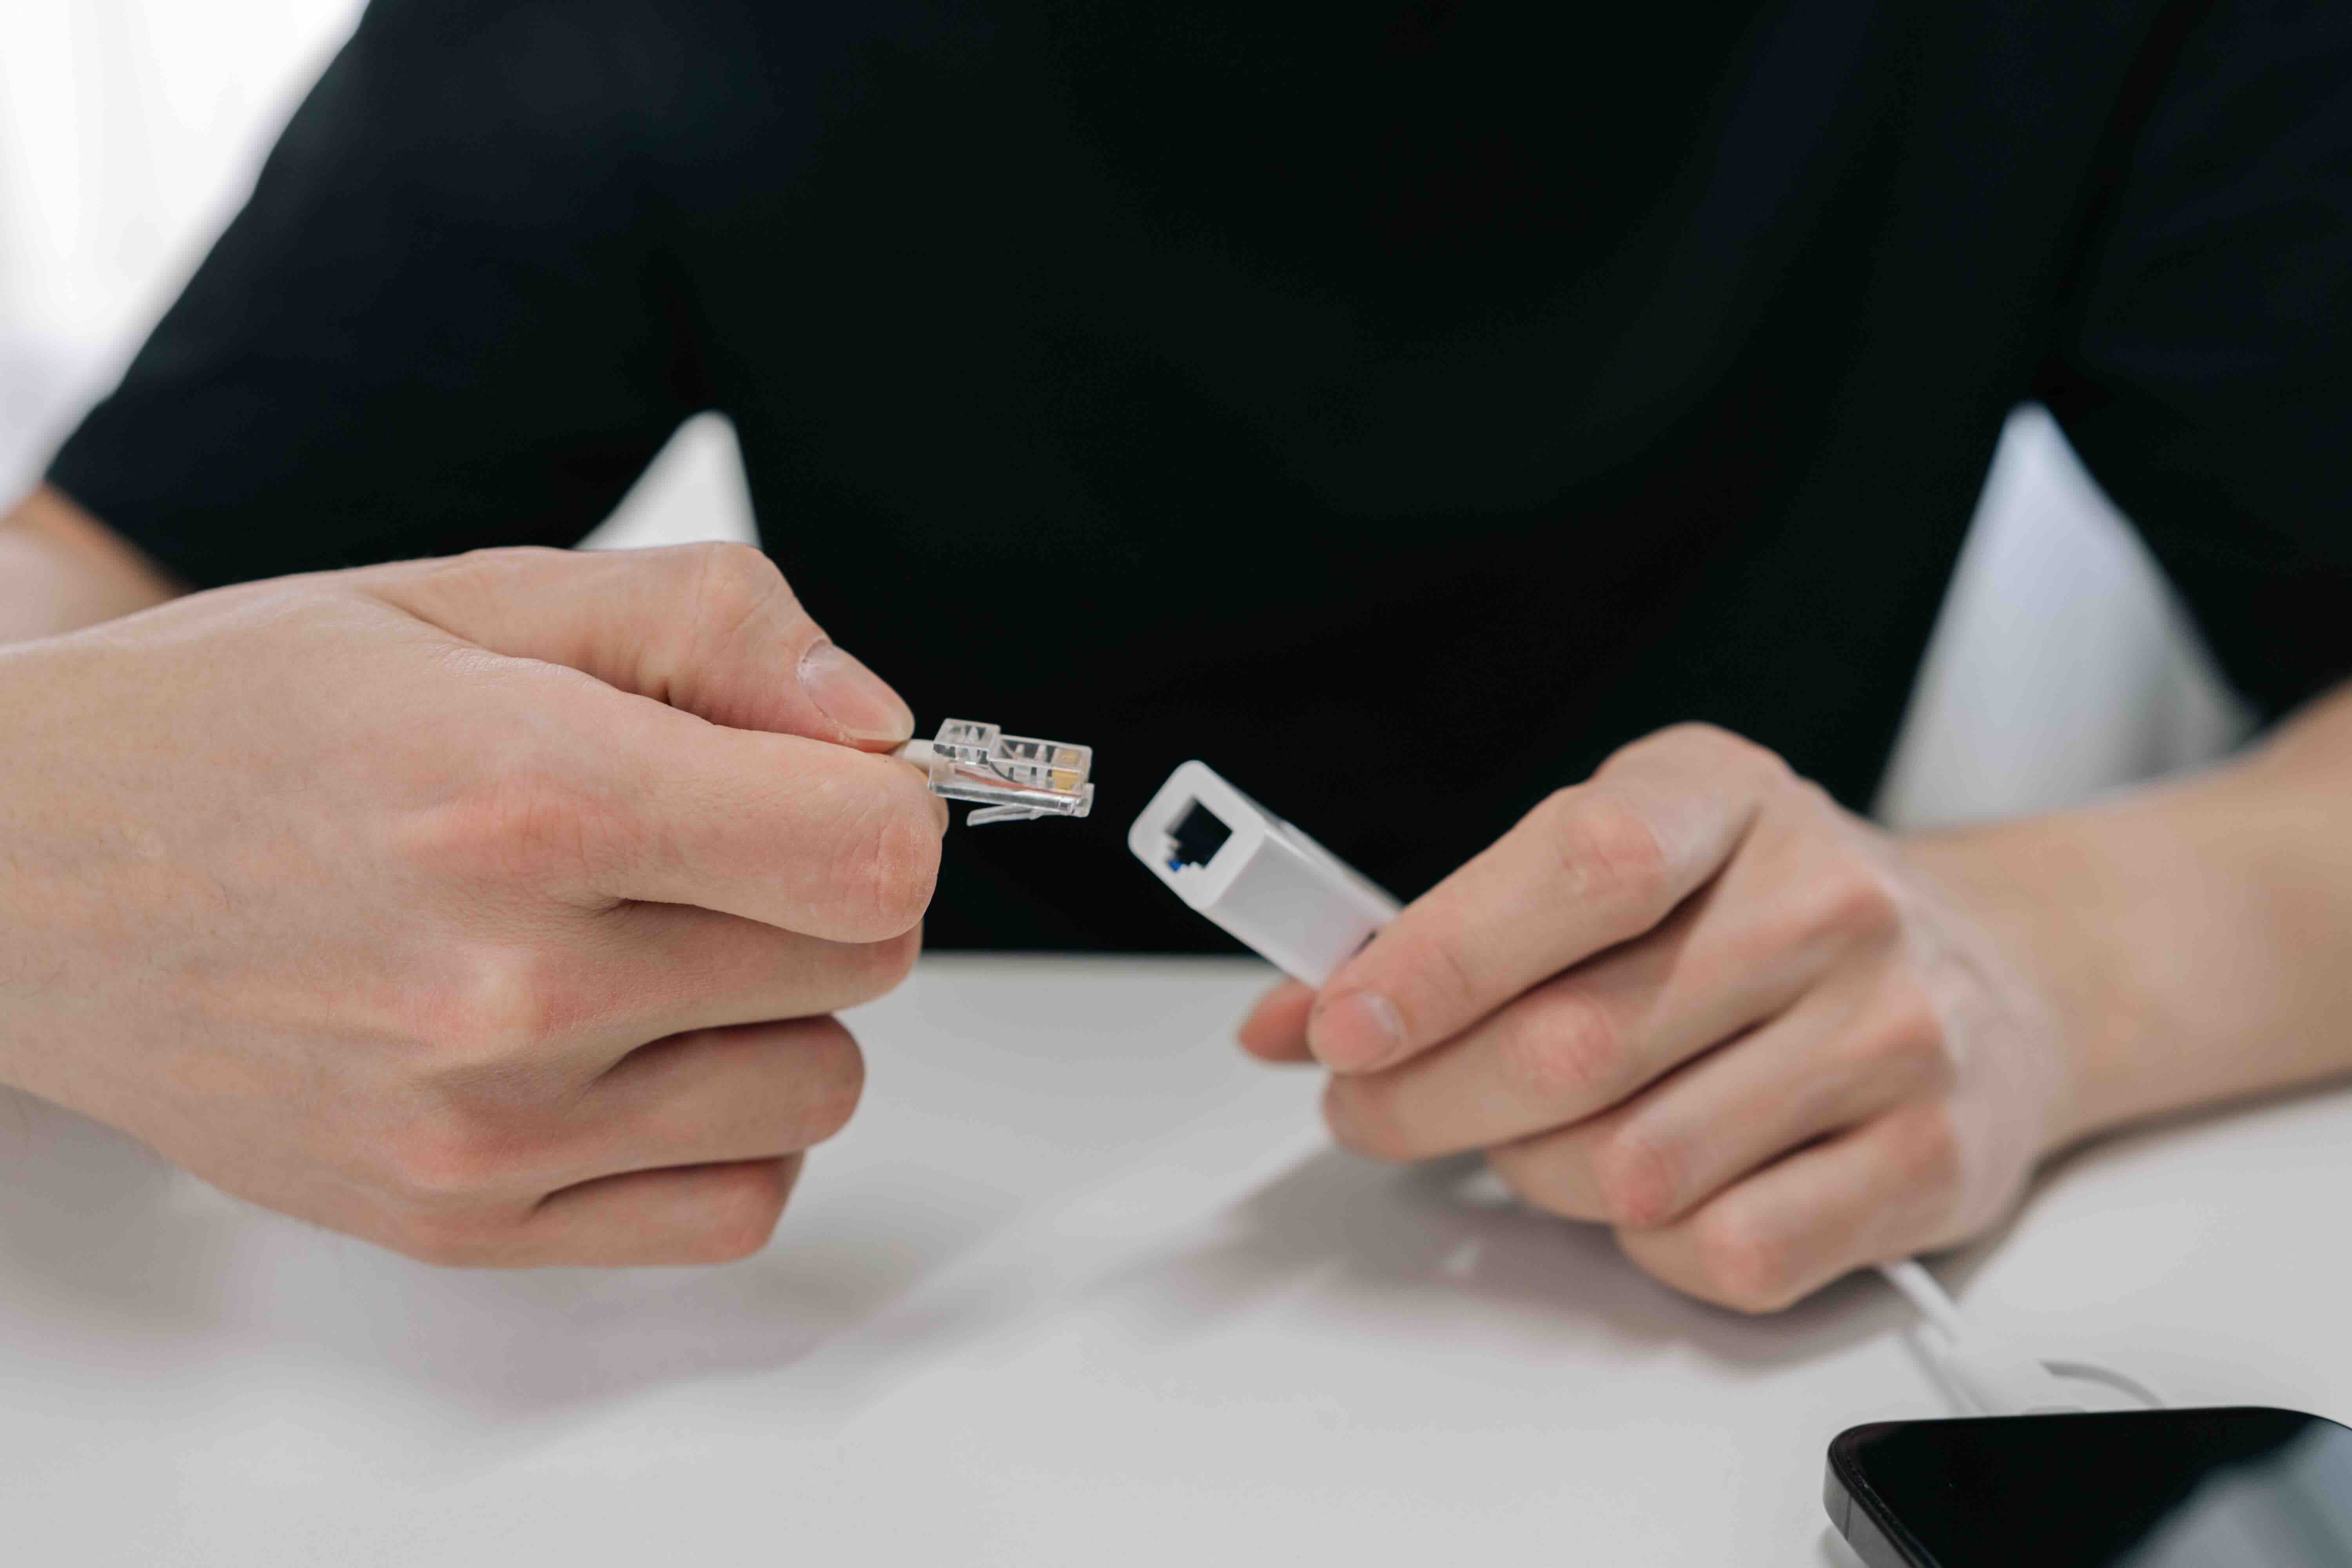
So, you want to make your own Ethernet cable. That is actually a really practical skill, and honestly, more people should know how to do it. Before getting into the steps and materials, it helps to understand what an Ethernet cable actually is and why it continues to be relevant in a world full of Wi-Fi. An Ethernet cable is a physical networking cable used to connect devices like computers, routers, switches, and gaming consoles to a local area network. It transmits data through twisted pairs of copper wires inside a protective outer jacket. Despite the widespread adoption of wireless networking, wired connections remain a preferred choice for reliability, speed, and low latency. If you have ever experienced a dropped video call or laggy gameplay over Wi-Fi, a wired Ethernet connection would likely have solved that problem immediately.
Understanding Ethernet Cable Categories Before You Build
Not all Ethernet cables are built the same. The category of a cable determines its speed capability and the frequency it can handle. Cat5e supports speeds up to 1 Gbps and handles frequencies up to 100 MHz, making it a solid baseline for most home and office networks. Cat6 pushes that further with support for up to 10 Gbps over shorter distances and frequencies up to 250 MHz. Cat6A extends that 10 Gbps performance over longer runs, up to 100 meters, and handles up to 500 MHz. For most people making their own cables today, Cat6 is the sweet spot. It delivers high performance without being unnecessarily difficult to work with, and it fits standard RJ45 connectors used across virtually every network device on the market.
Tools and Materials You Need to Make an Ethernet Cable
Getting the right materials together before you start saves a lot of frustration. Here is what you will need to make a functional, properly terminated Ethernet cable:
- Ethernet cable spool in the appropriate category, such as Cat5e, Cat6, or Cat6A
- RJ45 connectors that match your cable type
- A crimping tool designed for RJ45 connectors
- A cable stripper or utility knife for removing the outer jacket
- A wire cutter for trimming the internal conductors to even length
- A cable tester to verify the connection after crimping
- Optional: a cable boot to protect the connector from physical stress
The quality of these tools genuinely affects the outcome. A cheap crimping tool with poor leverage can result in connectors that look fine but fail under testing. It is worth investing in tools that will hold up across multiple projects, especially if you plan to wire an entire office or home network.
Wiring Standards: T568A vs T568B
This part trips people up more than anything else. There are two accepted wiring standards for Ethernet cables: T568A and T568B. Both are correct, and both produce a fully functional cable when used consistently. The difference is simply the color-coded arrangement of the internal wires inside the RJ45 connector. T568B is more widely used in commercial installations across North America. T568A is specified by some government and residential wiring guidelines. The critical rule is consistency. If you are making a straight-through cable, both ends must use the same standard. If you are making a crossover cable, used to connect two devices of the same type directly, you use T568A on one end and T568B on the other. For most modern networks, crossover cables are rarely needed because switches and network interface cards support auto-MDI-X, which handles that automatically.
Step-by-Step: How to Make an Ethernet Cable
Once you have your materials and have decided on your wiring standard, the process itself is straightforward. Start by cutting the cable to the length you need, then use the cable stripper to remove about one inch of the outer jacket without nicking the internal wires. Inside, you will find four twisted pairs of wires in different colors. Untwist each pair carefully and arrange the individual wires in the correct order for your chosen standard. Trim all eight wires so they are perfectly even at the same length, roughly half an inch from the jacket. Slide the wires into the RJ45 connector, keeping them in order and pushing them all the way to the front so each wire makes contact with its corresponding pin. Finally, insert the connector into the crimping tool and squeeze firmly to lock everything in place. Repeat this process on the other end, then run the completed cable through a cable tester to confirm all eight pins are making proper contact.
Key Advantages of Making Your Own Ethernet Cable
There are real, practical reasons to make your own cables rather than buying pre-made ones. Custom-length cables eliminate the mess of excess coiled cable behind equipment racks or entertainment setups. You also have control over the quality of materials being used, meaning you can select the exact conductor grade and jacket type suited to your environment, whether that is a plenum-rated cable for in-wall or ceiling runs or a direct-burial cable for outdoor use. Cost efficiency is another factor, especially for larger installations. Buying cable by the spool and crimping your own connectors is almost always less expensive than purchasing dozens of pre-made cables in various lengths. And there is the satisfaction of building something that actually works, which, fair enough, counts for something.
Common Mistakes and How to Avoid Them
Even experienced installers run into issues when making Ethernet cables. The most common mistake is not pushing the wires fully into the RJ45 connector before crimping. If any wire falls short of its pin, that circuit will fail and the cable tester will catch it. Another frequent problem is untwisting too much of each wire pair before inserting them into the connector. Twisted pairs are engineered to reduce crosstalk, so keeping the twist as close to the termination point as possible preserves signal integrity. Nicking the internal wires while stripping the outer jacket is also a problem that goes unnoticed until testing. A good cable stripper with an adjustable depth guard helps prevent that. Finally, skipping the cable test step entirely is a mistake that leads to hours of troubleshooting later.
Shielded vs Unshielded Ethernet Cable: Does It Matter for DIY Builds?
When selecting your cable for a custom build, you will encounter two main construction types: UTP, which stands for unshielded twisted pair, and STP or FTP, which refer to shielded variants. Unshielded cable is the standard for most home and light commercial installations and is easier to terminate. Shielded cable adds a foil or braided layer around the internal conductors to protect against electromagnetic interference, which matters in environments near high-voltage equipment, fluorescent lighting, or industrial machinery. If you are wiring a home office or small business in a typical environment, UTP Cat6 is almost always sufficient. In manufacturing environments or data centers with significant EMI sources, shielded cable is worth the added complexity of termination, which requires a shielded RJ45 connector and proper grounding to be effective.
Why Monoprice Is the Right Source for Your Ethernet Cable Builds
If you are serious about building reliable network infrastructure without overspending on materials, Monoprice delivers exactly what professional installers and serious DIYers need. The product catalog includes high-quality bulk Ethernet cable spools, RJ45 connectors, crimping tools, and cable testers, everything required to build a clean, tested, and dependable network from scratch. The materials are built to perform, priced to make sense for both single-project buyers and repeat B2B purchasers sourcing for larger deployments. Whether you are wiring a home office, a small business, or an entire commercial space, having a trusted supplier who understands these needs makes a real difference. Explore the full range of professional-grade Ethernet cables and networking tools for custom cable builds and see why Monoprice has earned the trust of IT professionals and network installers across the country. The combination of quality construction, genuine value, and deep product depth makes Monoprice a logical partner for anyone investing in wired network infrastructure that has to hold up over time.
Frequently Asked Questions About Making Ethernet Cables
What tools do I need to make an Ethernet cable at home?
You need a bulk Ethernet cable, RJ45 connectors, a crimping tool, a cable stripper, wire cutters, and a cable tester to verify the finished connection works correctly.
What is the difference between T568A and T568B wiring standards?
Both are valid wiring configurations for Ethernet cables. T568B is more common in commercial North American installations. The key is using the same standard on both ends of a straight-through cable.
What category of Ethernet cable should I use for a home network?
Cat6 is the recommended choice for most home and small office networks. It supports up to 10 Gbps over shorter distances and is compatible with standard RJ45 connectors and equipment.
How do I know if my homemade Ethernet cable works?
Use an Ethernet cable tester after crimping both ends. The tester checks all eight pins for continuity and correct wiring order, confirming the cable will function properly on a network.
Can I make an Ethernet cable any length I want?
Yes, with a practical limit. The maximum recommended run for standard Ethernet categories like Cat5e, Cat6, and Cat6A is 100 meters, or about 328 feet, before signal degradation becomes a concern.
What is the difference between shielded and unshielded Ethernet cable?
Unshielded twisted pair cable works well in most environments. Shielded cable adds electromagnetic interference protection and is recommended in industrial or high-EMI settings. Shielded cable also requires shielded connectors and proper grounding to function correctly.
Do I need a crossover cable or a straight-through cable?
Most modern installations use straight-through cables. Crossover cables were historically needed to connect similar devices directly, but most current network hardware supports auto-MDI-X, which eliminates that requirement automatically.
Is it cheaper to make my own Ethernet cables or buy pre-made ones?
For larger installations or custom lengths, making your own cables from bulk spools is almost always more cost-effective than buying individual pre-made cables, especially as the volume of cables needed increases.
What happens if I nick the wires inside the Ethernet cable while stripping?
Nicked wires can cause intermittent failures, reduced signal quality, or complete connection failure. Using an adjustable cable stripper helps prevent damage to the internal conductors during jacket removal.
Can I use any RJ45 connector with any Ethernet cable?
No. You should match the connector to the cable category and conductor type. Cat6 and Cat6A cables often require connectors specifically designed for their larger conductor diameter and construction to ensure a reliable crimp and consistent signal performance.


