

How to Make a Cat6 Cable: Step-by-Step Guide
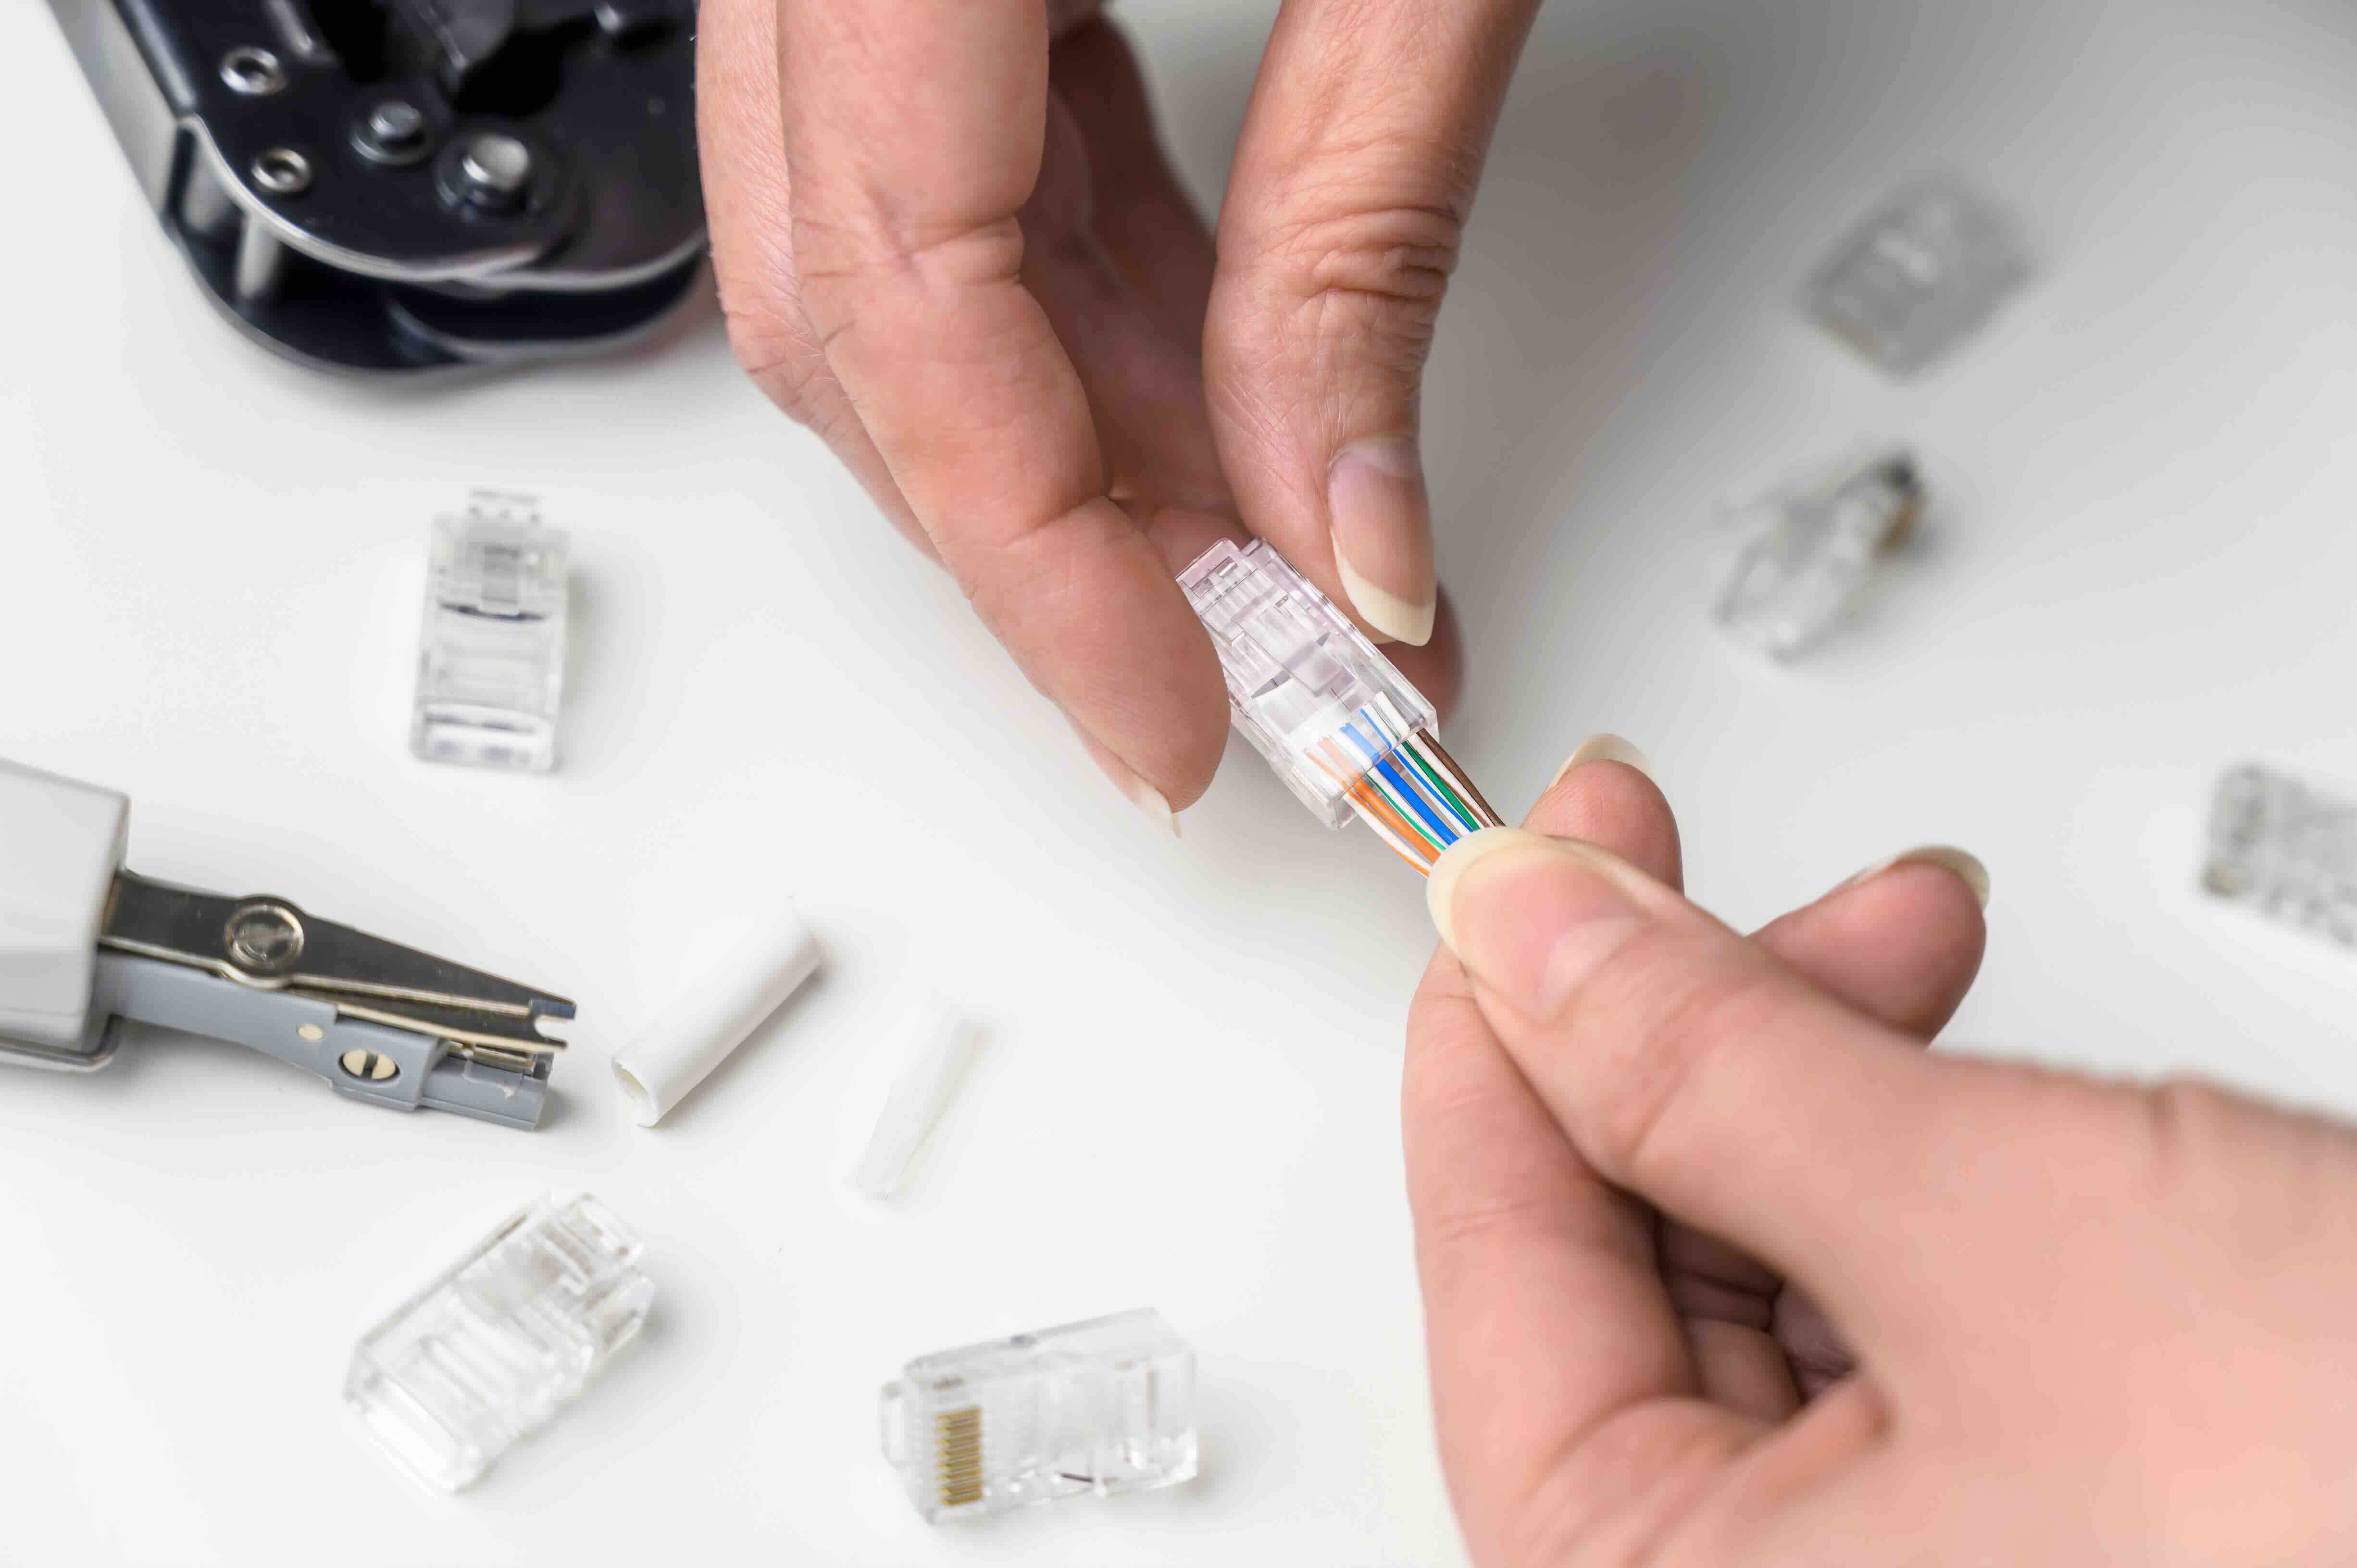
How to Make a Cat6 Cable: A Complete Step-by-Step Guide
If you have ever dealt with a tangled mess of pre-made cables that are either too long or too short for your setup, you already understand the appeal of making your own. Terminating your own Cat6 cable is one of those skills that looks intimidating at first but honestly becomes second nature after a few attempts. You get custom lengths, cleaner runs, and the satisfaction of knowing the infrastructure you built actually works the way it should. This guide walks through everything -- from the tools you need to the termination steps to what can go wrong if you rush it.
What Is Cat6 Cable and Why Does It Matter
Cat6 stands for Category 6, and it is a standardized type of twisted pair cable used for Ethernet networking. Compared to older Cat5e cabling, Cat6 supports higher bandwidth, up to 250 MHz, and is designed to reduce crosstalk and system noise more effectively. It can handle Gigabit Ethernet at full 1000 Mbps speeds and, under the right conditions, supports 10-Gigabit speeds over shorter runs -- typically up to 55 meters. For home networks, office environments, structured cabling projects, and data center patch runs, Cat6 is arguably the most practical and cost-effective choice available right now. The internal construction usually includes four twisted pairs of copper wire and, in many cases, a plastic spline or separator that keeps those pairs isolated from each other. That separator is part of what gives Cat6 its performance edge, though it also makes termination slightly more involved than older cable types.
Tools and Materials You Will Need Before You Start
Getting the right tools matters more than most beginners expect. You can technically make a cable with minimal gear, but a bad crimp or sloppy strip job will cost you time and materials. Here is what you need to have on hand before you begin:
- Cat6 bulk cable (UTP or shielded, depending on your environment)
- RJ45 Cat6 connectors -- make sure they are rated for Cat6, not just Cat5e
- A quality crimping tool with RJ45 die
- Cable stripper or a utility knife used carefully
- Wire cutters or flush-cut pliers
- A cable tester -- do not skip this
- Optional but recommended: a cable jacket scorer or dedicated strip tool for Cat6
One thing worth noting: Cat6 connectors have a slightly different internal geometry than Cat5e connectors because the wire gauge and spline require more clearance. Using the wrong connectors will create headaches during crimping and may result in failed terminations even when the crimp looks clean visually.
Understanding the T568A and T568B Wiring Standards
Before you touch the wires, you need to decide which wiring standard you are following. T568A and T568B are the two accepted pin-out configurations defined by the TIA/EIA-568 standard. The difference is in the position of the green and orange pairs. For a straight-through cable -- which is what you use to connect a device to a switch or router -- both ends use the same standard, either T568A or T568B. T568B is by far the more common choice in commercial and enterprise environments in North America. For a crossover cable, you use T568A on one end and T568B on the other, though crossover cables are much less common now thanks to auto-MDI/X support in modern switches. Sticking with T568B on both ends is the right call for most standard network cable runs.
Step-by-Step Instructions for Terminating a Cat6 Cable
Here is where it all comes together. Take your time on each step, especially the first few times. Rushing the wire arrangement is the most common source of failed cables.
- Step 1: Cut the cable to your desired length with a clean, straight cut.
- Step 2: Slide the RJ45 connector boot onto the cable now if you are using one -- you cannot add it after crimping.
- Step 3: Strip approximately 1.25 inches of the outer jacket using your cable stripper, being careful not to nick the individual wire insulation.
- Step 4: Remove or trim back the internal plastic spline to roughly even with the jacket edge.
- Step 5: Untwist and straighten each of the four pairs -- maintain the color code and keep pairs as twisted as possible until they reach the connector.
- Step 6: Arrange the eight wires in T568B order: White-Orange, Orange, White-Green, Blue, White-Blue, Green, White-Brown, Brown.
- Step 7: Trim the wires to about half an inch from the jacket edge, ensuring all eight are even.
- Step 8: Insert the arranged wires into the RJ45 connector, confirming each wire slides fully to the front of the plug.
- Step 9: Crimp firmly using your crimping tool, applying even pressure through the full stroke.
- Step 10: Repeat the process on the opposite end, then test with your cable tester.
Common Mistakes and How to Avoid Them
Even experienced technicians make termination errors. The most frequent issue is wires not seating fully into the connector before crimping. If even one conductor is slightly short, it will not make contact with the gold pin and the cable will fail the continuity test. Another common problem is untwisting too much of each pair before insertion. The TIA standard recommends maintaining twist as close to the termination point as possible -- within about half an inch -- to preserve the cable's crosstalk rejection characteristics. Cutting the wires unevenly before insertion is another culprit. If the wires are not uniform in length, some will seat properly while others fall short. Trim them flat and check before inserting. Finally, make sure you are using Cat6-rated connectors. Cat5e connectors can look nearly identical but will not accommodate the wire gauge and spline correctly.
Key Advantages of Making Your Own Cat6 Cables
Custom cable termination offers real, practical benefits that pre-made cables simply cannot match. When you terminate your own runs, you control the exact length -- no excess cable coiled up inside a rack, no runs that fall two feet short. For structured cabling installations, custom lengths also improve airflow in server environments and create a cleaner, more manageable cable plant. There is a cost advantage too. Bulk Cat6 cable paired with individual connectors is almost always less expensive per foot than buying pre-assembled patch cables, especially for longer runs or large-quantity deployments. And when something fails, you can re-terminate on the spot rather than waiting on a replacement order.
When to Use Shielded vs. Unshielded Cat6 Cable
Most standard indoor installations use UTP, or unshielded twisted pair, Cat6 cable. It is flexible, lightweight, and performs reliably in environments with normal levels of electromagnetic interference. Shielded Cat6, sometimes labeled as STP or F/UTP, adds a foil or braided shield around the cable pairs and is designed for environments where interference is a real concern -- industrial settings, areas near heavy electrical equipment, or outdoor runs that require additional protection. Shielded cabling requires grounded connectors and patch panels to be effective. Installing shielded cable without proper grounding can actually make interference worse rather than better. Know your environment before choosing your cable type.
Testing Your Finished Cat6 Cable
A cable tester is non-negotiable. Even if the crimp looks solid and the wires appeared correctly seated, a tester tells you with certainty whether all eight conductors are wired correctly and making contact. Basic continuity testers check for opens and shorts and verify pin-out mapping. More advanced qualification testers can measure performance parameters like insertion loss and near-end crosstalk. For most IT professionals and installers, a quality continuity tester is sufficient for verifying patch cables and short structured runs. If you are certifying cable plant for a commercial installation, a full performance tester is required. Either way, test every cable before it goes live. Chasing a connectivity issue back to a bad termination after everything is buttoned up is a waste of time nobody needs.
Why Monoprice Is the Right Choice for Your Cat6 Cabling Needs
If you are serious about building reliable network infrastructure without overpaying for it, Monoprice is a name that keeps showing up for good reason. The product lineup covers bulk Cat6 cable, individual connectors, crimping tools, cable testers, and everything in between -- all designed to meet the performance and budget demands of real installers, IT teams, and serious home network builders. The quality is consistent, the specs are accurate, and the pricing reflects what these products should actually cost. Whether you are running cable through a single room or deploying structured cabling across an entire office floor, high-performance Cat6 Ethernet cables and networking tools from Monoprice give you the performance reliability you need at a price point that makes the project financially sensible. This is not about cutting corners -- it is about making smart infrastructure decisions that hold up over time.
Frequently Asked Questions About Making Cat6 Cable
What is the maximum length for a Cat6 cable run?
Cat6 cable supports Gigabit Ethernet at distances up to 100 meters. For 10-Gigabit speeds, the recommended maximum is 55 meters when using standard Cat6. Cat6A extends 10G support to the full 100-meter distance.
Can I use Cat5e connectors with Cat6 cable?
No. Cat6 cable has a slightly larger conductor diameter and often includes an internal spline that makes it incompatible with Cat5e connectors. Always use connectors rated specifically for Cat6 to ensure a proper crimp and reliable contact.
Do I need a special crimping tool for Cat6?
Yes. A standard Cat5e crimping tool may not apply sufficient or correctly distributed pressure for Cat6 connectors. Use a crimping tool with a Cat6-compatible die to ensure a consistent, reliable termination every time.
What is the difference between T568A and T568B?
Both are valid wiring standards defined by TIA/EIA-568. They differ in the arrangement of the orange and green wire pairs. T568B is the most commonly used standard in commercial installations in North America. Either standard works as long as both ends of a straight-through cable use the same configuration.
How do I know if my Cat6 cable was terminated correctly?
Use a cable tester after every termination. A continuity tester will confirm that all eight pins are wired correctly and making contact. If any pin fails, re-terminate that end of the cable.
Is shielded Cat6 cable necessary for home networks?
For most home environments, standard UTP Cat6 is sufficient. Shielded Cat6 is recommended in areas with high electromagnetic interference, such as near industrial equipment, HVAC systems, or dense electrical wiring. Shielded cable also requires grounded termination hardware to function correctly.
How much of the jacket should I strip when terminating Cat6?
Strip approximately 1 to 1.25 inches of the outer jacket. This gives you enough wire to work with during arrangement and insertion while keeping the untwisted portion as short as possible to maintain signal integrity.
Can I make a Cat6 cable longer by splicing two cables together?
Splicing is not recommended for structured cabling. Every connection point introduces signal loss and potential failure. If you need a longer run, use a single continuous cable or run the cable through a patch panel using proper punchdown terminations on each end.
What is a Cat6 cable spline and do I remove it?
The spline is a cross-shaped plastic separator inside the cable jacket that isolates the four wire pairs from each other. You do not remove it entirely, but you trim it back to roughly the edge of the stripped jacket so it does not interfere with inserting the wires into the RJ45 connector.
How many times can I re-terminate a Cat6 cable end?
You can re-terminate a cable end as long as there is sufficient cable length remaining. Each re-termination requires stripping back the jacket approximately an inch, so factor that into your initial cable length when making custom runs for tight spaces.


