

How to Install an Ethernet Wall Jack Step by Step
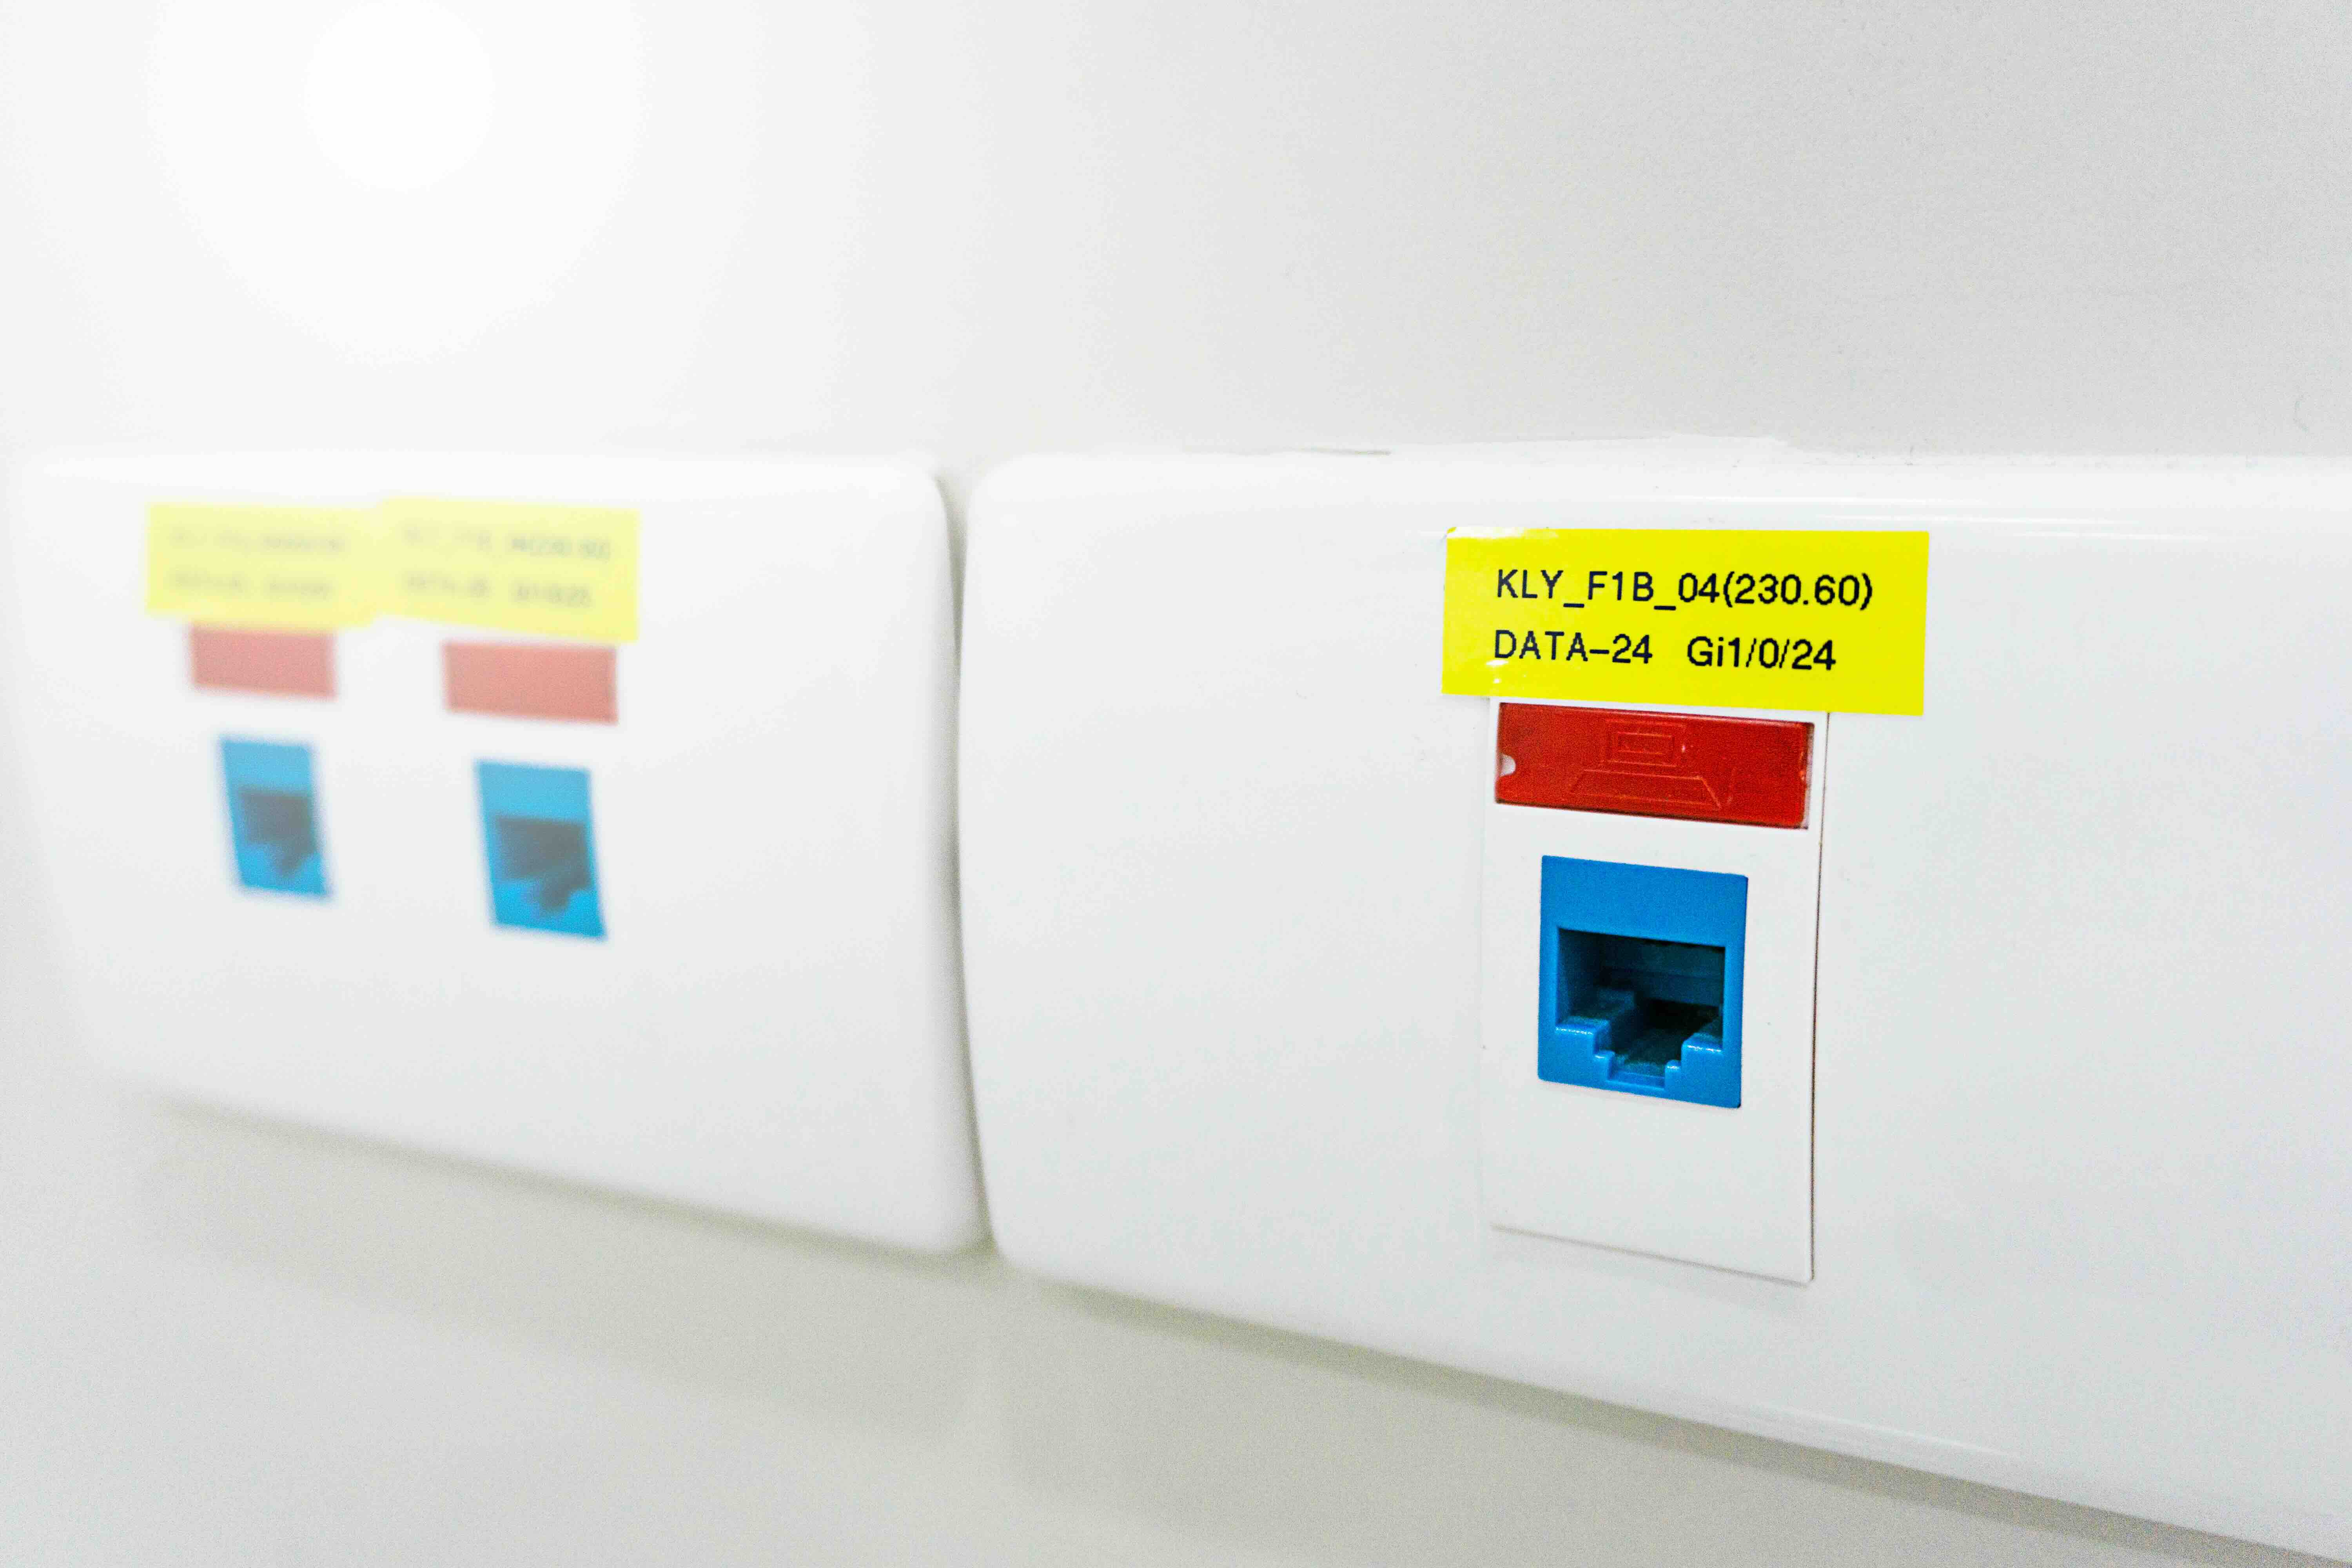
How to Install an Ethernet Wall Jack: A Complete Step-by-Step Guide
So you've decided to hardwire your home or office network instead of relying on wireless. Smart move. A wired Ethernet connection is faster, more stable, and honestly more reliable in ways that Wi-Fi just cannot replicate consistently. But once you've got your cable run in place, you need to terminate it properly, and that means installing an Ethernet wall jack. It sounds more complicated than it actually is. Once you do it once, you'll wonder why you put it off. This guide walks you through the entire process, from what you need to what can go wrong, with clear and practical advice to get the job done right.
What Is an Ethernet Wall Jack and Why Does It Matter
An Ethernet wall jack, sometimes called an RJ45 keystone jack or network wall outlet, is the endpoint of a structured cabling run inside your wall. Think of it like an electrical outlet, but for data. You plug one end of your patch cable into this wall jack and the other end into your device or switch. The jack terminates the raw Ethernet cable that travels through your walls and connects cleanly to your wall plate. It is a critical component in any proper network installation because it keeps things organized, professional-looking, and free from the mess of exposed cables running along baseboards or through doorways. Whether you are setting up a single room or wiring an entire office floor, the wall jack is where infrastructure meets usability.
Tools and Materials You Will Need Before You Start
Getting everything together before you start saves a lot of headache later. Here is what you should have on hand going into this installation:
A punch-down tool (spring-loaded or impact style) Cat5e, Cat6, or Cat6A Ethernet cable (depending on your performance needs) Keystone jack compatible with your cable category Wall plate with the correct number of ports Low-voltage mounting bracket Wire stripper or cable jacket stripper Small flathead screwdriver Cable tester (strongly recommended) Pencil or marker for wall markingOne thing worth noting here, and people skip this all the time, is the cable category alignment. Your keystone jack needs to match the cable category you are running. Using a Cat5e jack with Cat6 cable technically works but it limits your throughput to Cat5e specs. Do not mix categories if performance matters to you.
Understanding T568A vs T568B Wiring Standards
Before touching a single wire, you need to decide on your wiring standard. There are two: T568A and T568B. Both are recognized by TIA/EIA standards and both work perfectly well for Ethernet. The difference is purely in the color-coded pair arrangement. T568B is more common in North America for commercial installations, while T568A is sometimes preferred in residential settings or government installations. The important rule is consistency. Whatever standard you choose, you must use the same one on both ends of every cable run. Mix them up and you get a crossover cable by accident, which will not work for standard device-to-switch connections. Most keystone jacks have both color diagrams printed directly on them, which is genuinely helpful when you are squinting at eight tiny wires under mediocre lighting.
Step-by-Step: How to Install the Ethernet Wall Jack
This is the part that matters most, so let's move through it carefully. First, cut a hole in the drywall at the desired location using your low-voltage mounting bracket as a template. Secure the mounting bracket into the wall opening. Next, pull your Ethernet cable through the wall and out of the opening, leaving about six to eight inches of slack to work with comfortably. Use your cable stripper to remove roughly two inches of the outer jacket, being careful not to nick the inner wire pairs. Untwist each pair only as much as needed, because maintaining the twist as close to the termination point as possible preserves signal integrity, especially at higher speeds. Now seat each wire into the correct slot on the keystone jack according to your chosen wiring standard, and use the punch-down tool to seat and trim each wire simultaneously. Snap the keystone jack into the wall plate, mount the plate over the bracket, and tighten the screws. Clean, finished, done.
Key Advantages of Installing Ethernet Wall Jacks
The benefits here go well beyond aesthetics, though cleaner cable management is absolutely a win. Here is what you actually gain with a proper wall jack installation:
Significantly reduced latency compared to wireless connections Consistent Gbps speeds without interference from neighboring networks Improved security since wired connections are harder to intercept Professional cable management that protects cable integrity long-term Easy scalability since adding ports means adding jacks, not rerouting cable Better performance for latency-sensitive applications like video conferencing and gamingFor businesses especially, this kind of structured cabling infrastructure pays dividends in reliability and reduced troubleshooting time. It is also far easier to hand off to a new IT administrator when everything is documented and terminated at clean wall jacks rather than a birds-nest of surface-mounted cables.
Common Mistakes and How to Avoid Them
A few things trip people up on this installation consistently. Untwisting too much wire before punch-down is probably the most common issue and it causes crosstalk, especially on Cat6 runs at gigabit speeds. Keep that untwisted length as short as possible. Another frequent mistake is inconsistent wiring standards across a single run, which we already covered but is worth repeating because it is a real time-waster to diagnose. Not using a cable tester after installation is also something people skip and regret. A basic tester verifies continuity and correct pin mapping in about thirty seconds. Do not skip it. Finally, forcing the keystone into the wall plate without proper alignment cracks the plastic housing and that creates connection issues down the road. Snap it in deliberately, not forcefully.
When to Consider Professional Installation
If you are wiring a single room, this is absolutely a DIY project accessible to anyone willing to take an hour and follow instructions. However, there are situations where professional installation makes more sense. Running cable through finished walls, across multiple floors, or through fire-rated barriers involves complexities and code requirements that go beyond a weekend project. Commercial installations with strict compliance requirements, like healthcare or education environments, typically require certified low-voltage technicians to ensure proper documentation and adherence to standards. That said, for most home offices, small businesses, or straightforward room-to-room runs, this is a manageable job that saves real money compared to hiring out.
Why Monoprice Is the Smart Choice for Your Ethernet Wall Jack Installation
Here is the thing about sourcing components for this kind of project: the hardware quality matters more than most people realize at the outset, and paying inflated prices for basic infrastructure components makes no practical sense. Monoprice delivers exactly the kind of quality and reliability that both DIY installers and professional integrators need, at prices that do not require justification to a budget committee. From Cat6 keystone jacks and wall plates to patch cables and punch-down tools, everything you need to complete a clean, code-compliant installation is available in one place. The consistency across product lines means your components actually work together without guesswork. For anyone serious about building a dependable wired network, Monoprice Ethernet wall jacks, keystone hardware, and structured cabling solutions represent the kind of value that experienced installers keep coming back to, not because it is the cheapest option, but because performance and price land in exactly the right place every time.
Frequently Asked Questions About Ethernet Wall Jack Installation
What type of Ethernet cable should I use for wall installations?
For most residential and light commercial applications, Cat6 is the recommended choice. It supports Gigabit Ethernet and offers better crosstalk performance than Cat5e. For future-proofing and 10 Gigabit applications over longer runs, Cat6A is worth the investment.
Do I need a special tool to install a keystone jack?
Yes, a punch-down tool is required to properly seat and trim the wires into the keystone jack terminals. Some jacks come with a small included tool, but a quality impact punch-down tool produces more consistent results and is worth purchasing if you plan to do more than one installation.
Can I install an Ethernet wall jack without running cable through the wall?
Yes. Surface-mounted raceways or low-profile cable channels allow you to run Ethernet cable along baseboards or walls without cutting into drywall. The keystone jack and wall plate function the same way; only the cable routing method differs.
What is the maximum cable length for an Ethernet wall jack installation?
The TIA/EIA standard specifies a maximum of 100 meters or approximately 328 feet for a complete channel, including patch cables on both ends. The horizontal cable run from the wall jack to the patch panel should not exceed 90 meters to leave room for patch cable length.
How do I know if I wired the jack correctly?
Use a cable tester after completing the installation. A basic network cable tester will verify that each of the eight pins is connected correctly and that no pairs are crossed, shorted, or open. This step prevents hours of troubleshooting later.
Is there a difference between a keystone jack and an Ethernet wall jack?
A keystone jack is the modular insert that gets punched down and snaps into a keystone-compatible wall plate. An Ethernet wall jack typically refers to the finished assembly of the keystone plus wall plate mounted to the wall. The terms are often used interchangeably in consumer contexts.
Can I use Cat6 cable with a Cat5e keystone jack?
Technically yes, but it limits your installation to Cat5e performance levels. For a proper Cat6-rated installation that supports Gigabit and beyond, both the cable and the keystone jack should be rated Cat6 or higher.
Do Ethernet wall jacks support Power over Ethernet?
Yes. A properly terminated keystone jack passes Power over Ethernet without modification since PoE is delivered over the same wire pairs used for data. Ensure your cable category supports your PoE standard, as higher PoE levels benefit from Cat6 or Cat6A cable to manage heat dissipation.
How many Ethernet wall jacks can I install on a single wall plate?
Standard wall plates accommodate one to six keystone jacks depending on the plate configuration. For high-density areas like media rooms or offices, multi-port plates allow multiple connections at a single wall location without requiring additional cut-outs.
What is the difference between T568A and T568B, and which one should I use?
Both are valid wiring standards that produce fully functional Ethernet connections. T568B is more widely used in commercial installations across North America. The most important rule is consistency: use the same standard on both ends of every cable run throughout your installation.


