

How to Cable Manage a PC for Better Airflow and Performance
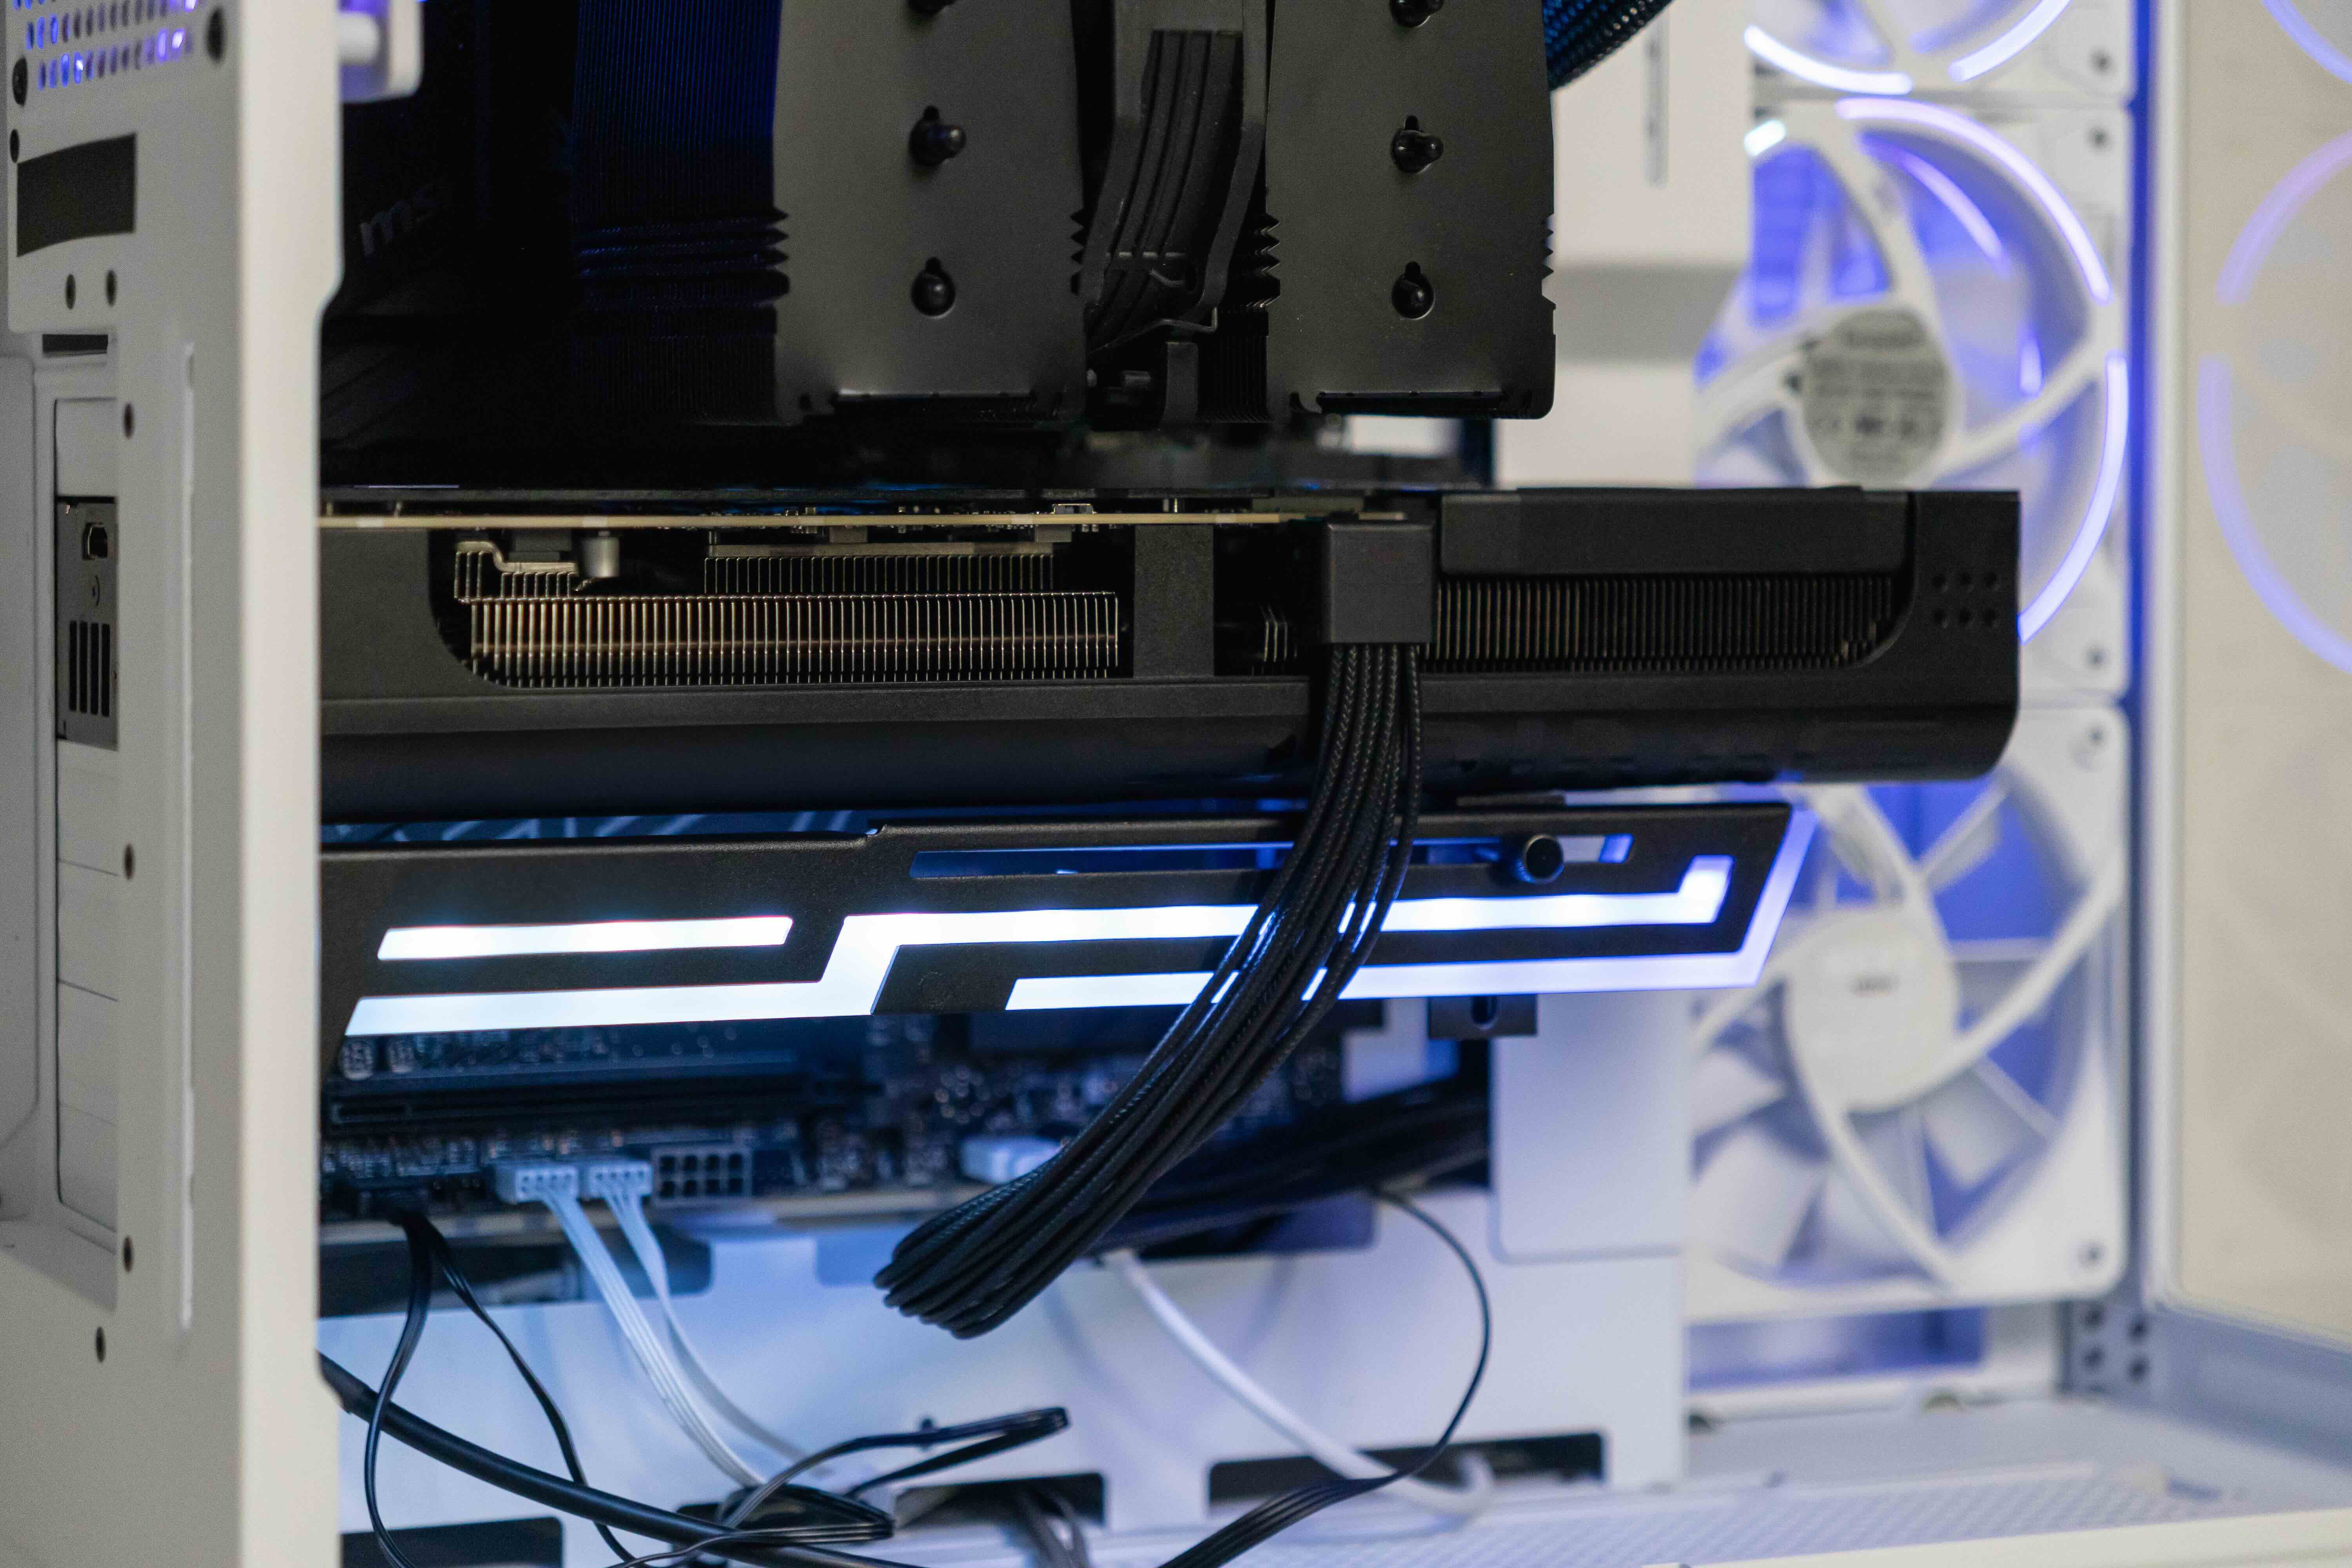
Why Cable Management Matters More Than You Think
So you just built a PC, or maybe you have had one running for a while and every time you open the side panel, it looks like a bowl of spaghetti in there. Yeah. That is a problem worth solving, and not just for aesthetics. Cable management inside a computer case directly affects airflow, thermal performance, and even long-term hardware reliability. Tangled cables block the airflow your CPU, GPU, and other components depend on to stay cool under load. Poor airflow means higher temperatures. Higher temperatures mean throttling, reduced performance, and potentially shortened component lifespan. Getting cables organized is one of the most practical things you can do for your system, and it is honestly not as complicated as it looks. Let this be your starting point.
Understanding What Cables You Are Actually Working With
Before you start routing anything, it helps to know what you are dealing with. A typical desktop PC build includes a fairly consistent set of internal cables. Most builders are working with a 24-pin ATX motherboard power connector, a CPU EPS power cable, PCIe power cables for the graphics card, SATA power connectors for storage drives, SATA data cables connecting drives to the motherboard, fan headers, front panel connectors, and USB headers. Modular power supplies make this much easier because you only plug in the cables you actually need. Non-modular PSUs come with every cable attached whether you use them or not, which creates more clutter to deal with. If you have not purchased a PSU yet, going modular or semi-modular is a worthwhile investment for keeping things clean.
The Tools and Supplies That Make the Difference
You do not need a lot to manage cables effectively, but having the right supplies on hand before you start saves a ton of frustration. These are the essentials most builders rely on:
- Velcro cable ties or reusable hook-and-loop straps
- Zip ties in multiple sizes
- Cable combs for grouped wire runs
- A cable management kit or sleeving if you want a cleaner aesthetic
- Double-sided foam tape or adhesive cable clips
- A screwdriver for removing and re-routing brackets
- Good lighting or a headlamp to see inside the case
Velcro is generally preferred over zip ties for anyone who expects to modify their build over time. Zip ties are permanent unless you cut them, and cutting them wrong can damage cables. Velcro lets you undo and redo bundles without any stress. Cable combs are more of a cosmetic upgrade, used to align individual wires within a sleeved bundle, but they do give that clean parallel look that looks sharp in builds with glass side panels.
Planning Your Route Before You Touch Anything
This is the step most people skip, and then they wonder why things still look messy. Spend a few minutes just studying your case. Most modern mid-tower and full-tower cases have cable routing channels built into the back panel, grommeted holes along the motherboard tray, and dedicated velcro anchor points. Figure out where your PSU sits, which direction it faces, and where each cable needs to end up. Plan your routes so cables travel through the back of the case as much as possible, crossing the front only when necessary. The goal is to keep the front chamber of your case, the area visible through the side panel, as clean and unobstructed as possible. Short cable runs in the back are fine. Anything in the front should be intentional and tidy.
Step-by-Step: How to Cable Manage a PC Properly
Working through this methodically gets you the best results. Start by powering down fully, unplugging everything, and grounding yourself to discharge any static. Then follow a straightforward sequence that keeps things from getting out of control:
- Remove all existing cables if you are starting over or reorganizing
- Install your motherboard, PSU, and main components first before routing any cables
- Run the 24-pin ATX cable through the nearest routing grommet behind the motherboard tray
- Feed the EPS CPU power cable up and over or under the motherboard, depending on your case layout
- Route SATA data cables flat and low along the bottom edge of the case
- Group PCIe cables together using velcro ties and route them behind the GPU support bracket
- Secure fan cables along existing cable channels or pin them with adhesive clips
- Bundle any excess cable slack in the back panel area using multiple tie points
Take your time at each step. Rushing it means going back and redoing things. The back of the case does not need to be as clean as the front, but even back there, keeping things organized helps the side panel close properly and makes future upgrades less of a nightmare.
Airflow and Thermal Benefits You Will Actually Notice
This part is real and measurable. A well-managed cable setup creates clear, unobstructed airflow lanes from your intake fans to your exhaust fans. When cables are bundled out of the way, cool air moves efficiently across your CPU cooler, memory, VRMs, and GPU without having to fight through a wall of wiring. Builders who have gone from unmanaged to well-managed setups often report drops of five to fifteen degrees Celsius on CPU and GPU temperatures under sustained load, depending on the case and components involved. That kind of thermal improvement means your hardware runs more consistently, boosts less aggressively under thermal limits, and runs quieter overall because fans do not have to spin as hard to compensate for restricted airflow. It is a free performance upgrade that just takes an afternoon of work.
Common Mistakes That Undermine Your Cable Management
Even experienced builders fall into certain habits that make cable management harder than it needs to be. Over-tightening zip ties is one of the most common errors, and it can pinch or stress cables over time. Another issue is using too few anchor points, which lets bundles sag or shift once the case is closed. Some builders route cables across the front face of the motherboard unnecessarily when a cleaner path exists through the back. And a lot of people skip securing the excess PSU cables they store in the back panel, letting them bunch up and prevent the side panel from sitting flush. Avoiding these habits from the start saves a lot of rework.
When to Upgrade Your Case for Better Cable Management
Not every case is built with cable management in mind. Older or budget enclosures often lack the grommet holes, routing channels, and rear panel depth that make clean builds possible. If you find yourself constantly fighting your case to get things looking decent, the enclosure itself might be the limiting factor. Modern mid-towers designed for enthusiast builds typically offer substantial rear panel clearance, pre-routed channels, PSU shrouds to hide power cables, and multiple tie-off anchor points. If you are planning an upgrade anyway, selecting a case that actively supports cable organization is a smart move that pays off through every future build or component swap you do.
Why Monoprice Is the Smart Choice for Your PC Cable Management Needs
Getting your internal cables sorted is just one part of keeping a PC setup looking and performing its best. The cables you connect externally matter just as much, and that is where the quality of what you source becomes relevant. From the monitor cable running from your GPU to your display, to the networking cable connecting your rig to your router, to the USB cables handling peripherals and charging, cutting corners on connectivity eventually shows up as signal issues, poor data transfer rates, or just more clutter on the desk. Monoprice has been a trusted source for high-performance, value-driven connectivity products for years, and it is the kind of brand that fits naturally into any build budget without making you sacrifice quality. Whether you are looking for high-quality PC cables and connectivity accessories for organized, high-performance computer builds, display cables, or networking solutions, the product lineup covers what most builders and IT professionals need at pricing that consistently outperforms the competition. It is not about paying less for less. It is about paying a fair price for gear that actually delivers.
Frequently Asked Questions About How to Cable Manage a PC
Does cable management actually improve PC performance?
Yes. Organized cables improve airflow inside the case, which reduces component temperatures. Lower temperatures can reduce thermal throttling, improve sustained performance, and extend hardware lifespan.
How long does it take to cable manage a PC?
For a first-time builder or full reorganization, expect to spend two to four hours. With experience and a well-designed case, a clean cable management job can be done in under two hours.
What is the best type of cable tie for PC cable management?
Reusable velcro cable ties are generally preferred because they allow you to adjust or remove bundles without cutting. Zip ties work well for permanent arrangements but can damage cables if over-tightened.
Should I use a modular or non-modular PSU for easier cable management?
A modular or semi-modular power supply is significantly easier to manage because you only connect cables you actually need, reducing clutter from unused connectors.
How do I hide cables behind the motherboard tray?
Route cables through grommeted holes in the motherboard tray and secure them with velcro ties along the rear panel channels. Most modern cases have enough rear depth to accommodate bundled cable slack cleanly.
Can poor cable management damage PC components?
Indirectly, yes. Blocked airflow caused by loose cables can raise temperatures enough to accelerate component degradation over time. Cables pressed against sharp case edges can also suffer insulation damage.
What cases are best for cable management?
Mid-tower and full-tower cases with PSU shrouds, multiple cable routing grommets, generous rear panel clearance, and built-in velcro anchor points offer the best conditions for clean cable management.
Do I need to remove my components to redo cable management?
Not always. Minor improvements can be made without full disassembly. However, for a thorough reorganization, removing the GPU and temporarily disconnecting cables makes routing significantly easier and cleaner.
How do I manage cables for a PC with multiple storage drives?
Group SATA power cables into a single routed run along the bottom of the case. Use SATA data cables that are flat and low-profile, routing them close to the drive cage and securing them with adhesive clips or tie points.
Is cable sleeving worth it for cable management?
Cable sleeving improves the appearance of your build and keeps wire groups together, but it is primarily cosmetic. It is worth considering if you have a windowed case and want a clean, polished interior look.


