

Cat6 Cable Installation Guide for Reliable High-Speed Networks
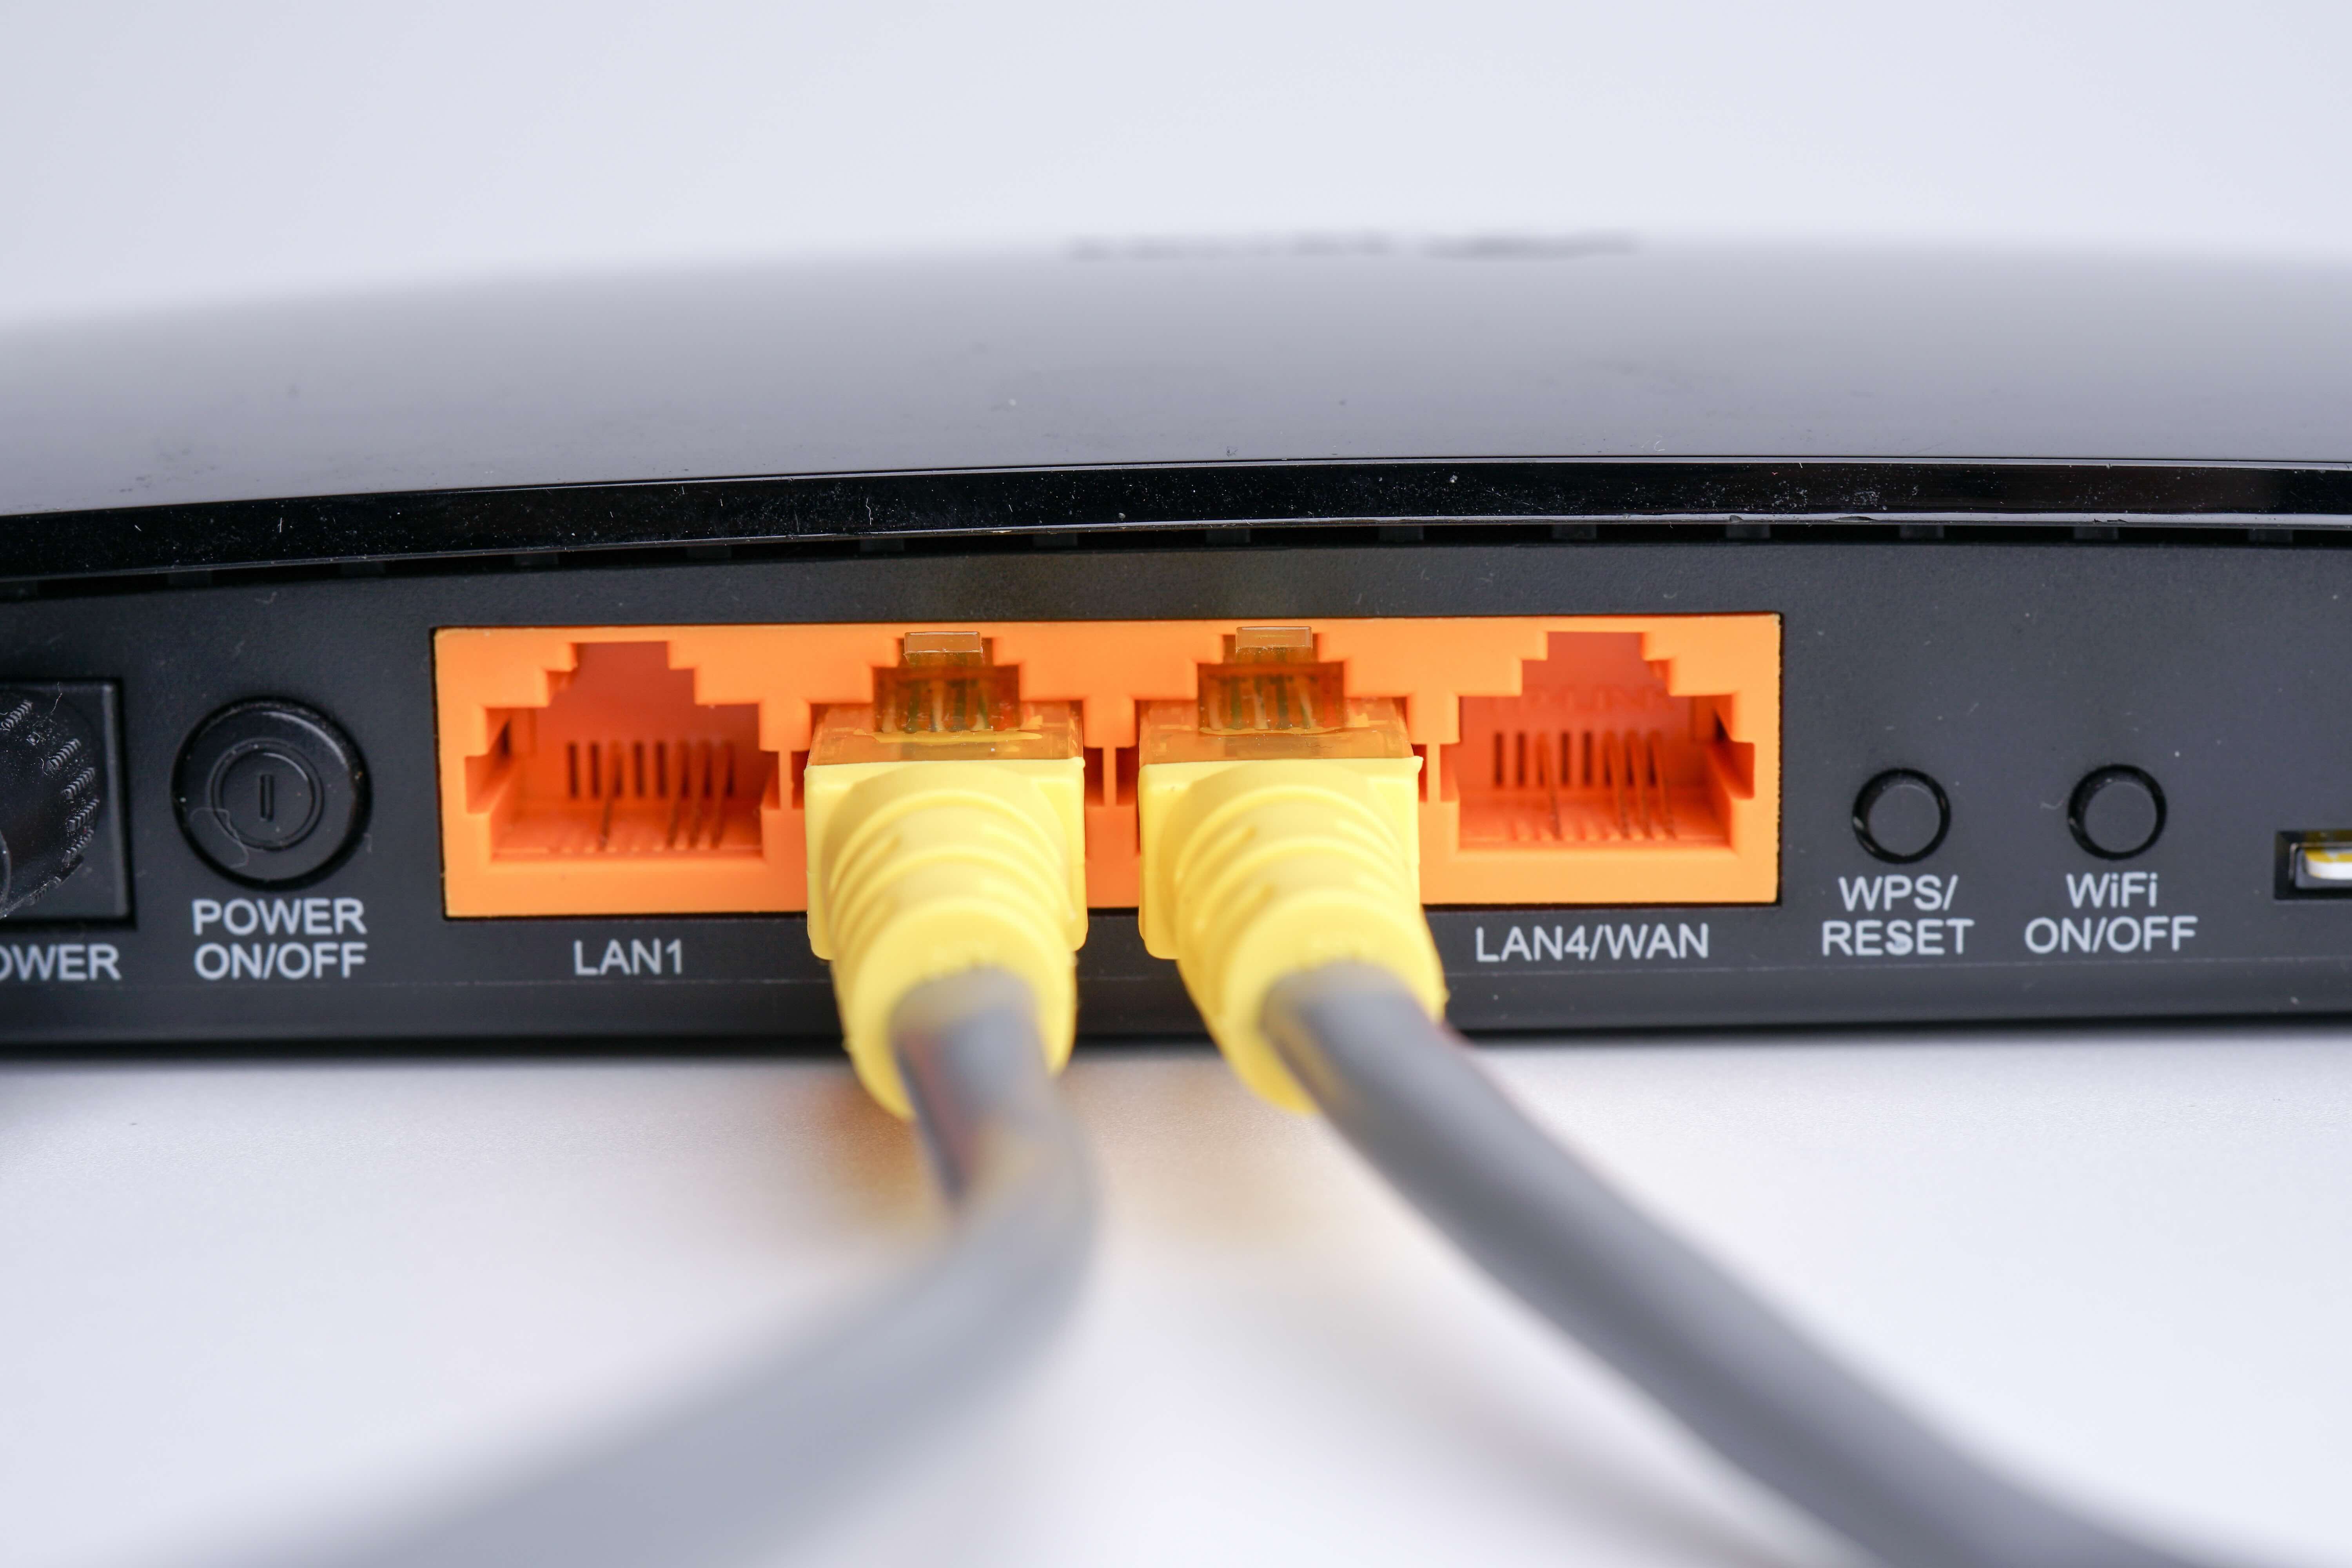
Cat6 Cable Installation Guide for Reliable High-Speed Networks
If you are planning a wired network at home or across a commercial space, Cat6 cable installation is one of the smartest investments you can make in your infrastructure. It sounds like a project that might require a contractor, but honestly, with the right preparation and a clear process to follow, it is something a lot of people handle themselves. Cat6 cable supports speeds up to 10 Gbps over shorter distances and 1 Gbps over standard runs up to 100 meters, which covers most home and small business setups without a problem. This guide walks you through everything from planning your run to punching down a keystone jack, with practical notes on what actually matters versus what you can skip.
What Is Cat6 Cable and Why Does It Matter for Your Network
Cat6, short for Category 6, is a twisted-pair Ethernet cable standard designed to support Gigabit Ethernet and beyond. Compared to older Cat5e cabling, Cat6 offers tighter twist ratios and, in many cases, a physical spline separator inside the cable jacket that reduces crosstalk between the wire pairs. The result is a cleaner signal at higher frequencies, which translates to more consistent performance under real-world conditions. Cat6 is rated for 250 MHz bandwidth, whereas Cat5e tops out at 100 MHz. For streaming 4K video, supporting multiple simultaneous devices, or running a home office setup that depends on dependable throughput, that difference adds up over time. It is also worth noting that Cat6 remains backward compatible with older Cat5 and Cat5e infrastructure, so upgrading does not mean ripping everything out.
Tools and Materials You Need Before You Start
Good cable work starts with having the right tools on the bench before anything goes into the wall. Rushing into a Cat6 installation without preparation is how mistakes happen, and some of those mistakes are genuinely frustrating to undo. Here is what you will want to gather:
- Cat6 bulk cable, measured with extra footage for mistakes
- RJ45 keystone jacks or pass-through connectors
- A patch panel if you are building a structured wiring closet
- Cable staples or low-voltage mounting brackets
- Fish tape or glow rods for running cable through walls
- A punch down tool for keystone jacks
- A cable tester to verify each run after installation
- A drill with a long bit for boring through framing
- A label maker to keep everything organized
Most of these tools are affordable and reusable across multiple projects. Skipping the cable tester is a common mistake that causes hours of troubleshooting later, so that one is worth the investment up front.
Planning Your Cable Routes the Right Way
Before a single length of cable gets pulled, you need a plan. Walk through the space and identify where network drops are needed. Think about where devices actually live, not just where they might live someday. Consider your central termination point, which could be a network closet, a utility room, or a dedicated wall panel. From there, trace logical paths through walls, ceilings, or crawl spaces that avoid electrical wiring. Running Cat6 cable parallel to high-voltage lines can introduce interference, so maintain at least six inches of separation where possible and cross electrical runs at a ninety-degree angle if paths must intersect. Also factor in the total run length. Keep each run under 295 feet, which is the standard maximum for reliable Ethernet performance. If your layout requires longer distances, a network switch at an intermediate point is the right call rather than pushing cable length past its limits.
How to Pull Cat6 Cable Through Walls and Ceilings
Pulling cable is the most physically demanding part of the job. Drill your entry and exit points, feed your fish tape through the wall cavity, attach the cable end securely, and pull it back through carefully. Do not force the cable around tight bends. Cat6 has a minimum bend radius, typically four times the cable diameter, and kinking the cable at a sharp angle degrades signal performance. Use low-voltage mounting brackets at each wall outlet location to give the cable a clean, professional termination point. If you are working in an existing finished space, glow rods and a wire-fishing drill bit will become your closest friends. Label each cable end immediately after pulling it through. Waiting until everything is in the wall to label is how you end up guessing, and guessing wastes time.
Terminating Cat6 Cable on Keystone Jacks and Patch Panels
This step is where precision matters. Cat6 cable termination follows either the T568A or T568B wiring standard. Most residential and commercial installations in North America use T568B, and the important rule is to stay consistent across every single jack, panel, and patch cable in your installation. Strip back about one inch of the outer jacket, untwist the pairs only as much as necessary to seat them in the jack, and use your punch down tool to secure each conductor into its designated slot. Minimize untwisted length to preserve the cable's crosstalk rejection properties. On a Cat6 keystone jack, the wire channels are color coded, which makes the process more straightforward than it sounds. Snap the loaded jack into its wall plate, and you are almost done with that drop.
Testing Every Run Before You Close the Walls
Testing is not optional. Before drywall goes up or any furniture moves back into position, connect a cable tester to both ends of each run and verify continuity and correct wiring order. A basic tester confirms that all eight conductors are connected and in the right sequence. A more advanced qualification tester can measure actual signal performance and flag issues like excessive crosstalk or return loss that a simple continuity check would miss. If a run fails, troubleshoot the termination points first because that is where the majority of Cat6 installation problems originate. Re-punching a keystone jack takes less than two minutes and fixes most failures immediately. Do not assume a failed test means bad cable until you have checked both termination points thoroughly.
Common Cat6 Installation Mistakes and How to Avoid Them
Even experienced installers run into problems when they move too fast or skip steps. Some of the most common errors include over-untwisting wire pairs during termination, using staples that crush the cable jacket, exceeding maximum run length, mixing T568A and T568B standards on the same run, and failing to test before closing up the walls. Cable management also matters more than people expect. Bundling too many cables tightly together over long distances can cause performance issues from external crosstalk, especially in dense installations. Use Velcro ties rather than zip ties cinched too tight, and leave some slack at each termination point for future maintenance. These are the details that separate a network that just works from one that causes intermittent issues for years.
Cat6 vs Cat6A: Knowing When to Upgrade
Cat6 handles the vast majority of residential and small business networking needs without any compromises. However, Cat6A, which is the augmented version of the standard, supports 10 Gbps speeds over the full 100-meter distance and operates at 500 MHz bandwidth. It also offers better alien crosstalk performance, which becomes relevant in high-density cable environments. Cat6A cable is thicker, heavier, and generally more expensive to install due to larger conduit requirements and stiffer handling characteristics. For most home installations and standard office buildouts, Cat6 is the practical, cost-effective choice. If you are deploying infrastructure in a data center environment or building a network designed to support demanding multi-gig workloads at full distance, Cat6A is worth the added investment. The decision comes down to your performance requirements and how long you want the installation to last without needing an upgrade.
Why Monoprice Is the Right Source for Your Cat6 Installation
When it comes to sourcing reliable, high-performance cabling without overpaying for it, Monoprice has built a reputation that holds up across both consumer and professional markets. Whether you are wiring a single room or deploying a structured cabling system across an entire building, the product lineup covers every component you need, from bulk Cat6 cable in multiple jacket types and lengths to keystone jacks, patch panels, cable managers, and the accessories that make a clean installation possible. Quality is consistent, specifications are honest, and the pricing reflects what it should actually cost to build a network the right way. For IT professionals, integrators, and serious DIYers who want infrastructure that performs reliably without budget bloat, professional-grade Cat6 cable and networking installation supplies from Monoprice deliver the kind of value that makes it easy to do the job right the first time and not have to revisit it.
Frequently Asked Questions About Cat6 Cable Installation
What is the maximum length for a Cat6 cable run?
The maximum recommended length for a single Cat6 cable run is 100 meters, or approximately 328 feet. This includes the horizontal cable run plus any patch cables at each end. Exceeding this distance can result in signal degradation and reduced network performance.
Do I need special tools to install Cat6 cable?
Yes, a punch down tool is required to terminate Cat6 cable onto keystone jacks and patch panels. You will also need a cable stripper, a drill for routing through walls, fish tape or rods, and a cable tester to verify each completed run.
What is the difference between T568A and T568B wiring standards?
T568A and T568B are two wiring configurations used when terminating Ethernet cables. They differ in the arrangement of the orange and green wire pairs. Either standard works correctly as long as you use the same one consistently on both ends of every cable run throughout your installation.
Can Cat6 cable be used outdoors?
Standard Cat6 cable with a PVC jacket is not rated for outdoor use. If you need to run cable outside, choose a direct burial Cat6 cable or a Cat6 cable with a UV-resistant jacket designed specifically for outdoor or direct burial applications.
Is Cat6 backward compatible with Cat5e equipment?
Yes, Cat6 cable is fully backward compatible with Cat5e and Cat5 networking hardware. You can use Cat6 cable with existing switches, routers, and other equipment without any compatibility issues, while gaining the performance headroom that Cat6 provides.
How do I avoid crosstalk issues during Cat6 installation?
To minimize crosstalk, keep wire pairs untwisted for the shortest possible length during termination, maintain separation from electrical wiring, avoid sharp bends, and do not over-tighten cable bundles. Using quality Cat6 cable with an internal spline separator also helps significantly.
Should I install Cat6 or Cat6A for a new home build?
Cat6 is sufficient for most residential applications and supports Gigabit speeds reliably across standard run lengths. Cat6A is worth considering if you anticipate future multi-gigabit networking needs or if you are running long horizontal cable distances in a larger home where future-proofing matters.
What gauge wire does Cat6 cable use?
Standard Cat6 cable uses 23 AWG solid copper conductors. Solid copper performs better for permanent in-wall installations compared to stranded copper, which is typically used in shorter patch cables that need flexibility for frequent connections and disconnections.
How do I test a Cat6 cable run after installation?
Use a cable tester connected to both ends of the completed run. A basic continuity tester confirms correct wiring and no broken conductors. A more advanced qualification tester provides detailed performance data including attenuation, crosstalk, and return loss measurements for each run.
Can I run Cat6 cable next to electrical wiring?
Cat6 cable should maintain at least six inches of separation from standard electrical wiring to prevent electromagnetic interference. Where cable paths must cross, run the Cat6 cable perpendicular to the electrical wiring rather than parallel to reduce the potential for signal interference.


